free shipping at $99


If you want to make the best bath bombs, it all starts with one simple, reliable rule of thumb: a 2-to-1 ratio of baking soda to citric acid. This magical combination is the secret behind that satisfying fizz. Think of it as the perfect canvas, ready for you to splash on nourishing oils, vibrant colors, and your absolute favorite scents for a spa experience that’s all you.
Welcome to the wonderful world of homemade bath bombs! This is where you call all the shots, choosing every single ingredient. You can finally say goodbye to mystery chemicals and inflated price tags. Crafting your own means you get to tailor every fizzy creation to exactly what your skin needs and what your mood is calling for.
The whole process is way easier than you might think. It all boils down to a basic chemical reaction that’s surprisingly simple to master.
At the heart of every single bath bomb are two key players: baking soda (that’s your sodium bicarbonate) and citric acid. The moment these two dry ingredients hit your bathwater, they kick off a fizzy chemical party, releasing carbon dioxide gas. That’s the magic you see and feel. But a truly great bath bomb is so much more than just fizz.
To go from a basic fizz to a truly luxurious bath, you'll need to add a few more things to your shopping list. These ingredients are what give your bath bomb its solid shape, skin-softening superpowers, and that incredible fragrance.
Here's what you'll need to round out your recipe.
Binding Agents: Think cornstarch or arrowroot powder. These ingredients do more than just help bind the mixture together; they also slow down the fizzing reaction, which means your bath bomb lasts longer in the tub instead of disappearing in a flash.
Nourishing Oils: This is where you add that silky, moisturizing touch. Carrier oils like sweet almond, jojoba, or coconut oil leave your skin feeling incredibly soft and hydrated. Plus, they help the dry ingredients hold their shape when you're molding them.
Soothing Salts: Epsom salts are a classic for a reason. They're amazing for helping to relax sore muscles. They also add to the bath bomb’s texture and bring a real therapeutic element to your soak.
Let's take a closer look at what each of these core ingredients brings to the table.
This table breaks down the must-have ingredients for any bath bomb recipe. You'll see what each one does and why it's so important for creating that perfect, fizzy, skin-loving experience.
| Ingredient | Primary Role | Contribution to Bath Bomb |
|---|---|---|
| Baking Soda | The Alkaline Base | Works with citric acid to create the signature fizzing reaction. |
| Citric Acid | The Acidic Component | Reacts with baking soda in water to release carbon dioxide bubbles. |
| Cornstarch | The Binder & Stabilizer | Holds the mixture together and slows down the reaction for a longer-lasting fizz. |
| Epsom Salt | The Therapeutic Add-in | Helps soothe sore muscles and adds a slightly coarse texture. |
| Carrier Oil | The Moisturizer | Adds skin-nourishing properties and helps the mixture hold its molded shape. |
As you can see, each ingredient plays a specific, crucial part. Getting the balance right is what separates a decent bath bomb from an amazing one.
The obsession with natural and personalized skincare has totally fueled the DIY bath bomb trend. It's gotten so popular that the global bath bomb market was valued at a whopping USD 0.86 billion in 2025 and is only expected to keep growing. You can even dig into more bath bomb market trends on businessresearchinsights.com.
The real beauty of making your own bath bombs is the endless customization. You’re not just following a recipe; you’re creating a small, fizzy piece of art designed for your own relaxation and enjoyment.
As you start experimenting with the best bath bomb recipes, you might also get inspired by creating a personalized spa day at home. And for even more ideas on turning your bathroom into a total sanctuary, don't forget to check out our guide on putting together a DIY spa day.
This is your go-to recipe, the one you’ll come back to again and again. Think of it as the little black dress of bath bombs. It’s reliable, surprisingly simple, and delivers a fantastic fizz every single time.
Once you nail this classic, you'll have the confidence and the core skills to get creative with more complex recipes. It's the perfect place for anyone to start their DIY bath bomb journey.
The infographic below gives you a quick visual of the key players you'll be working with.
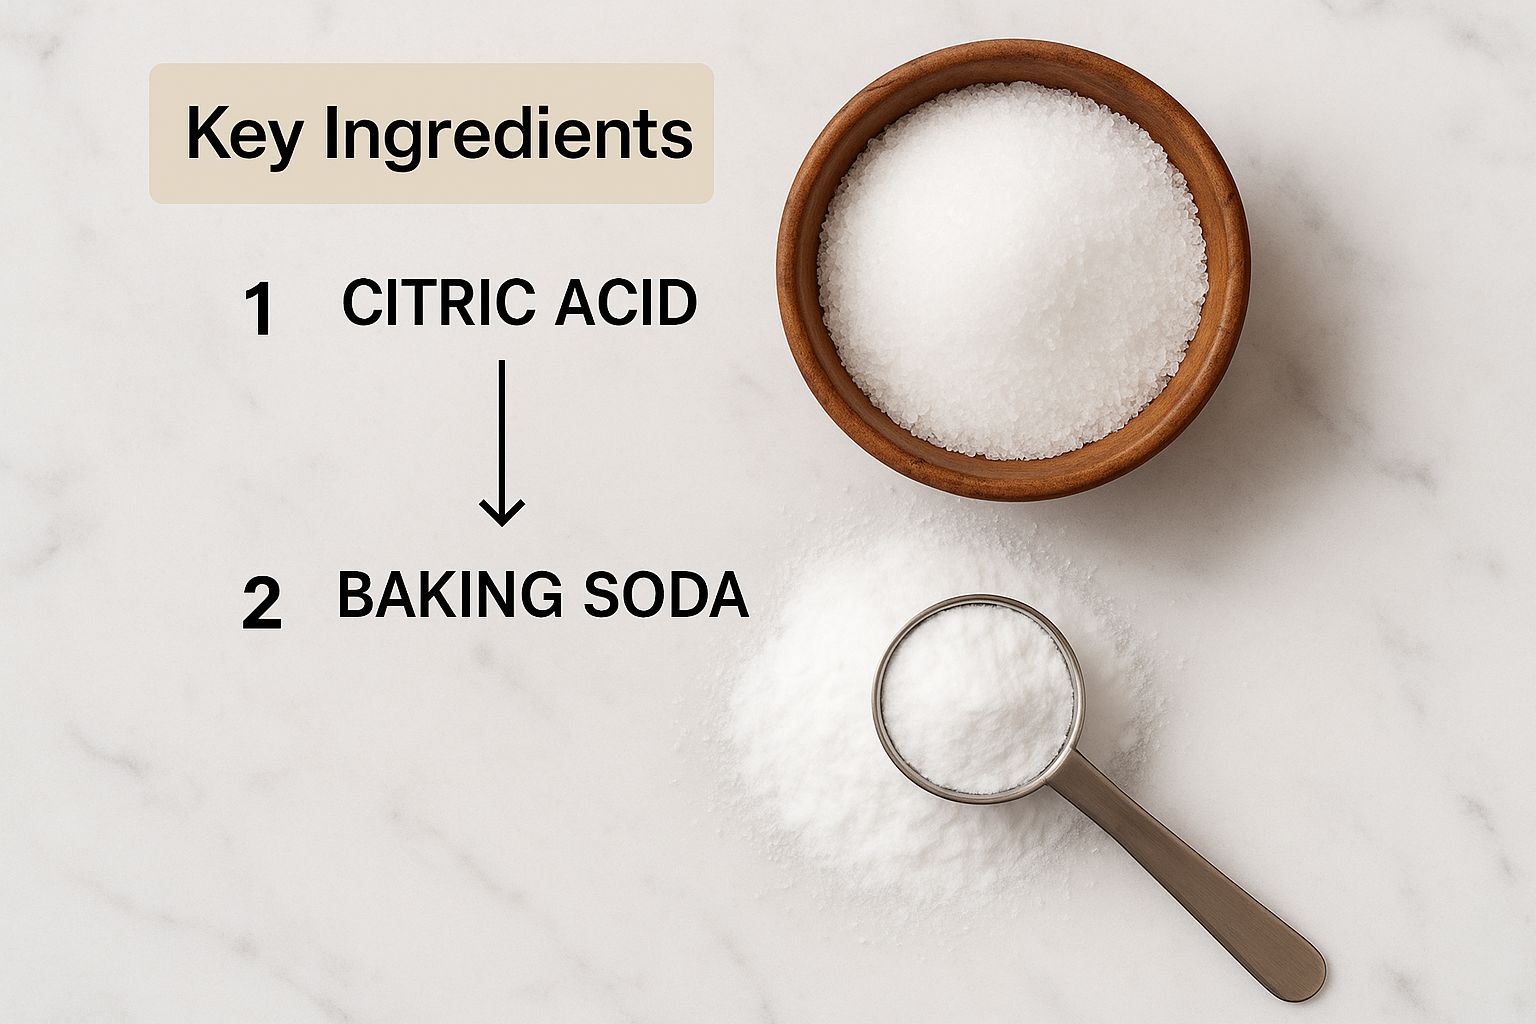
As you can see, a truly great bath bomb is built on a foundation of simple, quality dry ingredients.
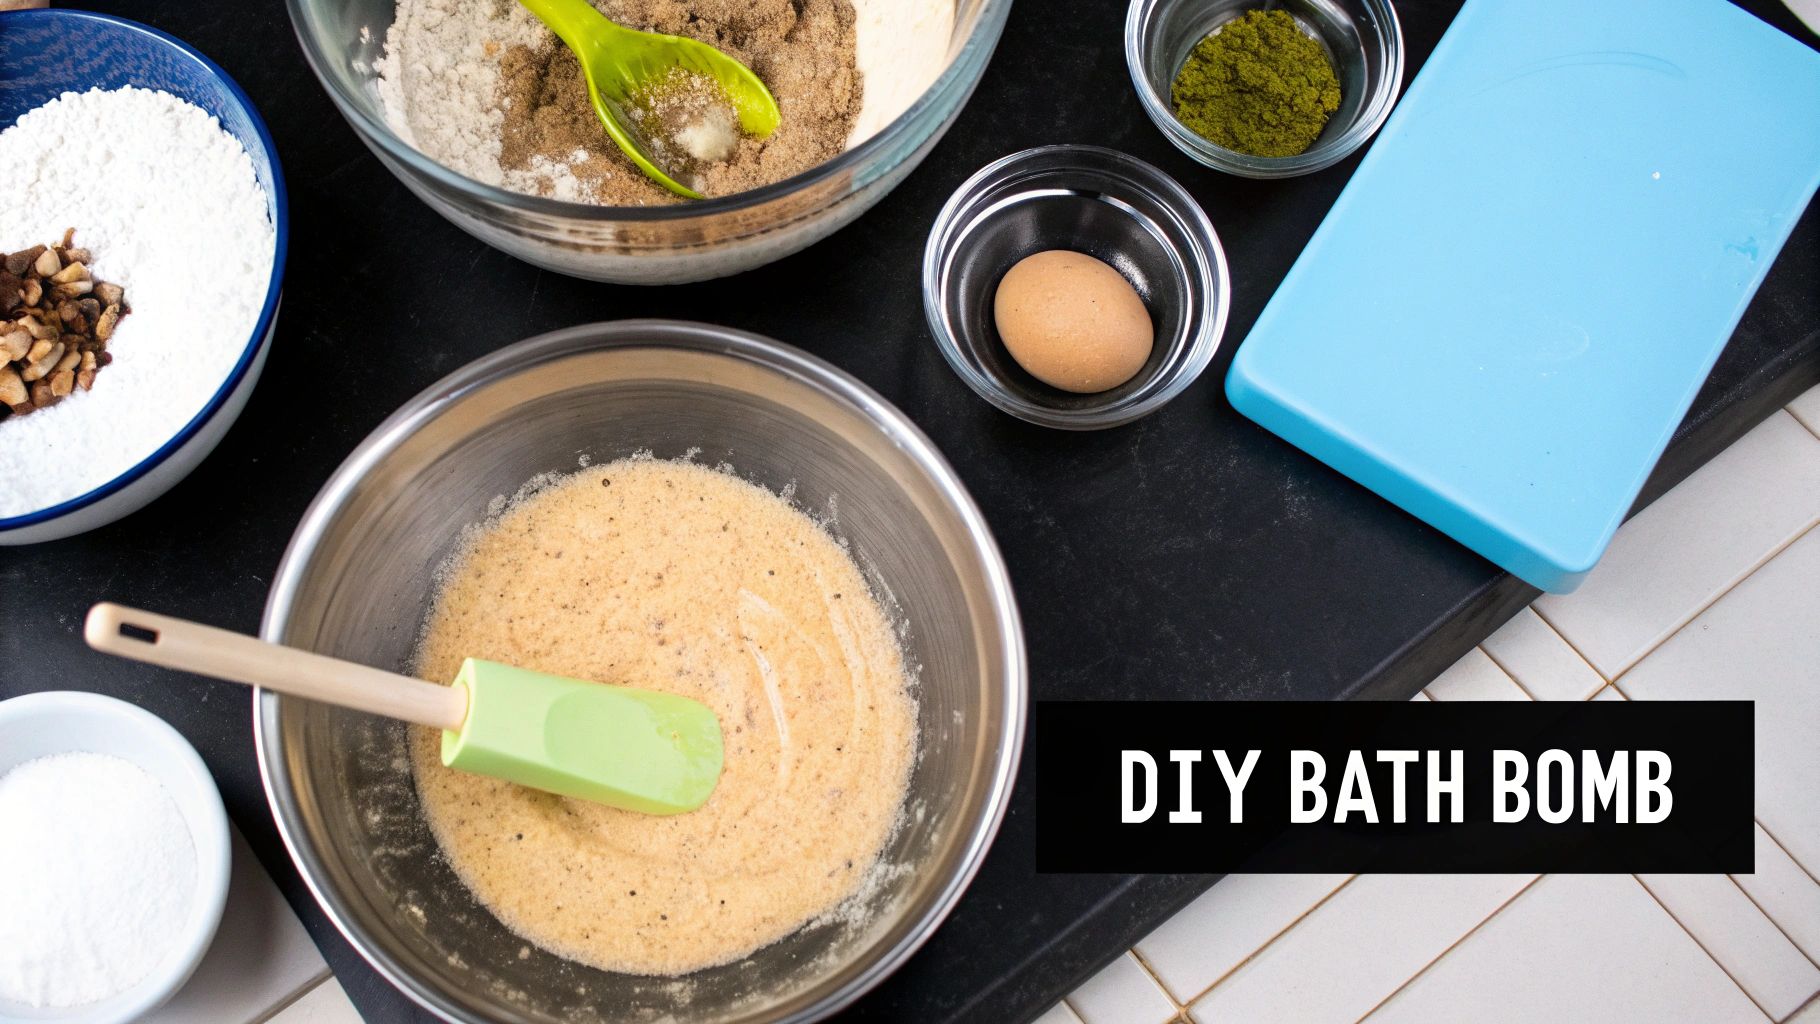
Before you even think about mixing, get all your ingredients measured out and ready to go. Trust me, having everything laid out makes the whole process feel less like a science experiment and more like a fun craft project.
This recipe will make about 8-10 standard-sized bath bombs. Here’s what you'll need:
It's really important to understand why these amounts work. That 2:1 ratio of baking soda to citric acid is the magic behind the fizz—it’s non-negotiable. The cornstarch is your secret weapon; it acts as a binder and slows everything down, giving you a longer, more satisfying show in the tub.
The real secret to a perfect bath bomb isn't the ingredients, it's the technique. This is especially true when you start combining the wet and dry stuff. A classic rookie mistake is adding the liquid too fast, which kicks off the fizzing reaction way too early and pretty much ruins the batch. Slow and steady wins the race here.
First up, grab a big mixing bowl and combine all your dry ingredients—but hold back the citric acid for now. Give them a really good whisk to break up any clumps. This step is the key to getting that smooth, professional look.
Next, in a separate, smaller bowl, mix together all your wet ingredients: the carrier oil, your fragrance, the water, and any color you’re using.
Now for the make-or-break moment. You're going to add the wet mix to the dry mix, but do it literally one drop at a time while whisking constantly. What you're looking for is a texture that feels like slightly damp sand.
The perfect consistency is everything. Squeeze a handful of the mixture. Does it hold its shape without falling apart? Perfect. If it’s too dry, it won't pack into the mold. If it’s too wet, it’ll start fizzing and expanding right there in the bowl.
Once you've hit that perfect sandy texture, it’s time to gently stir in the citric acid. Mix it just enough to combine it evenly. If you over-mix at this point, you can pull moisture from the air and accidentally start the reaction.
Finally, pack the mixture firmly into your molds. Really press the two halves together tightly to compact everything. Now, the hard part: waiting. Let them dry for at least 24 hours in a cool, dry place before you even think about unmolding your awesome, fizzy creations.
This is where the real fun begins and your inner artist gets to play. Moving beyond the basic recipe, this step is what turns a simple fizzy ball into a full-blown sensory masterpiece. Choosing the right colors and scents isn't just about making them look pretty; it's about creating an experience that fits a specific mood, turning an ordinary bath into a genuine escape.
The desire for customized bath products has totally taken off, which really just shows how much we're all leaning into wellness and aromatherapy. In fact, the global bath bomb market is expected to jump from USD 2.12 billion in 2025 to a whopping USD 3.34 billion by 2033. You can read more about these bath bomb market projections over on straitsresearch.com. That kind of growth just proves how much people love creating that unique, spa-like vibe right in their own homes.
When it's time to add some color to your bath bombs, you've got a few great, skin-safe options. The most important thing is to pick something that won't leave you—or your tub—looking like a rainbow.
Here's a little trick I've learned for getting vivid colors without adding too much liquid: "bloom" your powdered colorant. Just mix your mica or clay with a tiny bit of your carrier oil before adding it to the big bowl of dry ingredients. This helps the color spread out more evenly and really pop.
Once you've mastered a single-color bath bomb, you can start playing around with more advanced designs. These techniques look super impressive but are surprisingly easy to pull off.
For a cool layered effect, mix up smaller batches of your bath bomb mixture, each with a different color. Carefully spoon one colored layer into your mold, pat it down gently, and then add the next one right on top.
To get that gorgeous marbled or swirled look, make two or more different colored mixtures. Lightly drop spoonfuls of each color into the mold halves, alternating them kind of randomly. When you press the two halves together, the colors will blend just enough to create a beautiful, organic pattern.
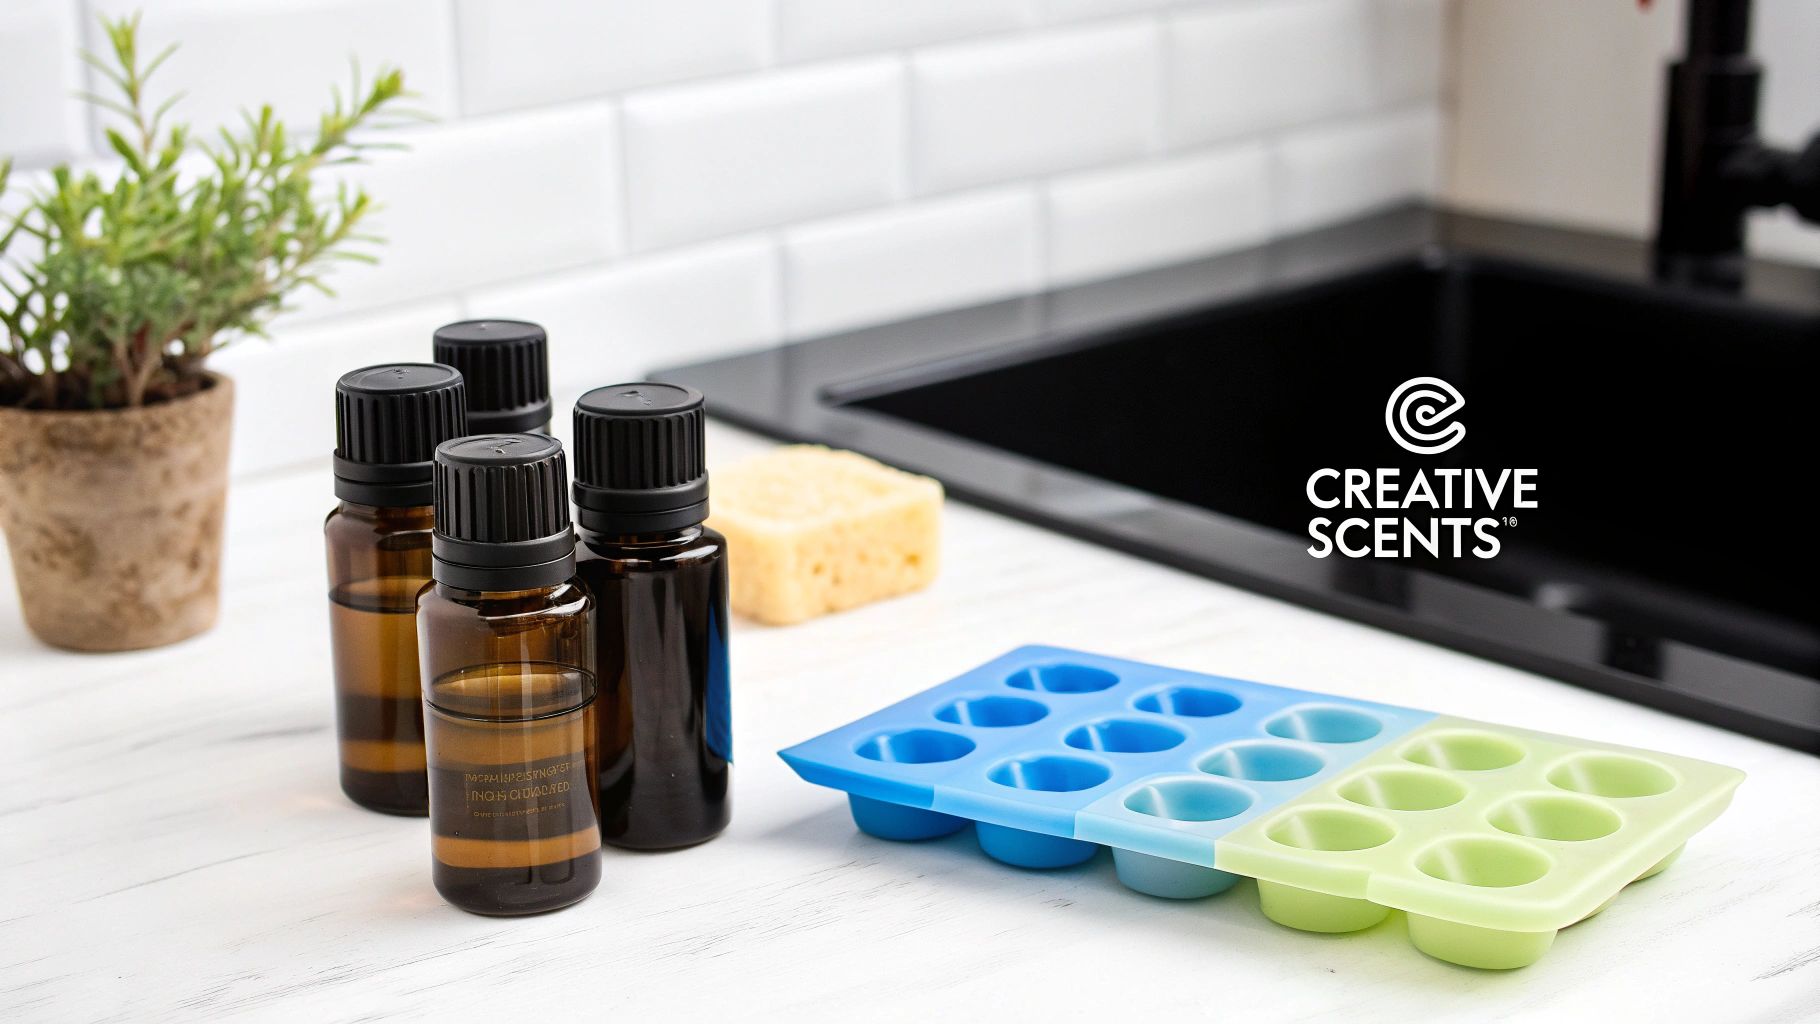
Picking the right scent is everything when it comes to setting the mood for your bath. For a truly natural and therapeutic experience, essential oils are the way to go. Blending them is where you can really let your creativity shine. If you need some ideas to get started, our guide on the top scents for bath bombs has some fantastic inspiration.
Here are a few popular combinations to try:
When you're ready to add your essential oils, a good rule of thumb is about 20-25 drops for a batch that makes 8-10 bath bombs. Always, always mix them into your carrier oil first—this makes sure they're properly diluted and distributed evenly throughout the entire mixture.
So, you've got the classic recipe down pat. You're feeling confident, and now you're probably asking yourself, "What's next?" This is where the real fun begins.
Moving past the basics lets you create boutique-quality bath bombs that feel just as good as they look. We're talking about introducing new, luxurious ingredients that transform your homemade fizzies into deeply nourishing spa treatments. These are the recipes you save for special gifts or for those evenings when you really need to pamper yourself.
This push toward custom, high-end bath products isn't just a hunch; it's what people are looking for. While the synthetic bath bomb market held about 60% of the market share in 2023, the real buzz is around customized, top-shelf alternatives. According to Grand View Research, millennials especially are driving the demand for unique, personalized bath experiences.
To help you get started, here's a quick look at how these more advanced recipes stack up against the classic version you've already mastered.
This table breaks down the key differences between our foundational recipe and the two luxurious versions we're about to dive into. You can see how a few ingredient swaps completely change the game.
| Feature | Classic Recipe | Luxe Moisturizing Recipe | Herbal Infusion Recipe |
|---|---|---|---|
| Primary Goal | Fizzy, fun, and fragrant bath experience. | Deep skin hydration and a silky feel. | Therapeutic, aromatic, and visually stunning. |
| Key Ingredients | Baking soda, citric acid, Epsom salt, carrier oil. | Adds rich butters like shea or cocoa butter. | Incorporates dried botanicals like lavender or rose. |
| Complexity | Beginner-friendly and straightforward. | Intermediate; requires melting and careful mixing. | Intermediate; requires balancing botanicals. |
| Final Effect | A simple, enjoyable soak. | A decadent, skin-softening treatment. | A natural, spa-like escape with gentle aroma. |
As you can see, the luxe and herbal recipes are all about elevating the experience, adding layers of skin benefits and visual appeal to your creations.
If dry skin is your enemy, consider this recipe your secret weapon. By bringing rich butters like shea or cocoa butter into the mix, you create a bath bomb that does more than just fizz. It literally melts into the water, releasing an ultra-hydrating blend that leaves your skin feeling silky and moisturized long after you've toweled off.
The trick to getting this right is all in how you handle the butter.
A classic mistake is adding the butter while it's still piping hot. This can make your mixture clumpy or, even worse, prematurely activate the citric acid. Let it cool down a bit—just enough that it's still liquid but not steaming—before you start pouring.
It’s an extra step, but trust me, it’s completely worth it for that decadent, skin-softening result.
For a bath bomb that’s as therapeutic as it is beautiful, nothing beats adding dried botanicals. Think lavender buds, delicate rose petals, calendula flowers, or chamomile. Not only do they look gorgeous suspended in the bath bomb, but they also release their gentle, natural aromas as it fizzes away.
Adding these botanicals is a delicate dance, though. If you get too carried away, they can weaken the bath bomb's structure, causing it to crumble before it ever sees the tub.
Here’s the golden rule to get it right: use no more than 1-2 teaspoons of dried herbs for every cup of your dry mixture. Gently fold them in at the very last second, right before you mix in the citric acid. This technique minimizes breakage and makes sure they're scattered beautifully for a rustic, artisan look. These additions are what create some of the best bath bomb recipes for a truly authentic, spa-like soak.
Even the most experienced bath bomb makers have a batch that just refuses to cooperate. It's a frustrating moment, but trust me, it's a completely normal part of the learning process.
The good news is that most of these mishaps boil down to one single culprit: moisture.
Getting the moisture content just right is the most critical skill you'll master. If it's too dry, your creations will crumble into a sad pile of dust. Too wet, and they’ll expand, crack, or fizz out before ever hitting the tub. Think of this as your personal cheat sheet for saving your next batch from disaster.
You’ve packed your mold perfectly, feeling pretty good about it. Then, the moment you try to release your bath bomb, it falls apart. This almost always means your mixture is too dry. It just doesn’t have that little bit of liquid needed to bind everything together into a solid, durable shape.
Luckily, the fix is surprisingly simple. Grab a small spray bottle filled with witch hazel or distilled water. Lightly spritz the mixture once or twice while you keep mixing. Test the consistency by squeezing a handful. When it holds its shape like damp sand, you’ve nailed it.
My personal pro-tip is to always add less liquid than you think you need at first. You can always add a tiny bit more, but you can’t easily take it away. Start slow, and you'll avoid most moisture-related headaches from the get-go.
What if your bath bombs look amazing coming out of the mold, but then develop cracks or strange little bumps as they dry? This is often a sign that your drying environment is too humid, which is causing a slow, unwanted reaction.
To combat this, find a cool, dry place for your bath bombs to cure. A room with a dehumidifier is your best bet, but a quiet shelf away from steamy bathrooms or kitchens works well, too. Good air circulation is the secret to a smooth, professional finish. If you want to get into the science of it, you can explore more about how bath bombs work and the role moisture plays.
Hearing that dreaded fizzing sound while you’re still mixing is a heart-sinking moment for any crafter. It means you've added your wet ingredients too quickly, kicking off the chemical reaction between the baking soda and citric acid way too early.
The only way to prevent this is patience. Drizzle your liquid mixture into the dry ingredients drop by drop, whisking constantly as you go. This slow, methodical approach ensures the liquids are fully incorporated without activating the fizz. I know it feels tedious at first, but this single step is what separates amateur attempts from the best, most beautiful bath bombs.
Jumping into the world of DIY bath bombs is a ton of fun, but it's totally normal to have questions pop up, especially when you're just starting out. Whether you're trying to figure out a batch that went a little sideways or you're just curious about the nitty-gritty details, getting good answers is everything.
We’ve pulled together some of the most common questions crafters have to help you get your technique down perfectly. Getting that moisture balance just right can feel more like an art than a science at first, but with a few tips, you'll get the hang of it in no time.
This is the number one question, and it almost always comes down to a moisture issue. If your mixture is too dry, it won't have enough liquid to bind everything together and hold its shape. A quick spritz of witch hazel from a spray bottle is your best friend here. Just keep adding a little at a time until the texture feels like damp sand.
On the other hand, if your bath bombs are cracking after you've molded them, you might have the opposite problem: too much humidity in the air. This can cause a slow, unwanted reaction while they're trying to dry. Try moving them to a room with better air circulation or even using a dehumidifier to help them cure into a smooth, solid finish.
For the absolute best fizz and strongest scent, you'll want to use your homemade creations within about six months. As time goes on, the baking soda and citric acid can start pulling moisture from the air, which really kills their fizzy power.
Proper storage is the secret to making them last.
The big takeaway here is to protect your bath bombs from their worst enemy: moisture. An airtight container tucked away in a dry closet is a way better home for them than an open basket on the bathroom counter.
You sure can, but just know that the iconic fizz won't be nearly as dramatic. The most common substitute is cream of tartar. If you go this route, you'll want to use a 2:1 ratio of baking soda to cream of tartar.
While it's a decent alternative if you're in a pinch, citric acid is what really creates that super satisfying, powerful fizz everyone loves. If you're going for that boutique-quality experience, sticking with citric acid is definitely the way to go.
Ready to turn your bath into a treasure hunt? At Jackpot Candles, we hide a surprise piece of jewelry inside our luxurious bath bombs and scented soy candles. Explore our collection and add a little sparkle to your soak at https://www.jackpotcandles.com.
Comments will be approved before showing up.