free shipping at $99


Before we jump into how to clean your sterling silver, it helps to know why it loses its shine in the first place. That dark, dull layer isn't dirt—it's tarnish, a completely natural chemical reaction between the silver alloy and sulfur compounds floating around in the air.
Once you understand what's causing the tarnish, you can pick the right cleaning method and do a much better job of keeping your jewelry sparkling for longer.
Have you ever pulled on a favorite wool sweater, only to notice your silver necklace looks a bit dull later? Or maybe you've found a ring you forgot about, and it's turned almost black in its jewelry box? That discoloration is tarnish, and it’s a natural process that happens to all sterling silver.
Here's the thing: sterling silver isn't 100% pure silver. It's actually an alloy, which is a mix of metals. It’s typically made of 92.5% silver and 7.5% other metals, usually copper.
Adding copper is what makes sterling silver strong and durable enough for jewelry. But it's also the main reason it tarnishes. The copper in the alloy reacts with sulfur-containing gases in our atmosphere, which creates that dark layer of silver sulfide on the surface.
This chemical reaction gets a major speed boost from things you encounter every single day. Knowing what they are is your first line of defense.
Some of the most common culprits are:
It's pretty simple science: the more sulfur there is in the environment, the faster your silver will tarnish. This explains why a piece of jewelry might tarnish way faster in a bustling city than out in a rural area.
The speed at which your jewelry tarnishes can change dramatically just based on where you live.
One scientific study actually mimicked different atmospheric conditions from around the world. It found that sterling silver tarnished at completely different rates and intensities depending on the level of sulfur-containing pollutants in the air. So, things like industrial pollution and local air quality have a direct impact on how often you'll need to polish your silver.
Understanding what causes tarnish helps you protect your precious items. It’s a bit like knowing how Jackpot Candles hides a surprise piece of jewelry inside—once you know the secret, you can enjoy the experience even more.
When your sterling silver is just a little dull or you're doing some routine maintenance, you don't need to break out the heavy-duty chemicals. Honestly, the gentlest methods are often the most effective for light tarnish. They keep your pieces beautiful without causing any unnecessary wear and tear.
The best part? You probably have everything you need already sitting in your kitchen.
Your safest bet and the best place to start is a simple bath using warm water and a few drops of a mild, phosphate-free dish soap. This is my go-to for pieces I wear all the time that have collected skin oils, lotion, or just everyday dust.
Think of it as a quick refresh for your favorites.
All you need is a small bowl, your soap, and a soft cloth.
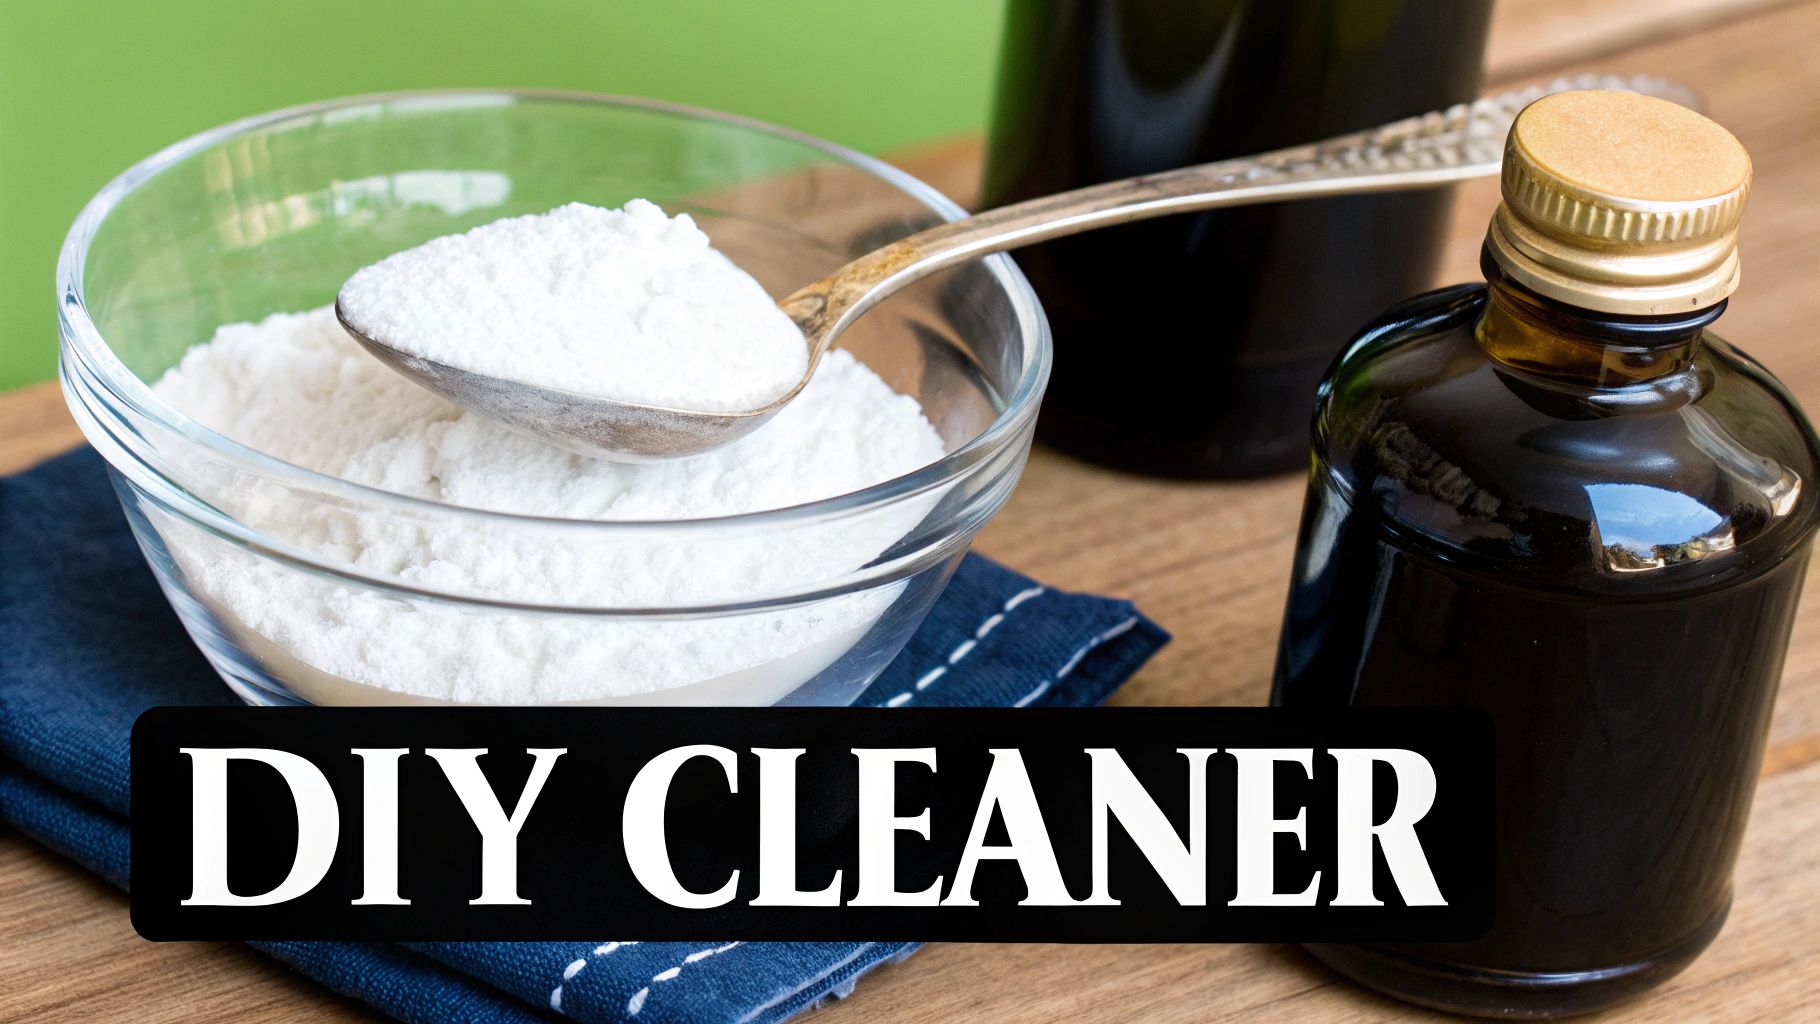
Need a bit more cleaning power but still want to play it safe? A baking soda paste is your best friend. This is what I use for those slightly more stubborn tarnish spots that a soap bath just won't lift.
The key is getting the consistency just right. You’re aiming for a smooth, thin slurry—not a gritty, dry paste. I've seen people make the mistake of using too much baking soda, which can actually be abrasive and scratch the silver.
A good rule of thumb is to mix about two parts baking soda with one part water. You want a loose, creamy paste that spreads easily without feeling gritty.
Use a soft microfiber cloth or a cotton swab to apply the paste, especially for smaller, intricate areas. Instead of rubbing in aggressive circles (which can leave micro-scratches), use gentle, straight, back-and-forth motions. Try to follow the grain of the silver if you can see one.
Once the tarnish has vanished, rinse the piece thoroughly under warm water. You have to get every last bit of the baking soda paste off, as any residue can dull the finish later.
And for the final, non-negotiable step: dry it completely with a soft cloth. Trust me, letting it air dry is just asking for water spots and new tarnish to form.
While we're focused on sterling silver here, many of these gentle techniques work for all kinds of silver. If you want to learn more, there's a great guide on how to clean silver jewelry at home with easy tips and tricks. Mastering these simple upkeep methods will make a huge difference and cut down on how often you need to do a major deep clean.
When your sterling silver goes beyond a little dull and enters the realm of dark, stubborn tarnish, a simple soap-and-water wash just isn't going to cut it. For those seriously tarnished pieces—maybe a set of flatware you found at a flea market or a necklace that's been hiding at the bottom of a jewelry box—you need a more powerful approach.
Good news: one of the most effective methods uses a few common household items and a little kitchen science. It’s a hands-off process that relies on a chemical reaction, not a ton of elbow grease. You’ll create a special cleaning bath with aluminum foil, washing soda, and hot water. This is perfect for cleaning several items at once.
First things first, let’s get your supplies in order. This graphic breaks down exactly what you’ll need for this deep-cleaning method.
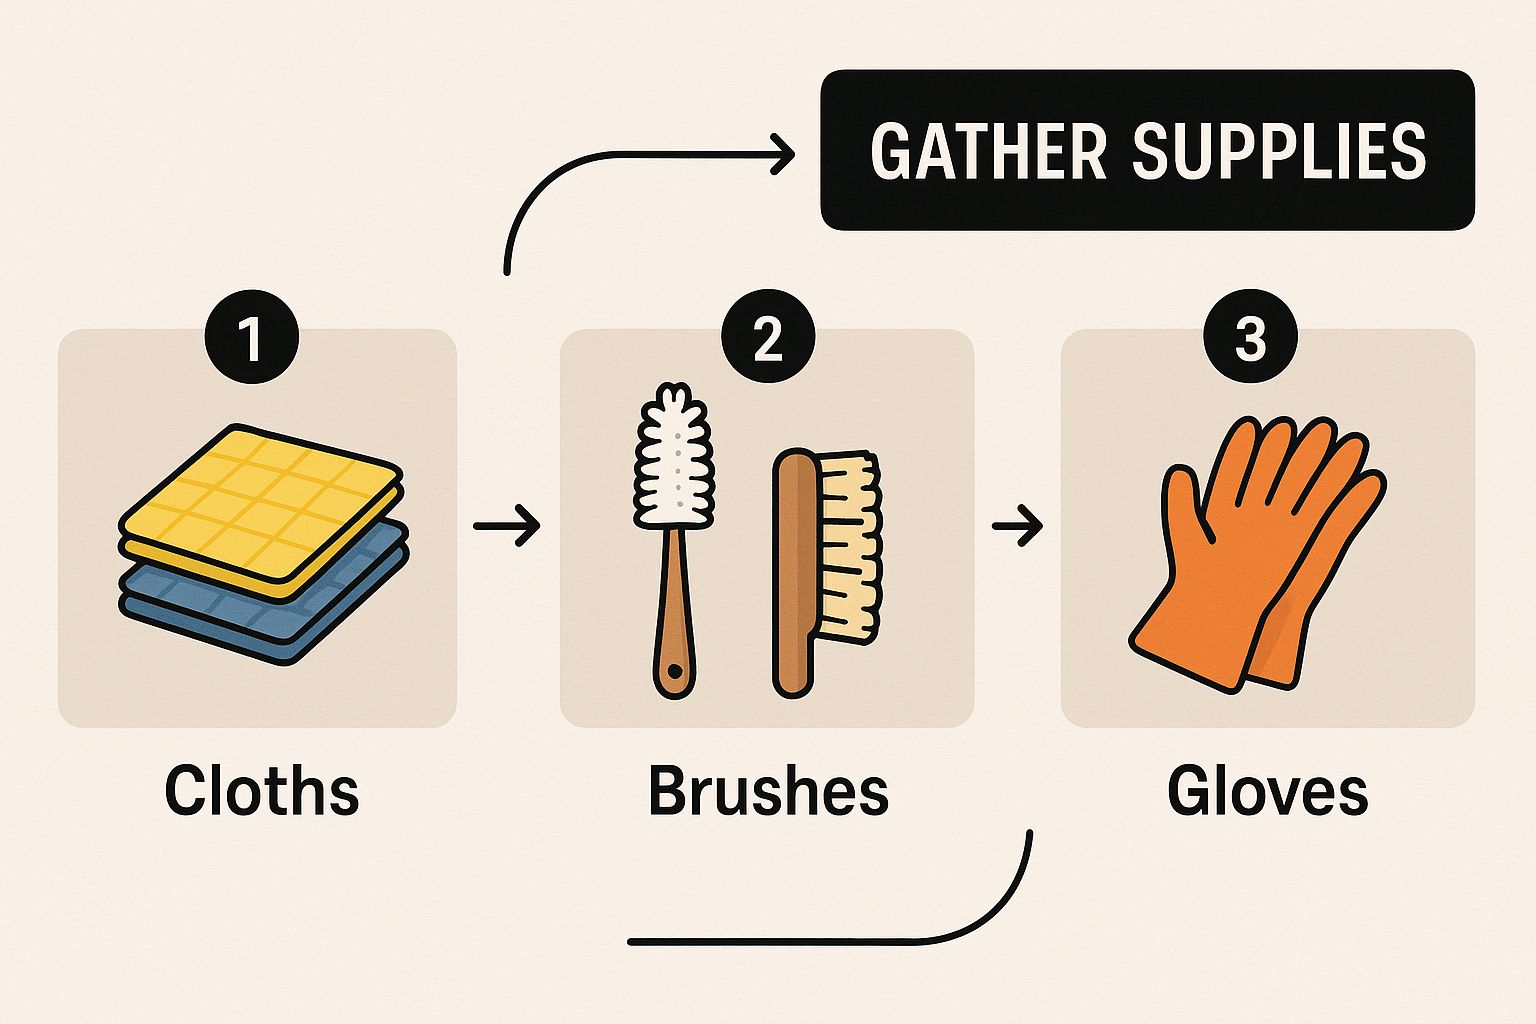
Having everything ready before you start makes the whole thing go smoothly. No last-minute scrambling!
Grab a non-metallic bowl or dish; glass or ceramic is perfect for this. Line the entire inside with a sheet of aluminum foil, making sure the shiny side is facing up. It's really important that your silver pieces can touch the foil directly later on.
Next, heat some water until it's nearly boiling, then let it cool down just a bit. You're aiming for a sweet spot around 50-60°C (120-140°F). Water that’s scorching hot can be a little harsh on delicate items, but you need it hot enough to dissolve the washing soda and get the reaction going.
Pour the hot water into your foil-lined bowl. Add about one tablespoon of washing soda (that’s sodium carbonate) for every cup of water you use. Give it a good stir until it’s all dissolved. Quick tip: don't accidentally grab the baking soda! While it’s great for a gentle polish, washing soda is more alkaline and is the key ingredient for this specific chemical process.
Heads Up: This method creates a slight sulfur smell (think rotten eggs). Don't panic! It’s a totally normal sign that the reaction is working its magic on the tarnish. Just make sure you do this in a well-ventilated space, maybe near an open window.
This electrochemical cleaning method is a favorite because of how well it works. The silver touches the aluminum in a hot washing soda bath, which creates an electrolyte solution. This solution chemically converts the tarnish (silver sulfide) back into silver. Research from the Canadian Conservation Institute on silver care highlights that this technique can clean multiple items in less than 30 minutes without any scrubbing.
Now for the fun part. Gently place your tarnished sterling silver into the solution. Make sure every single piece is touching the aluminum foil somewhere. You should start to see the tarnish literally fade away within minutes.
Let your pieces soak for anywhere between 5 and 15 minutes, depending on how heavy the tarnish is.
Once the silver looks bright and clean, use tongs to carefully pull the items out. Rinse them really well under cool running water, and immediately dry them completely with a soft, lint-free cloth. You might notice the silver has a slightly matte or dull look to it—this is a common result of the chemical reaction.
No worries, though. To bring back that brilliant sparkle, just give each piece a quick buff with a silver polishing cloth. This final step only takes a moment and restores that beautiful, mirror-like shine you're after.
When we talk about bringing back the sparkle to our silver, it's easy to lump "cleaning" and "polishing" together. But they're two very different beasts. Cleaning gets rid of the everyday dirt and grime. Polishing, on the other hand, is all about restoring that brilliant, mirror-like shine by removing a microscopic layer of the silver itself.
Think of it as a refinishing step. Understanding this is the key to making sure your favorite pieces last a lifetime. Going too hard with an aggressive polish can slowly wear down delicate engravings or intricate details. That's why picking the right method for the job is so important—sometimes, a simple cloth is all you need.
The world of silver polishes really boils down to two main camps: abrasive and non-abrasive.
Abrasive polishes are the heavy hitters. They come as creams, pastes, or liquids packed with tiny, hard particles that physically scrub away the top layer of tarnished metal. These are fantastic for getting fast, dramatic results on a piece that's seriously oxidized.
Non-abrasive options, like those specially treated polishing cloths, work much more gently. Instead of scrubbing, they use chemical cleaning agents to lift the tarnish without scratching the surface. This makes them perfect for routine touch-ups and keeping your most-worn pieces looking their best.
So, how do you choose? It all comes down to the piece itself. For a delicate, antique family heirloom, a gentle, non-abrasive cloth is your safest bet. But for a simple, modern bracelet that's turned almost black, a quality abrasive polish might be exactly what you need to bring it back to life.
Polishing always removes a tiny amount of metal. The real goal is to use the least aggressive method that gets the job done. That’s how you preserve the fine details and integrity of your sterling silver for years to come.
To make it even clearer, let's break down the most common methods you'll encounter. This should help you decide which approach is right for your specific situation.
| Method | Best For | Pros | Cons |
|---|---|---|---|
| Polishing Cloth | Routine maintenance, lightly tarnished items, delicate pieces. | Very gentle, non-messy, great for quick touch-ups. | Not effective for heavy tarnish or deep crevices. |
| Abrasive Cream/Paste | Heavily tarnished, sturdy pieces without intricate details. | Highly effective, restores shine quickly. | Can cause micro-scratches, removes a layer of silver. |
| Chemical Dip | Intricate pieces with hard-to-reach areas. | Fast and requires no rubbing. | Harsh chemicals, can damage porous stones, can strip patina. |
| Baking Soda Paste | Gentle cleaning of light tarnish (not for vigorous polishing). | DIY, inexpensive, non-toxic. | Can be abrasive if rubbed too hard or used dry. |
Ultimately, having a good polishing cloth on hand is essential for any silver owner. For bigger jobs, a high-quality cream polish is a great tool, but always remember to start gently.
My caution about material loss isn't just me being overly careful. Researchers have looked into this pretty extensively. A study from the Getty Conservation Institute evaluated different abrasive materials and confirmed that the more aggressive ones work fast but at a cost—they literally remove silver along with the tarnish, leaving behind scratches and diminishing the object's value over time.
You can read the nitty-gritty details on the impact of abrasives on silver if you're curious. This is exactly why museum conservators are so careful, always opting for the lowest-abrasion methods possible. Their goal is to keep silver loss to mere fractions of a micrometer, ensuring priceless artifacts are preserved for generations.
When you're learning how to clean sterling silver, knowing what not to do is just as critical as knowing what works. A lot of household "hacks" floating around online can cause permanent damage.
Definitely steer clear of these common culprits:
By choosing your polishing method with a little care and knowledge, you won't just bring back that incredible shine. You'll be ensuring your cherished silver pieces stay beautiful for many years to come.
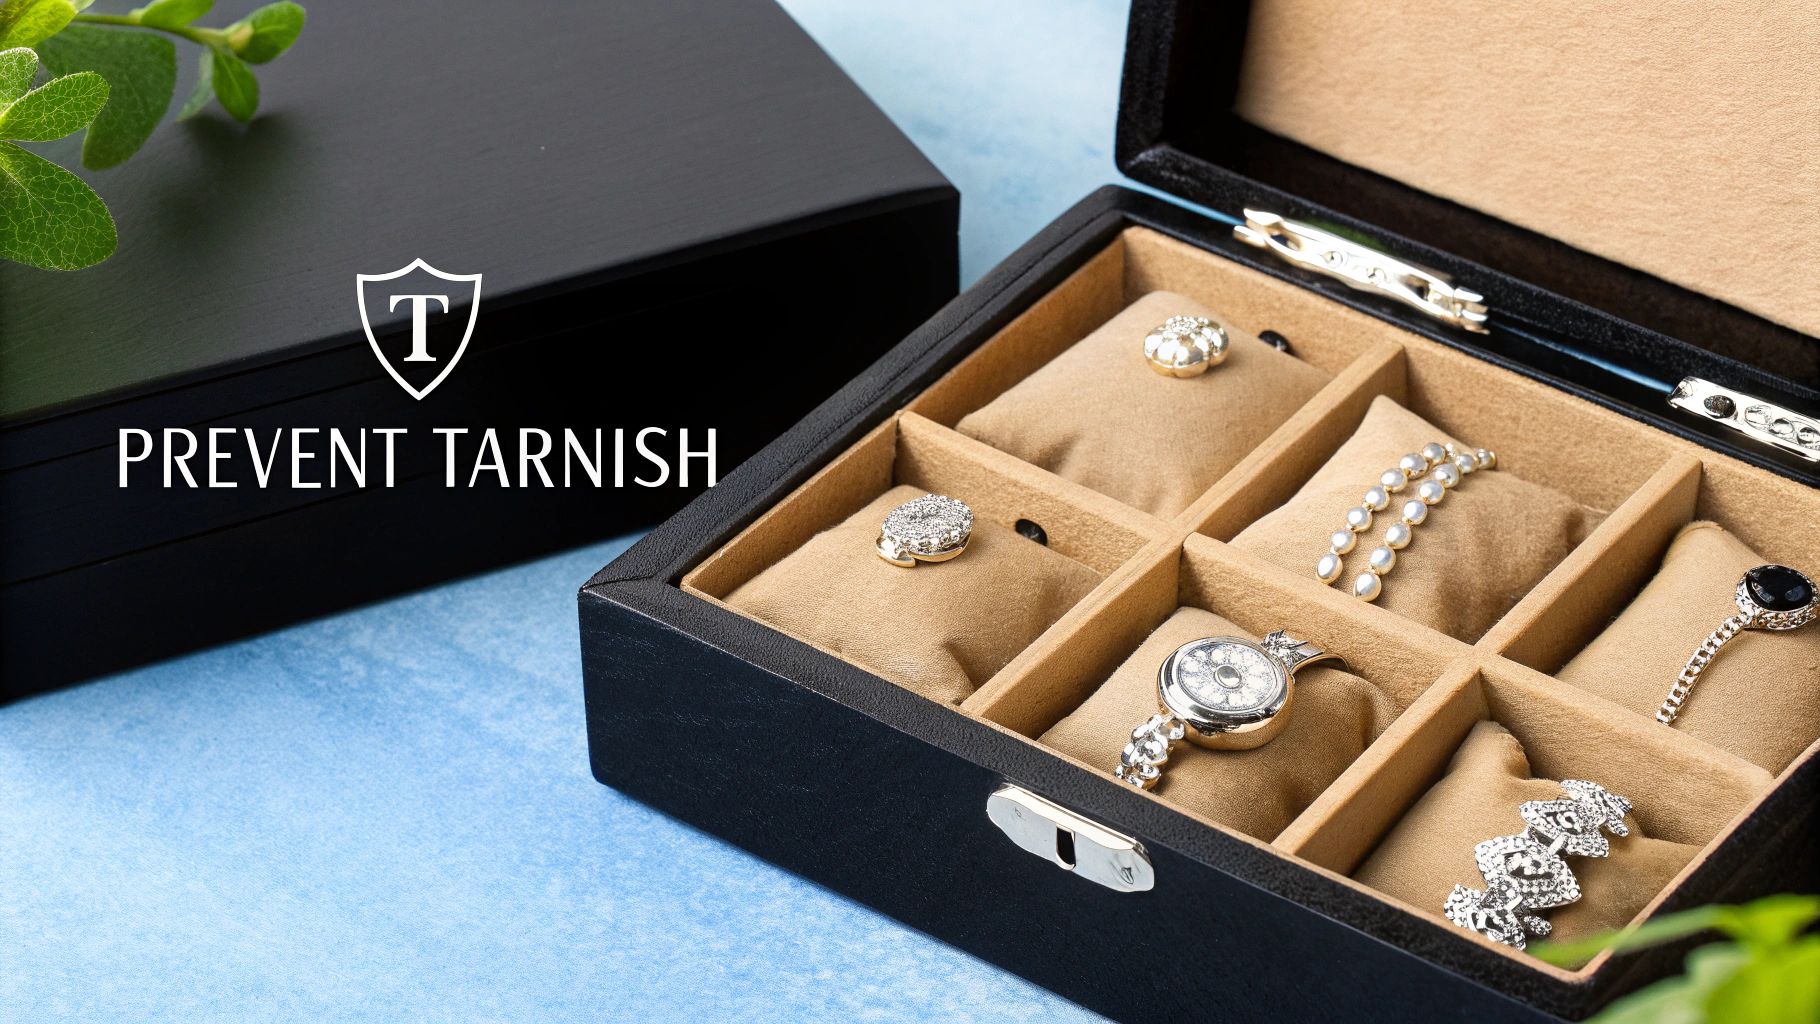
Getting your sterling silver to sparkle is a great feeling, but the real win is keeping it that way. The secret? Preventing tarnish before it even starts. It all comes down to smart storage and a few simple daily habits that will seriously cut down on how often you need to do a deep clean.
Your best defense against tarnish is proper storage. The main culprits are sulfur and humidity in the air, so your goal is to limit your silver’s exposure to them as much as possible.
The perfect spot for your silver is cool, dark, and dry. Leaving your favorite pieces out on a dresser or, even worse, in a steamy bathroom is asking for tarnish to appear. You want to create a sealed-off environment instead.
Also, make sure you're keeping each piece separate so they don't scratch each other. A soft pouch or even a small piece of acid-free tissue paper does the trick perfectly.
One of the biggest mistakes you can make is storing silver in a cardboard box or wrapping it with rubber bands. Both release sulfur compounds that will aggressively speed up tarnishing, leaving your jewelry looking much worse than before.
How you wear your jewelry every day plays a huge role, too. All those chemicals in our cosmetics, lotions, and perfumes are notorious for speeding up the tarnish process. The best way to think about it is that your jewelry should be the final touch.
Get into the habit of putting on your sterling silver pieces after you’ve applied all your lotions, makeup, and hairspray. This "last on, first off" rule is so simple but makes a massive difference over time by creating a barrier between the silver and those harsh chemicals.
Along the same lines, always take your jewelry off before swimming, showering, or even doing the dishes to protect it from moisture and cleaning agents. And if you’re a fan of a relaxing bath, you might be curious about the story behind our jewelry-revealing bath bombs. They're the perfect addition to a self-care routine—just make sure you set your silver aside first! These little routines are truly the foundation of keeping your silver beautiful.
Even when you've got the best techniques down, a few questions always seem to pop up when you're learning how to clean sterling silver. Getting those answers straight helps you take care of your jewelry with confidence and, more importantly, without causing any accidental damage. Let's dig into some of the most common ones.
One of the biggest myths you'll see everywhere online is using toothpaste as a quick polish. Please don't do this! While it might seem like a clever hack, it's actually one of the worst things you can do for your silver.
Most toothpastes are packed with tiny abrasive particles, like silica, which are designed to scrub tough enamel on teeth. Those same particles are way too harsh for the soft surface of sterling silver. They'll leave behind a web of microscopic scratches, permanently dulling the finish and ruining its beautiful shine over time.
This is a great question, and the honest answer is: it depends. Your lifestyle, where you live, and even how you store your jewelry all play a part. There isn't a single magic number, but a few simple guidelines can help you figure out a routine that works for your collection.
If you have pieces you wear every single day, getting into the habit of giving them a quick wipe with a soft polishing cloth when you take them off is a game-changer. This little step removes skin oils and moisture before they even have a chance to react with the metal and start the tarnishing process.
For a deeper clean, a gentle wash with mild soap and water every few weeks can prevent any grime from building up. If you have pieces you wear less often or are just starting to see a faint yellow tint, a more thorough cleaning every few months should be more than enough to keep them sparkling.
The real secret is to tackle tarnish the moment you spot it. A little bit of light tarnish is always way easier to remove than heavy, dark oxidation that’s been sitting there for months.
This is where you need to slow down and be extra careful. While the sterling silver setting itself is pretty tough, many gemstones are incredibly sensitive to chemicals, heat, and even vigorous scrubbing. You simply can't treat a ring with a delicate pearl the same way you'd clean a solid silver chain.
Here are a few key things to always keep in mind:
Knowing your jewelry is part of the fun of owning it. To really appreciate your pieces and care for them correctly, it helps to have a good grasp of understanding hallmarks on silver, which can tell you about their authenticity and origin. This knowledge, paired with the right cleaning habits, ensures your whole collection stays gorgeous, whether it’s a family heirloom or an amazing surprise from one of our jewelry ring candle reveals.
Comments will be approved before showing up.