free shipping at $99


Making your own bath bombs is a wonderfully simple and creative process. At its core, you're just combining dry ingredients like baking soda and citric acid with wet ones like oils and fragrance, then packing the whole thing tightly into a mold. But the real joy comes from turning those basic pantry items into a luxurious, spa-like experience where you have complete control over every scent and color.
Welcome to the wonderfully fizzy world of homemade bath bombs! If you're ready to elevate your self-care routine, you're in the perfect spot. Forget the pricey store-bought options—we're going to pull back the curtain and show you just how easy it is to craft fragrant, fizzy treats that are every bit as good as the ones you can buy.
What's really incredible is the freedom you get. You're the one calling the shots on every single ingredient that goes into your creation.
This isn't just about making something; it's about the fun experience of creating it with your own two hands. The demand for personalized bath products is through the roof. The global bath bomb market was valued at around USD 1.99 billion and is only expected to grow, all thanks to people wanting more natural ingredients and custom options.
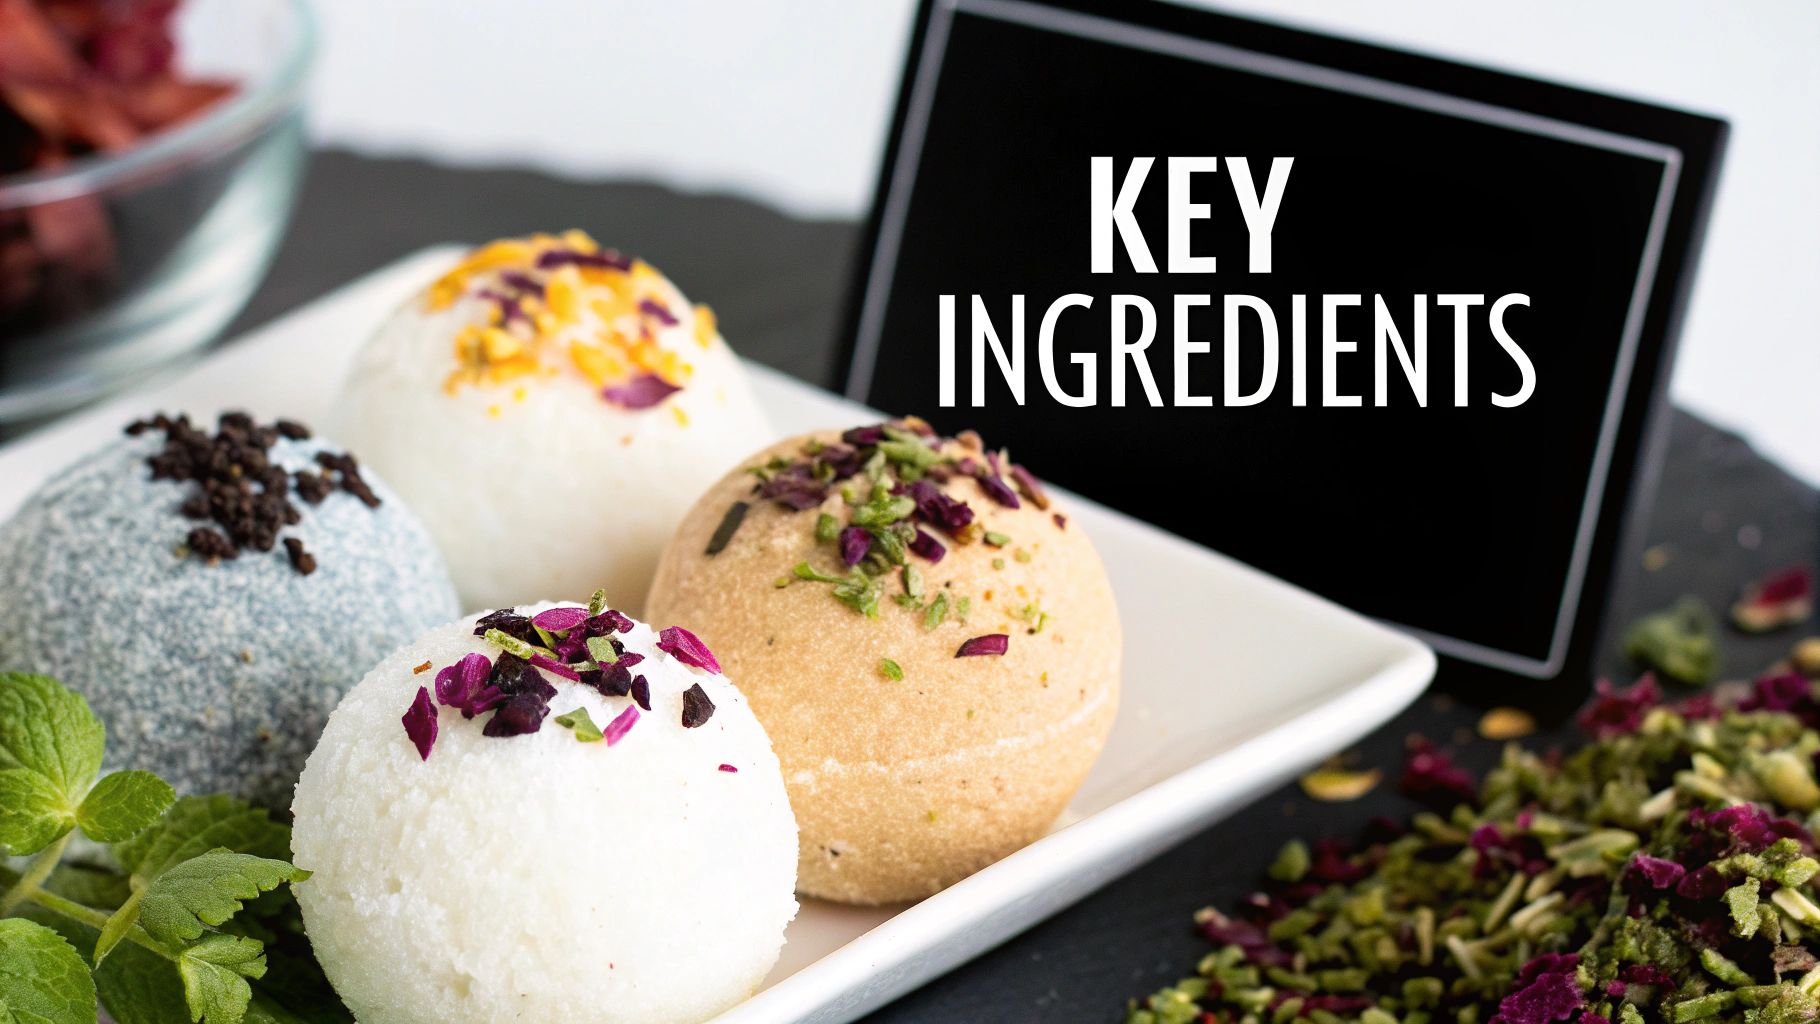
The magic really happens when you take a simple mixture of baking soda and citric acid and infuse it with your own personality. Adding unique scents, colors, and botanicals is how you turn an ordinary bath into an extraordinary escape.
Our guide breaks down every step, making sure you have a solid foundation before you even pick up a mixing bowl. If you're hungry for more ideas or want to check out different techniques, you can explore our other resources on how to make your own bath bombs for extra tips. Get ready to dive into a fun, rewarding new project.
Before diving in, let's get your arsenal of ingredients and supplies ready to go. Trust me, getting everything organized first is the secret to a smooth, fun crafting session. Think of it like baking a cake—you wouldn't start cracking eggs without having your flour and sugar measured out, right?
The heart and soul of any great bath bomb is the dry ingredient mix. This is where that satisfying, signature fizz comes from.
These two are the non-negotiables for that authentic bath bomb experience. You'll generally want to stick to a 2:1 ratio, using twice as much baking soda as citric acid.
To make things even easier, here's a quick reference table for the must-have ingredients and what they actually do.
| Ingredient | Category | Primary Function |
|---|---|---|
| Baking Soda | Dry | Creates the alkaline base that powers the fizz. |
| Citric Acid | Dry | Reacts with baking soda in water to produce effervescence. |
| Carrier Oil | Wet | Binds powders and adds skin-nourishing moisture. |
| Witch Hazel | Wet | Lightly moistens the mix for molding without premature fizzing. |
Having these four core ingredients on hand means you're always ready to whip up a basic, yet wonderful, batch of bath bombs.
Next up are your wet ingredients, which bind the powders into a moldable, damp-sand consistency. These aren't just for holding things together; they can also add some seriously nourishing properties for your skin.
A small amount of liquid binder is crucial here. Witch hazel or rubbing alcohol in a spray bottle is perfect because you can add it gradually without setting off the fizzing reaction too early. You’ll also want a good carrier oil.
Pro Tip: Don't oversaturate your mixture! The goal is a texture like damp sand that just barely clumps when you squeeze it in your hand. Too much liquid will trigger the fizzing before you've even molded your bombs.
Nourishing oils like coconut oil, almond oil, or even shea butter add a moisturizing touch that leaves skin feeling soft and supple. They also help create a harder, more durable bath bomb once it's dry. Just a tablespoon or two is usually all you need to get the job done.
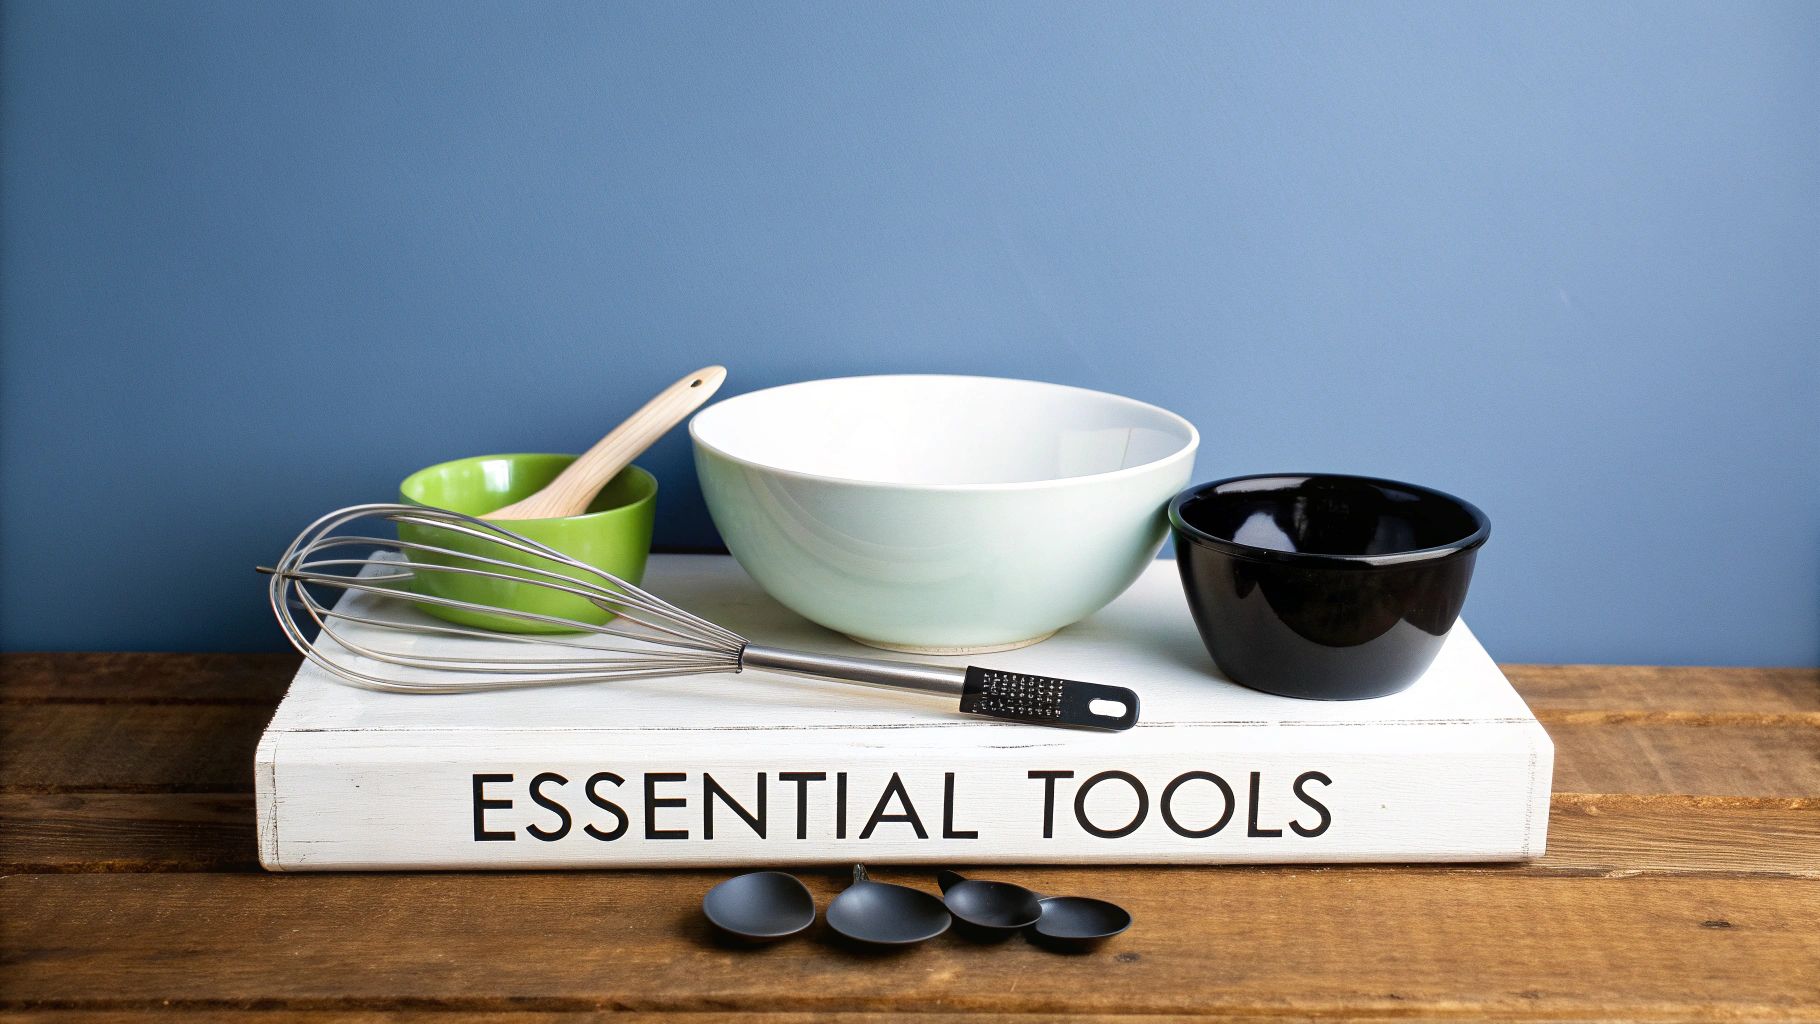
You really don't need fancy, expensive equipment to make amazing bath bombs at home. Most of what you need is probably already in your kitchen. Having these items ready will save you from scrambling around later.
Here's a quick checklist of the essentials:
With your ingredients measured out and your tools laid out, you are perfectly prepped for the fun part. This simple bit of organization makes sure the actual mixing and molding is fast, fun, and totally frustration-free. Now, you’re ready to start combining these elements to create something truly special.
This is where the magic really starts to happen—the moment your carefully measured ingredients transform from simple powders into a perfect bath bomb. Getting the technique right here is what separates a crumbly mess from a beautiful, fizzing sphere. Let's get our hands dirty and walk through how to expertly mix and mold your creations.
First things first, let's tackle the dry ingredients. In a big bowl, combine your baking soda, citric acid, and any other powders like cornstarch or clays. A whisk is your best friend for this step; it's the only tool that can really break up all those stubborn clumps and get the mixture light and airy. Take your time here! A smooth, well-blended base is the secret to a professional-looking bath bomb without any weird spots.
The infographic below gives you a great visual of the whole workflow.
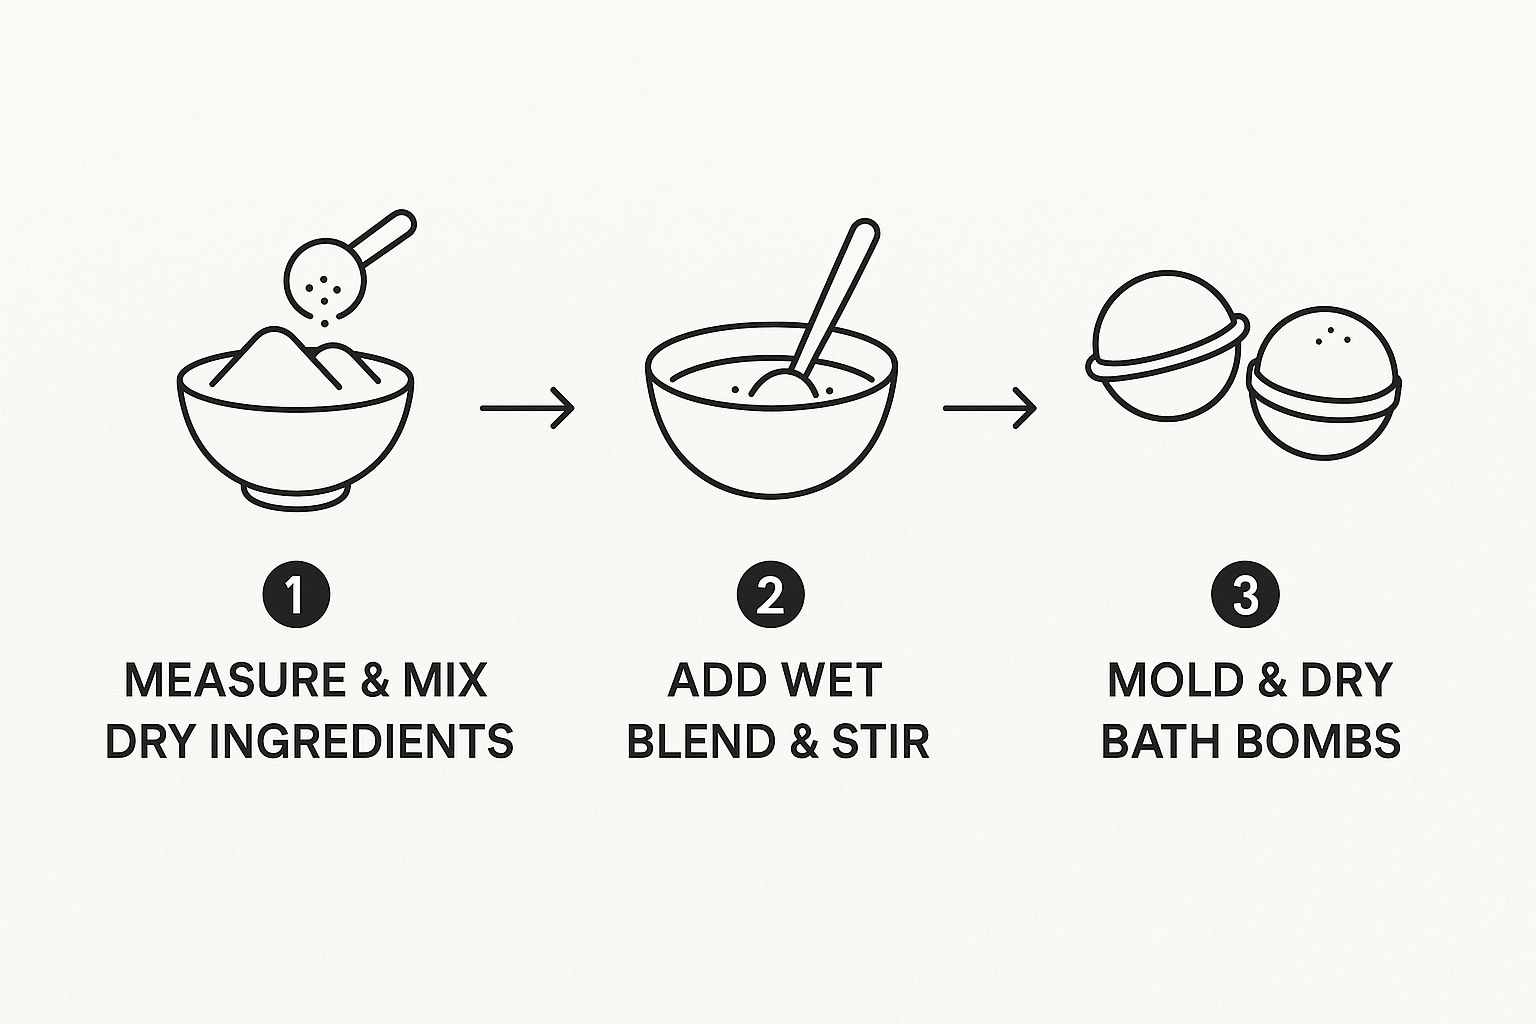
As you can see, it flows from combining the dry stuff, to carefully adding the wet, and finally to the all-important molding and drying stage.
Okay, this is probably the most critical part of the entire process: adding the wet ingredients. In a separate, smaller bowl, mix up your carrier oil, fragrances or essential oils, and any liquid colors. The absolute key to success is adding this liquid blend to your dry mix drop by drop while you keep stirring with a whisk or your hands.
Trust me on this—if you pour it all in at once, you'll set off the fizzing reaction way too early and the whole batch will be a goner.
You're aiming for a texture that feels like slightly damp sand. When you grab a handful and give it a squeeze, it should hold its shape perfectly without crumbling or feeling soggy. Too dry, and it won't pack into the mold. Too wet, and it will puff up and expand right out of it.
Your secret weapon for getting the moisture just right is a small spray bottle filled with witch hazel or rubbing alcohol. If the mix still feels a little too powdery after adding your oils, just give it a few light spritzes and mix it in really well. It’s the perfect way to add just a tiny bit of moisture without kicking off that fizz-fest.
Once your mixture has that perfect damp sand feel, it's time to get molding. It doesn't matter if you're using classic two-part spheres, fun silicone molds, or even cookie cutters—the technique is pretty much the same. You want to overpack them just a little.
Here’s how I do it with the classic sphere molds:
If you’re using single-piece molds like silicone trays, just be sure to press the mixture in firmly, getting it into all the corners. Scrape the top flat for a nice, clean finish.
The goal is always to create a dense, solid bath bomb that will hold its shape while it dries. Let your finished creations air dry in a cool, dry place for at least 24 hours before you even think about handling or wrapping them. Patience is key
Alright, you've nailed the basic recipe. Now for the fun part—making these bath bombs truly yours. This is where you get to play artist and alchemist, transforming a simple fizzing sphere into a personal masterpiece with vibrant colors, incredible scents, and beautiful little extras.
The colors you pick can set the whole mood. You can always keep them their natural, creamy off-white for a simple, elegant look. But if you want to make a real splash, you’ve got some fantastic options.
Mica powders are a go-to for adding brilliant, shimmery color. They blend right into the dry ingredients and can create the most amazing swirls when you use two or more colors in your mold. Just a quick tip: if you're using a lot of mica, add a solubilizer like Polysorbate 80 to keep it from leaving a colorful ring around the tub.
When you want bath bombs with deep, intense color, skin-safe liquid dyes are another amazing choice. Seriously, a few drops go a long way and will give you a deeply saturated, even color throughout the mix.
Here’s a quick rundown of the most common choices:
| Colorant Type | Best For | Pros | Cons |
|---|---|---|---|
| Mica Powder | Shimmer, swirls, painting | Creates beautiful visual effects | Can leave residue without a solubilizer |
| Liquid Dyes | Saturated, even color | Highly concentrated and easy to mix | Can stain hands or surfaces if not careful |
| Natural Clays | Earthy, subtle tones | Adds skin benefits like detoxification | Colors are more muted and less vibrant |
Using natural colorants like rose clay or activated charcoal is a great two-for-one. Not only do they tint your creations with lovely, earthy tones, but they can also add gentle, skin-soothing properties.
Scent is, without a doubt, the heart and soul of the bath bomb experience. This is your chance to create complex, layered aromas by blending different essential oils. Think beyond just single notes and start combining scents to create a specific vibe or feeling.
For a calming, ready-for-bed blend, give this a try:
Need an energizing boost for your morning? An invigorating citrus blend works wonders:
This move toward natural scents is exactly what people are looking for these days. In fact, preferences are shifting in a big way, with about 69% of global consumers saying they prefer bath bombs made from natural or organic ingredients. It’s why so many creators are getting creative with essential oils and plant-based colorants. You can dig into more on this trend by checking out the latest bath bomb market research.
The key to a great scent is balance. Start with just a little bit of oil, mix it in really well, and then add more if you think it needs it. Trust me, it’s much easier to add more fragrance than it is to take it away.
Finally, don’t forget the finishing touches! Adding little extras like dried lavender buds, rose petals, or even biodegradable glitter can give your bath bombs major visual appeal. A small sprinkle on top of the mixture right before you press it into the mold is all it takes to make them look as incredible as they feel.
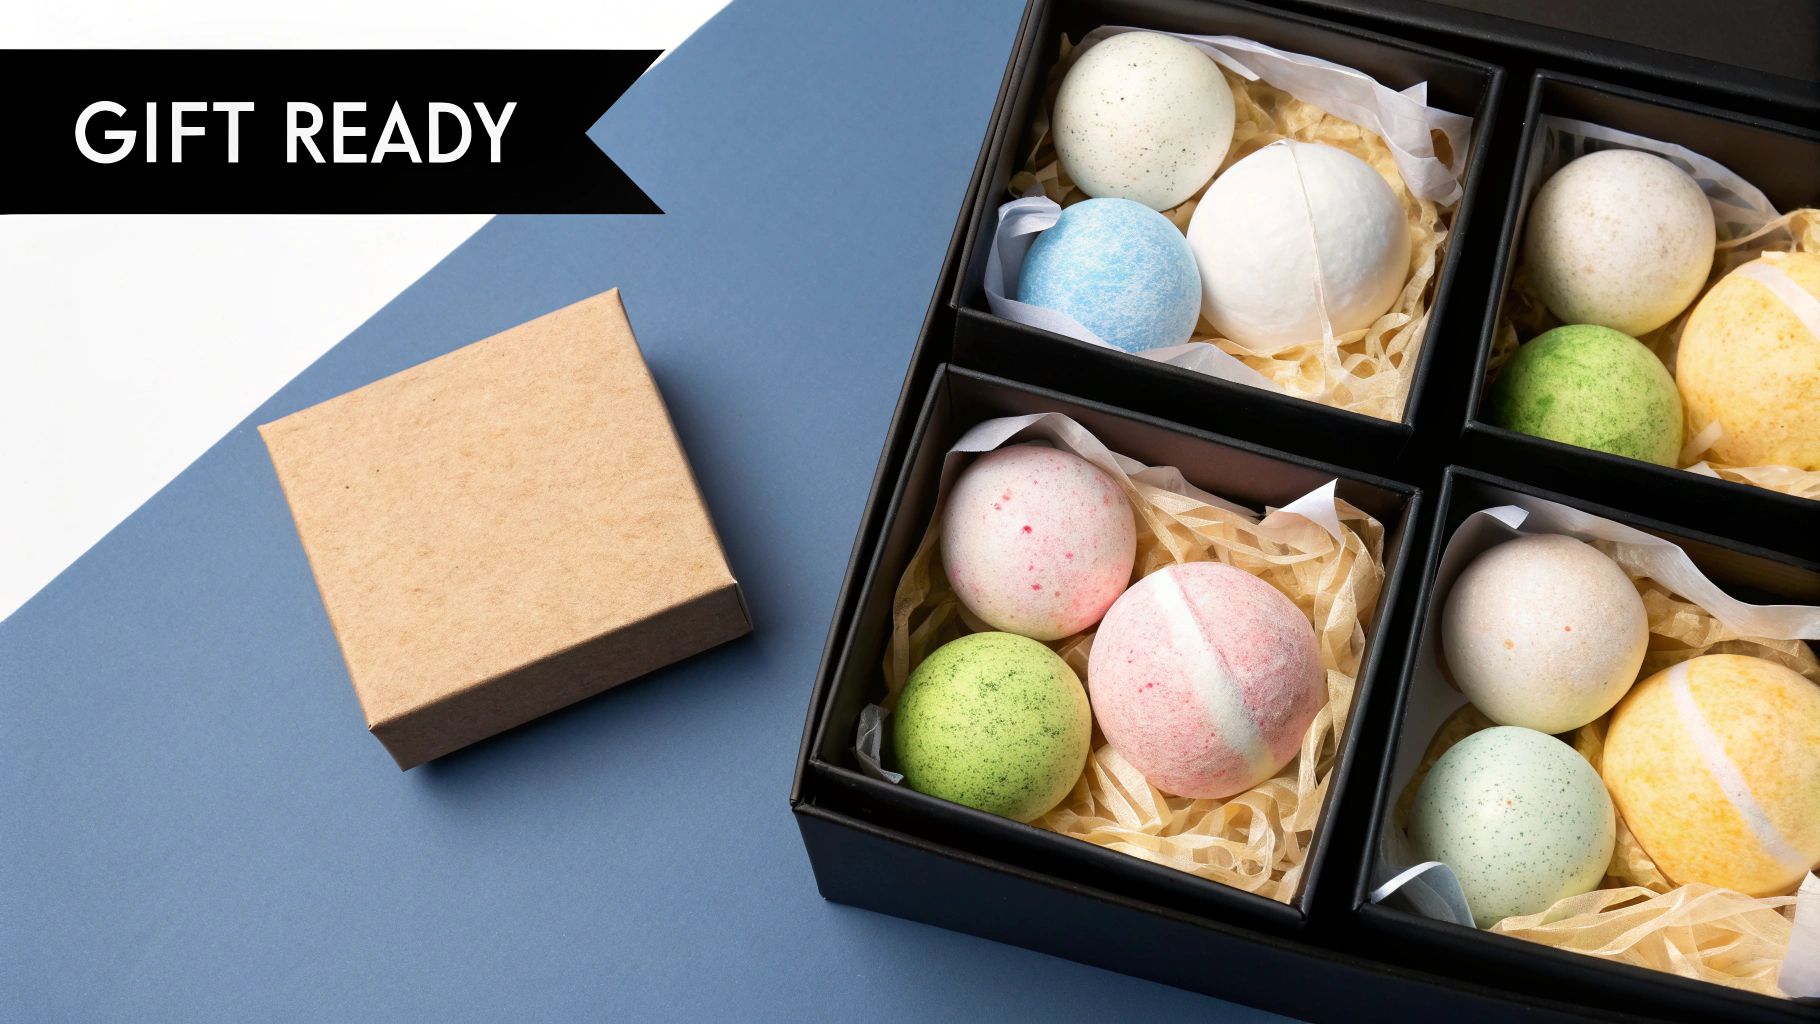
Ready to take your DIY bath bomb from a simple treat to an unforgettable gift? It's easier than you think. Embedding a hidden piece of jewelry turns a relaxing soak into a thrilling treasure hunt, adding a whole new layer of luxury and excitement. Seriously, it’s the perfect way to elevate a homemade gift for a birthday, holiday, or just because.
The secret to success is protecting the jewelry from the moisture and fizzy ingredients in your bath bomb mixture. You can't just drop a ring into the center and hope for the best; it needs a solid protective barrier.
Small, waterproof capsules are your best friend here. You can easily find them in various sizes online or at most craft stores. Think of those little plastic containers from a gumball machine—that's exactly the kind of thing that’s ideal for this project.
Just make sure whatever container you choose is completely waterproof and seals tightly. The last thing you want is for the bath bomb mixture to seep inside and ruin the surprise.
A Quick Tip: Before you start mixing, test your chosen capsule. Just submerge it in a glass of water for a few minutes. If it stays completely dry inside, you're good to go. This simple check will give you so much peace of mind.
Hiding the capsule is pretty straightforward, but it requires a bit of care to make sure it stays perfectly centered. A lopsided surprise can cause your bath bomb to crack or break apart as it dries, and nobody wants that.
First, start packing one half of your bath bomb mold with your prepared mixture, but don't fill it all the way. Create a small indent in the center with your thumb to make a little nest for your capsule.
Gently press the capsule right into this indent. Now, heap more of the bath bomb mixture on top of it, making sure it's completely covered. Go ahead and overfill this half of the mold just a little. Do the same with the other half of the mold (without a capsule, of course!), then press the two halves together firmly. The pressure will lock the capsule perfectly in the middle.
To make sure the jewelry inside maintains its sparkle, you might want to choose pieces made from durable materials. Looking into a guide for jewelry that won't tarnish can give you some great ideas. This extra bit of thought makes the big reveal even more special.
This little addition transforms a simple bath into a full spa-like event, something you can explore further with our ideas for a DIY bubble bath spa day at home.
Even when you follow a recipe perfectly, things can sometimes go a little sideways with homemade bath bombs. Don't sweat it—most issues are surprisingly easy to fix once you know what you’re looking for. Think of this as your go-to guide for turning any bath bomb blunder into a valuable lesson for your next flawless batch.
One of the most common heartbreaks is a bath bomb that just crumbles after drying. That’s a classic sign your mixture was too dry, meaning the powders never got enough moisture to really bind together.
On the flip side, if your mixture starts fizzing and puffing up right there in the bowl, you've got the opposite problem. This premature fizz is usually caused by too much liquid, or more often than you'd think, just a humid day.
A bath bomb that cracks while drying or falls apart in your hand is almost always a moisture issue. You’re aiming for that perfect "wet sand" consistency that packs tightly and holds its shape. If it’s too dry, the ingredients just can’t form a strong bond.
To get it right, try adding your liquid binder more slowly. A simple spray bottle filled with witch hazel is your secret weapon here. It lets you add a fine mist of moisture, giving you total control.
Hearing that fizzing sound while you’re still mixing is a real bummer. It means the citric acid and baking soda are getting a head start on their reaction. This happens a lot, especially on rainy or humid days when the air itself is full of moisture.
Humidity is the number one enemy of a stable bath bomb mix. If you live in a damp climate, you might want to run a dehumidifier in your workspace or save your crafting for a drier day.
If your bath bombs still feel soft or damp after 24 hours of drying, they’ve held onto too much moisture. This can lead to a really weak fizz in the tub because some of the fun has already happened. Always let your bombs dry in a cool, low-humidity spot with good air circulation. Spacing them out on a tray helps a ton. For more on how these elements create the perfect bath, check out our guide to bath bomb benefits.
So what happens if your creation looks amazing but barely sputters in the water? A lackluster fizz is usually due to old ingredients or the wrong ratios. Always use fresh baking soda and citric acid for the most powerful fizzy reaction.
That standard 2:1 ratio of baking soda to citric acid isn't just a suggestion—it's essential for that satisfying effervescence we all love.
Color staining is another pesky problem. If your beautiful hues leave a ring around the tub, you probably used a bit too much colorant or the wrong kind. Adding a simple emulsifier like Polysorbate 80 is a game-changer. It helps the colors and oils spread out nicely in the water instead of clinging to the sides of your tub.
At Jackpot Candles, we believe every bath should be a delightful experience. Explore our collection of handcrafted bath bombs, each with a surprise piece of jewelry hidden inside, and turn your self-care routine into a treasure hunt.
Comments will be approved before showing up.