free shipping at $99


Making your first bath bomb is a lot easier than you might think, and it only takes a handful of simple ingredients. The magic really comes down to two core components: baking soda and citric acid. This pair is what creates that satisfying, iconic fizz when your creation hits the water. A little bit of a binding agent, like witch hazel, is all you need to hold it all together.
From that simple base, you can get creative and start customizing. Think luscious scents, vibrant colors, and skin-loving additions for a bath experience that's truly yours.
You can skip the complicated kits and pricey store-bought options. This guide is your perfect starting point for making beautiful, fragrant bath bombs with a straightforward recipe that just plain works, every single time. One of the best parts of going the DIY route is that you know exactly what's going onto your skin, which means you can craft a product perfectly tailored to your self-care ritual.
This hands-on approach has exploded in popularity, helping to fuel a massive global market. In fact, the bath bomb industry was valued at around USD 1.99 billion and is expected to climb to USD 3.34 billion by 2033. This incredible growth really points to how much people are loving aromatherapy benefits and natural ingredients—which is precisely what you get when you make them yourself.
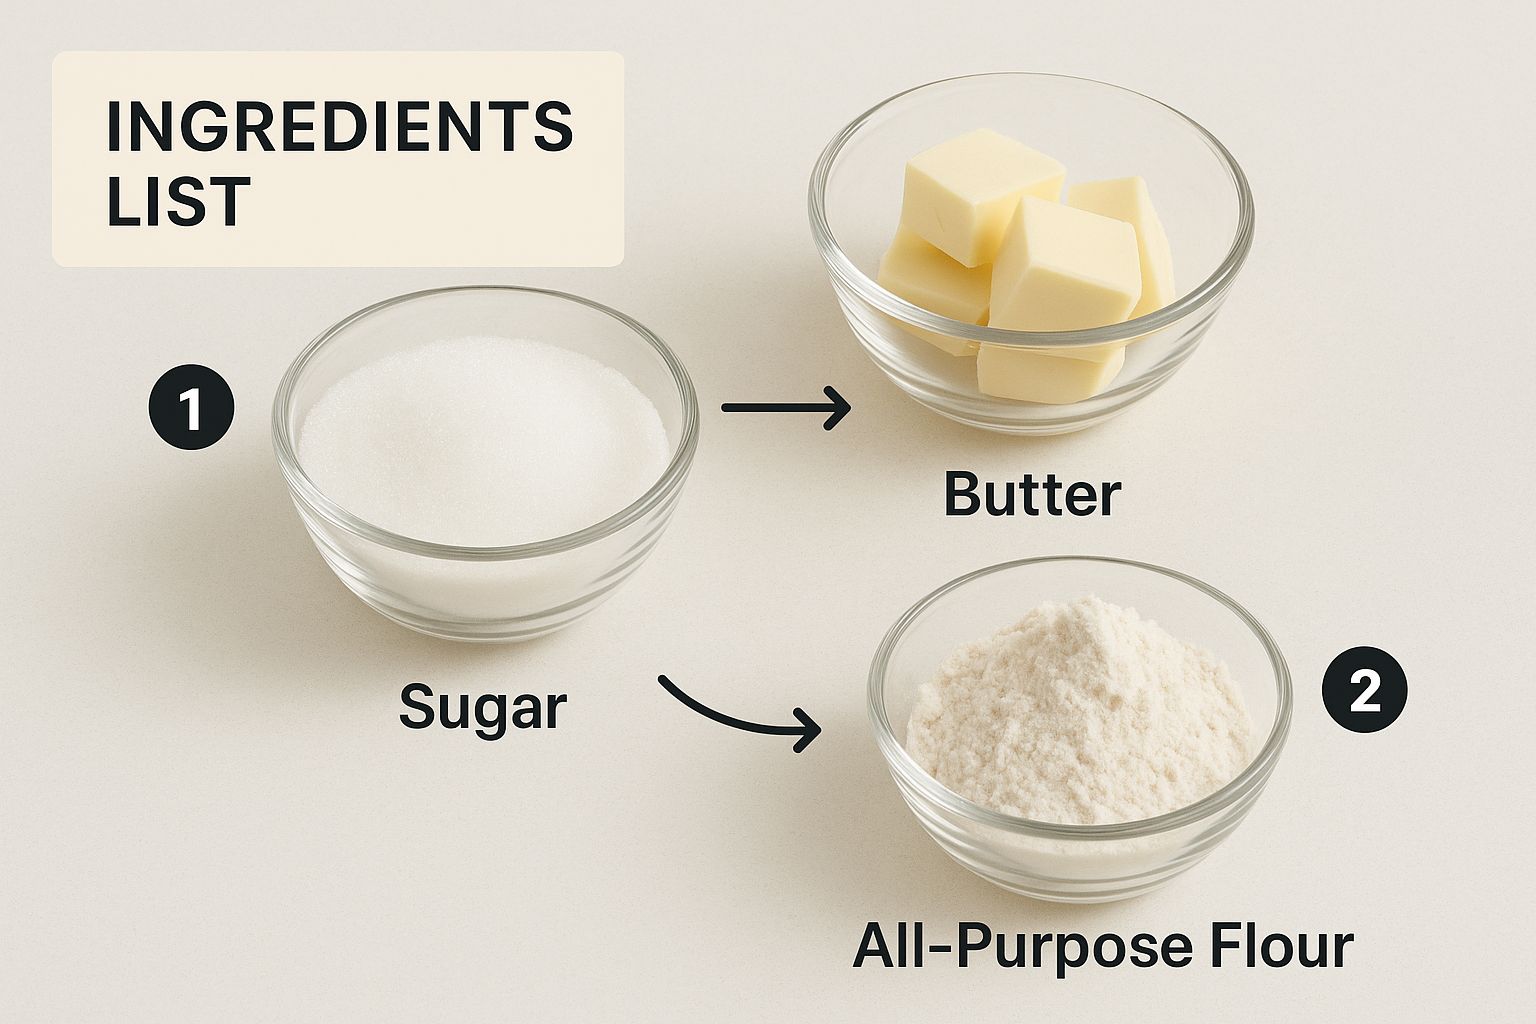
Getting a handle on what each ingredient does is the secret to getting your bath bombs just right. The fizz, the beautiful scent, and the skin-softening feel all come from a careful balance of these simple components. While you can definitely get creative later, nailing this core combination is your first mission.
If you want to dive even deeper, check out our comprehensive guide on how to make your own bath bombs.
The magic of a great bath bomb is all about chemistry. The fizzy reaction happens when baking soda (an alkali) meets citric acid (an acid). This creates the carbon dioxide bubbles that give you that delightful fizz. Getting the ratio of these two right is everything.
Here’s a look at the essential ingredients and the specific job each one has in your recipe.
Here’s a breakdown of the essential ingredients and the specific role each one plays in creating the perfect fizz and feel for your homemade bath bombs.
| Ingredient | Purpose in the Recipe |
|---|---|
| Baking Soda | This is the alkaline base of your bath bomb. It reacts with the citric acid to create the fizz and also helps to soften the bathwater. |
| Citric Acid | The acidic counterpart to baking soda. When it gets wet, it reacts with the baking soda to release carbon dioxide gas, which is the fizz! |
| Cornstarch | Acts as a filler and helps to slow down the reaction, making the fizz last longer. It also gives the bath bomb a silky feel. |
| Epsom Salt | Known for its muscle-relaxing properties, it adds a therapeutic touch to your bath. It also adds bulk and helps with molding. |
| Carrier Oil | Ingredients like coconut oil, almond oil, or olive oil help bind the dry ingredients and add moisturizing properties for your skin. |
| Witch Hazel or Water | Used in a spray bottle, this is the liquid binder. It adds just enough moisture to help the mixture hold its shape without starting the fizzing reaction prematurely. |
| Essential Oils | This is for the amazing scent! You can use your favorite essential oils for aromatherapy benefits, from calming lavender to uplifting citrus. |
| Colorant (Optional) | Mica powder or food-grade colorants can be used to add a pop of color to your bath bombs and the water. |
Once you've gathered these, you're well on your way to creating something wonderful. If you get the DIY bug and find you love making your own products, you might also enjoy exploring some other DIY projects to keep those creative juices flowing.
Alright, let's get you set up for success. Before you even think about mixing, it's a good idea to get all your gear and ingredients lined up. Trust me, having everything within arm's reach makes the whole process feel less like a chemistry experiment and more like a fun afternoon project.
You really don't need a bunch of fancy equipment, which is why I love calling this an easy bath bomb recipe. You probably have most of what you need hanging out in your kitchen right now.
Grab a big mixing bowl, a whisk to get those dry ingredients nicely acquainted, and a second, smaller bowl for your liquids. You’ll also want a spray bottle filled with witch hazel—this is my secret weapon for getting the mixture to the perfect consistency without turning it into a soupy mess. For molds, raid your kitchen drawers! Silicone ice cube trays, muffin tins, or even those clear plastic ornaments you can fill are all fantastic options.
The real magic behind a great bath bomb is all in the ratios. Getting the balance right is what gives you that satisfying fizz and leaves your skin feeling amazing.
A recipe I've come back to time and time again uses a pretty specific formula, and it works like a charm. You'll need:
These are the workhorses of your bath bomb, creating that signature fizz and texture.
Next up are the wet ingredients and the fun stuff. The same recipe calls for 100 grams of a light carrier oil (I like fractionated coconut or sweet almond oil) and about 40 drops of your go-to essential oils. For a pop of color, about 3 grams of mica powder is plenty to get a gorgeous hue without turning your bathtub into a Jackson Pollock painting. You can get the full rundown and tweak it to your liking by checking out this easy-to-follow bath bomb guide.
My Personal Tip: If you take one piece of advice from me, let it be this: use a digital kitchen scale. Measuring powders by volume (like with cups) can be wildly inconsistent. Weight, however, is always precise. This one little switch is the difference between a crumbly failure and a perfect bath bomb.
Once you’ve got everything measured and ready, you're officially prepped to start creating. A little bit of precision here at the beginning saves you a ton of headaches later. No one wants a mixture that’s too wet or a bomb that crumbles apart
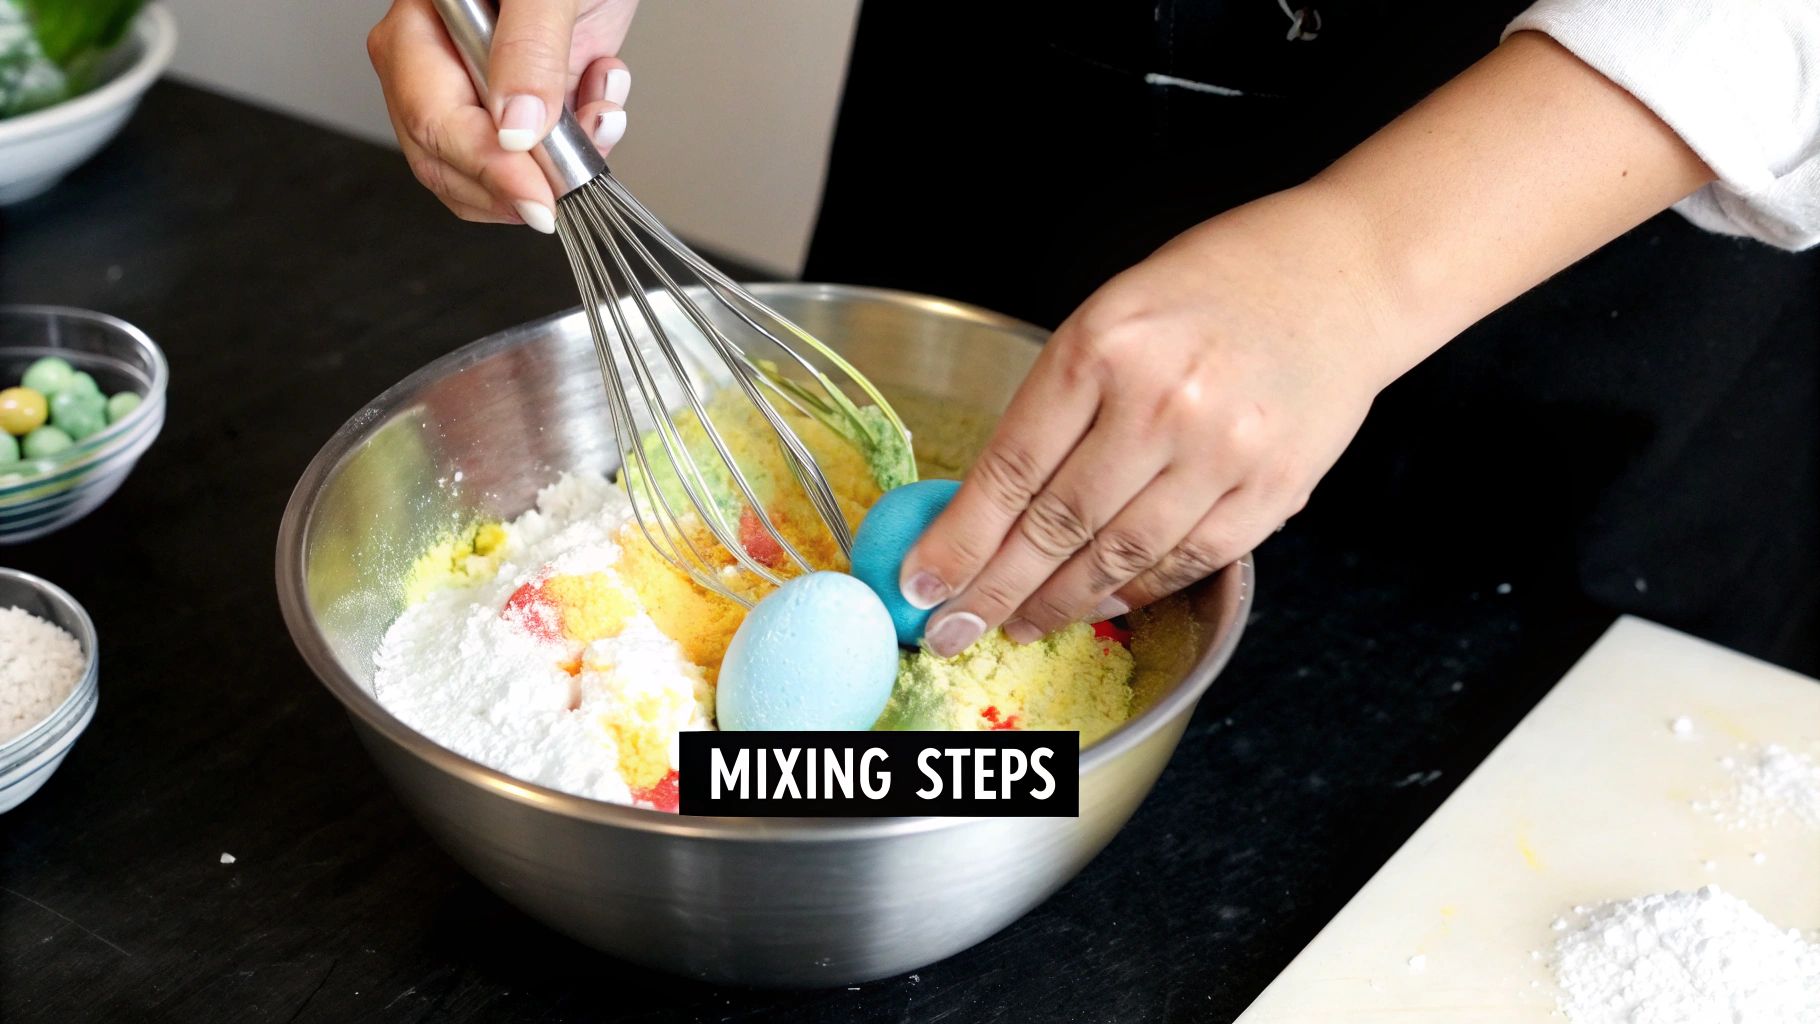
With your ingredients and tools laid out, it’s time for my favorite part of making bath bombs—bringing it all together. The real secret to a solid, fizzy bath bomb isn't just the ingredients, but how you combine them. Trust me, rushing this stage is the number one mistake I see beginners make.
First things first, let's tackle the dry ingredients. In your large mixing bowl, go ahead and combine the baking soda, citric acid, Epsom salt, and cornstarch. Take your whisk and really go to town breaking up every single clump. You’re aiming for a fine, totally uniform powder. This isn't just for looks; it's what gives you that smooth texture and a consistent, satisfying fizz later on.
Now, set that aside and grab your smaller bowl for the wet ingredients. Pour in your carrier oil (like sweet almond or coconut) and add your chosen essential oils. Give them a good stir until they're completely blended. This little step is key to making sure the beautiful scent and moisturizing goodness are spread evenly through the whole batch.
Here’s a quick look at what your setup should look like before the magic really begins.
See how the wet and dry ingredients are kept separate? This is absolutely fundamental. It gives you total control over the reaction.
This next part is the most crucial, so take a deep breath and go slowly. You’re going to add the wet mixture to the dry one, but if you dump it all in at once, you’ll set off a premature fizzing volcano in your bowl. Your batch will be ruined before it even starts. The trick is to add the oil mixture one teaspoon at a time, whisking constantly as you go.
As you mix, you'll feel the powder start to change. What you're looking for is a consistency that feels just like damp sand.
The best way to know you've nailed it is the squeeze test. Grab a small handful of the mixture and clench your fist. If it holds its shape when you open your hand, you're golden. If it crumbles right away, it’s still too dry.
If your mixture is too dry, don't panic! This is what the witch hazel spray bottle is for. Give the mixture one or two spritzes while you keep whisking. A little goes a very long way here, so be patient and add moisture bit by bit until it passes that squeeze test.
Once your mixture is perfect, it's time to get molding. Pack the mixture firmly into each half of your mold, overfilling both sides just a little. Now, press the two halves together with steady, firm pressure. You’ll see some excess mixture squeeze out from the seam—that’s a good sign! Just be sure not to twist the mold, as that can cause cracks.
Gently tap the outside of the mold with a spoon, then carefully remove one half, and then the other. Ta-da! Place your finished bath bomb on a soft, dry towel or some parchment paper.
The final step is all about patience: letting them cure. This allows your bath bombs to harden completely, so they won’t crumble and will fizz like crazy in the tub. Let them air-dry in a cool, dry spot for at least 24 hours. If you live somewhere humid, give them up to 48 hours. I know it's tempting to use one right away, but letting them cure properly is so worth the wait.
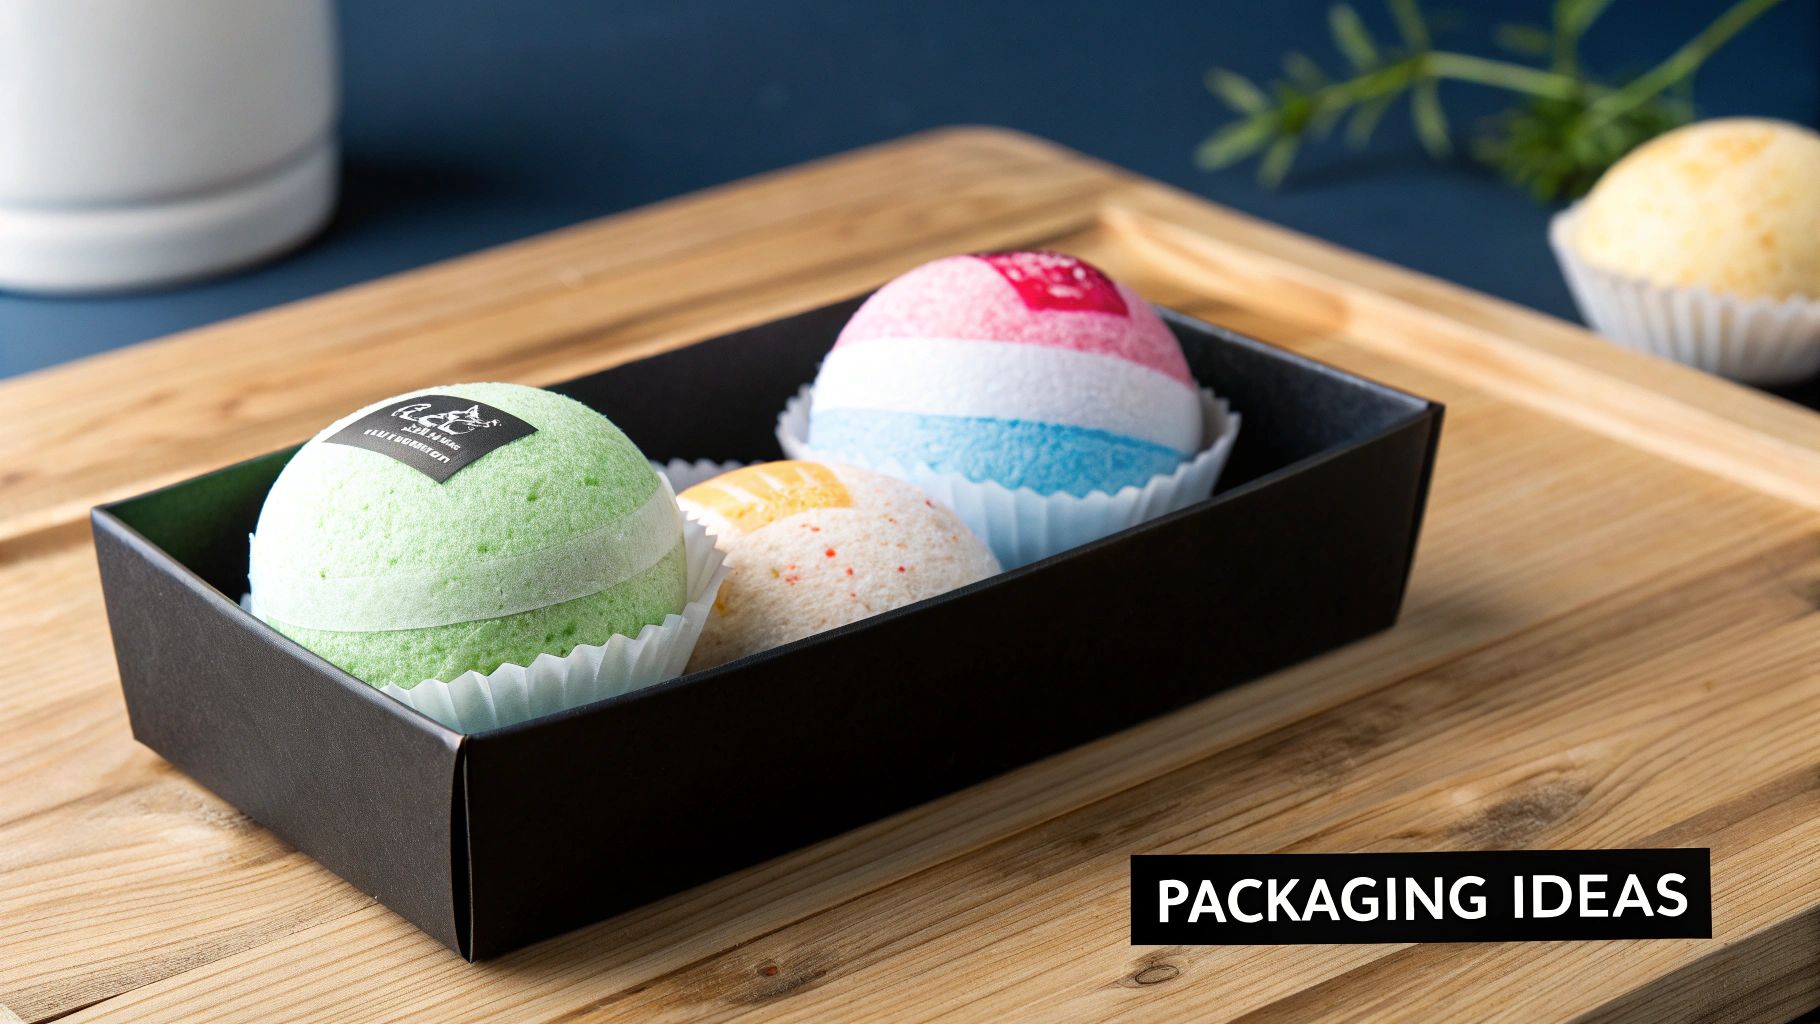
Sure, a basic bath bomb gets the job done, but personalizing it is what really elevates the whole experience. This is where your creativity comes into play, turning a simple recipe into a thoughtful gift or the perfect addition to your self-care routine. The easiest way to start is by playing with color and scent.
If you're dreaming of vibrant hues that won't leave a nasty stain in your tub, skin-safe mica powders are your absolute best friend. A little really does go a long way. I usually start with just a quarter teaspoon for a whole batch, making sure to mix it completely with the dry ingredients before a single drop of liquid goes in.
For a more natural, earthy look, you can also use cosmetic clays. Rose clay gives a beautiful soft pink, while French green clay creates a subtle, spa-like green tone.
The fragrance is the soul of your bath bomb. I love using essential oils not just for their amazing aromas, but for their therapeutic benefits, too. The real key is picking oils that match the mood you're going for.
Learning how to blend these can transform a simple soak into a true sensory escape. If you want to dive deeper, you can learn more about how different scents impact your mood with our guide to the basics of aromatherapy.
Here's a pro tip for a truly elegant touch: add dried botanicals like lavender buds or rose petals. Just sprinkle a few into the bottom of your mold before you start packing it. This creates a gorgeous topping on your finished bath bomb that looks straight out of a luxury spa.
Want to really wow someone? Try embedding a small surprise inside. It's a fun trick I’ve used for gifts, and the reaction is always priceless. At Jackpot Candles, we love adding jewelry to our products for that thrilling reveal, and you can create a similar moment at home.
Just take a small, waterproof, and heat-safe item (like a tiny toy or a gemstone sealed in a mini plastic bag) and place it right in the center as you're packing your mold. Trust me, it makes for an unforgettable unboxing experience right there in the tub.
Even with the easiest bath bomb recipe, you’re bound to run into a few hiccups along the way. Don’t panic! These issues are completely normal and, once you know what you’re looking for, totally fixable. My own bath bomb journey was full of trial and error, so believe me when I say these tips come straight from experience.
The most common issue I see is when the mixture starts fizzing right there in the bowl. This is a dead giveaway that you've added too much liquid too fast, kicking off the reaction between the citric acid and baking soda way too early. If you see this start to happen, stop adding liquid immediately and work quickly to pack your molds.
Another frustrating moment is when your perfectly shaped bath bombs crack or crumble as they dry. This almost always points back to one of two culprits.
A weak fizz in the tub is another classic beginner problem. This usually means the bath bombs have soaked up moisture from the air while they were curing, which dulls the big reaction you're hoping for. The fix is simple: always let them dry in a cool, non-humid room.
Learning to fix these little issues is a lot like learning how to care for any other item you love. For example, just like you’d learn how to fix candle tunneling to save a favorite candle, mastering these troubleshooting steps will make sure none of your bath bomb-making efforts go to waste.
Making your very first batch of bath bombs is a blast, but it's totally normal to have a few questions pop up along the way. I've been there! Let's walk through some of the most common hangups so you can get back to creating with total confidence. Think of this as your personal cheat sheet for bath bomb perfection.
To keep that incredible fizz and beautiful scent locked in, it all comes down to storage. You’ll want to tuck your creations away in an airtight container or even wrap them individually in plastic wrap. The most important thing is to keep them somewhere cool and dry, far away from any moisture or humidity—so, the bathroom cabinet is definitely not the best spot!
If you store them right, your bath bombs should stay fresh and fizzy for about six months. After that, they’ll still be usable, but you might notice the fizz isn't quite as dramatic. That’s just the core ingredients naturally losing a bit of their punch over time.
Here's a little tip from my own experience: I always prefer making smaller batches more often instead of one giant batch for the whole year. This way, every bath gets a super-fresh, wildly fizzy bomb for the best possible soak.
Ah, the dreaded crumble. This is the most common issue new makers face, and it almost always comes down to one of two things.
First, your mixture was probably just a little too dry. You're aiming for a texture like damp sand—it should clump together and hold its shape perfectly when you squeeze it in your hand. If it's not quite there, a few extra spritzes of witch hazel should do the trick next time.
The other culprit is often not packing the mold tightly enough. You really have to get in there and press the mixture firmly into both halves of the mold. This pressure is what creates a dense, solid bomb that will hold its shape while it hardens and dries.
At Jackpot Candles, we believe every bath should be a treat. Why not explore our collection of gorgeous, scented bath bombs that come with a surprise piece of jewelry inside? Add a little sparkle to your self-care and find your next favorite at Jackpot Candles.
Comments will be approved before showing up.