
free shipping at $99


Making a beautiful scented soy candle is a wonderfully simple process. You melt the wax, stir in your favorite fragrance oil at just the right moment, place a wick, pour, and then let it set. It’s a magical little process that transforms a few basic ingredients into a cozy, clean-burning candle that can totally change the vibe of a room.
Welcome to the incredibly rewarding world of making your own scented soy candles! I'm so excited for you to get started. This is way more than just a crafty weekend project; it's a chance to create custom scents, add a personal touch to your home, and make gifts that are truly from the heart.
Before we get our hands waxy, it's really important to understand why we're using soy wax. It's hands-down the best choice for makers who care about quality and the environment.
Dipping your toes into candle making is a form of artistry. To really appreciate what you're creating, it helps to understand what defines artisan craftsmanship. It's all about that personal touch, the care you put in, and the pride of making something amazing with your own two hands.
Making the switch from paraffin to soy wax isn't just a trendy thing to do; it's a conscious decision for a better, more sustainable candle. From my experience, soy wax has some serious advantages that make it the only choice for a high-quality homemade candle.
This decision also puts you right in line with what people are looking for these days—natural, eco-friendly products. The global soy candle market is huge, expected to be valued at around $794.4 million in 2025 and it's only getting bigger. It’s clear that people want cleaner, better options for their home fragrance.
The real magic of candle making lies in the transformation—turning raw flakes of wax and drops of oil into a vessel of light and scent that can completely change the atmosphere of a room.
Getting to know the unique personality of soy wax is your first major step toward making amazing candles. For a deeper dive, check out our guide on what is soy wax and why it's such a game-changer. It’ll give you the foundation you need and get you even more excited for the fun that’s about to begin.
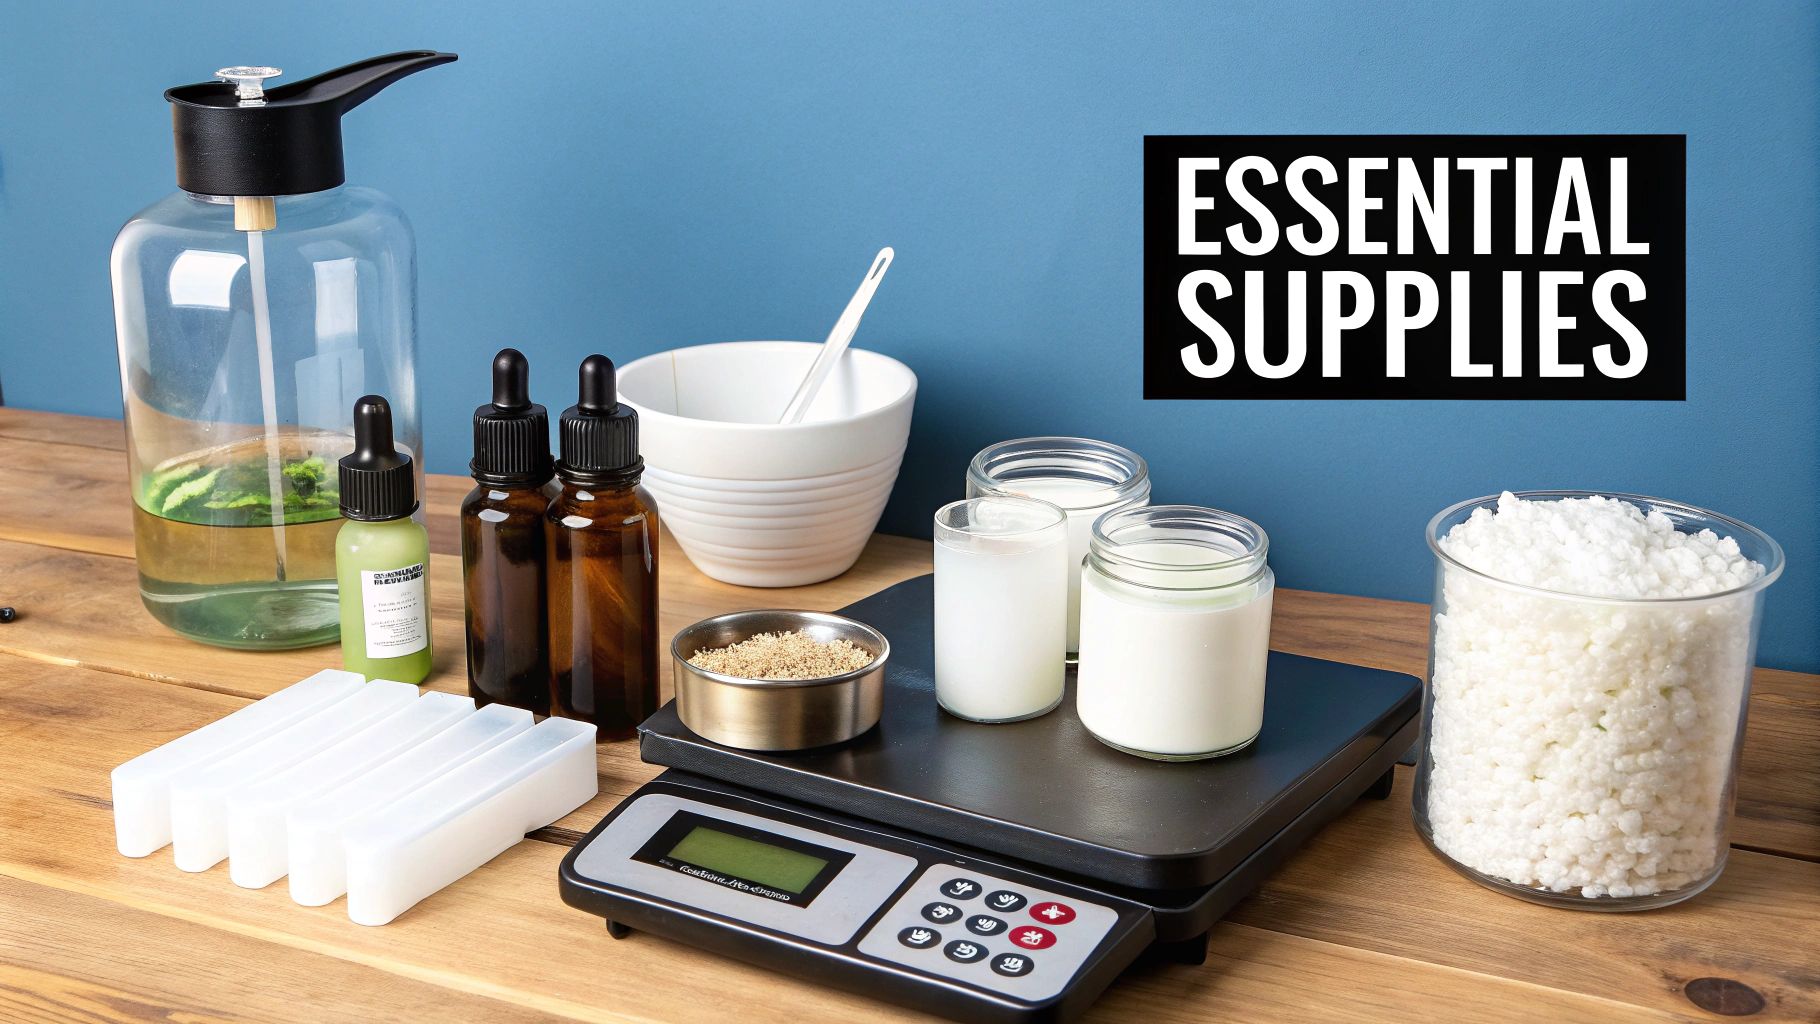
Starting any new craft can feel a bit overwhelming when you see the shopping list, but I promise that gathering supplies for your first scented soy candles is surprisingly simple. Think of it like putting together a basic baking kit.
Getting the right tools from the very beginning not only makes the process way smoother but also sets you up for creating a high-quality, safe, and beautifully fragrant candle right off the bat.
We'll break down exactly what you need and why each piece is so important. This isn't just a list; it's your first real step toward mastering the art of candle making.
These are the absolute non-negotiables—the heart and soul of your candle. The quality you choose here directly impacts your final product, so it's always worth it to buy good materials from a reputable candle supply company.
Soy Wax Flakes: For candles in jars, you'll want a soy wax specifically made for that purpose. It's usually labeled "container wax" and is formulated to be softer and stick to the glass nicely. A great starting point is 2 lbs of soy wax flakes, which will give you enough to make about four 8-ounce candles.
Fragrance Oils: This is where the magic happens! It is so important to use fragrance oils specifically designed for candle making. They're formulated to bind with the wax and burn safely. Please don't use things like perfume or food flavorings—they won't work and can actually be dangerous.
Candle Wicks: Think of the wick as the engine of your candle. Its size has to match the diameter of your container to get a nice, even burn. If a wick is too small, it'll "tunnel" down the middle, leaving a bunch of unused wax on the sides. If it's too big, you could get a dangerously high flame and a lot of ugly soot. Most supply sites have handy sizing guides to help you pick the perfect one.
Don't worry, you don’t need a fancy laboratory to get started. You probably have a lot of these tools in your kitchen already, and the specialized items are easy to find and pretty affordable for beginners.
Having the right equipment is all about accuracy and safety—two things that are key to making great candles.
Before you start melting, it helps to have your gear laid out and ready to go. Here's a quick look at what you’ll need and why.
| Item | Type/Specification | Why It's Important |
|---|---|---|
| Pouring Pot | Metal pot with a spout | Safely and cleanly handles hot wax without making a mess. |
| Saucepan | Any large kitchen saucepan | Used to create a double boiler with your pouring pot for gentle, even melting. |
| Digital Scale | Kitchen or postage scale | Precision is everything. Measuring by weight is the only way to get consistent results. |
| Thermometer | Digital candy or meat thermometer | Wax temperature is critical for adding fragrance and getting a smooth finish. |
| Candle Jars | 8 oz glass jars or tins | Must be heat-safe. Simple jelly jars are perfect (and cheap!) for your first batch. |
| Wick Centering Tools | Clothespins, pencils, chopsticks | Holds the wick perfectly straight and centered while the wax sets. |
| Wick Stickers | Adhesive dots or hot glue gun | Secures the wick to the bottom of the jar so it doesn't float around when you pour. |
This table covers the must-haves that will take you from a curious beginner to a confident candle maker.
Pro Tip: Never, ever melt your soy wax directly over the heat. Always use a double boiler method. This prevents the wax from scorching, which can completely ruin its ability to hold a scent. Trust me on this one.
By gathering these specific items, you're not just buying stuff; you're building a solid foundation for a fun new hobby. Having everything ready before you begin will turn your first candle-making session from a stressful guessing game into a creative and rewarding experience.
The fragrance is what turns a simple candle from a light source into a whole mood. This is where the real art of candle making comes in—getting that scent strong enough to fill a room without being totally overpowering. It all comes down to mastering the "scent throw."
You'll hear candle makers talk about two types of scent throw. There's the cold throw, which is how the candle smells when it's just sitting there, unlit. Then there's the hot throw, the fragrance that fills the air when the candle is actually burning. A truly great candle nails both, and getting that balance right is a bit of a science.
It’s no secret that people love a good scented candle. In fact, they dominate the market, making up about 65% of all candle sales and were valued at a whopping $4.36 billion in 2025. People want their homes to smell amazing, and a well-made candle is the perfect way to do it. You can dig into more 2025 scented candle market trends on primacyind.com.
To get that amazing hot throw, you need to use the right amount of fragrance oil. We call this the fragrance load, and it’s always a percentage of your total wax weight. For soy wax, you'll want to stick to a fragrance load between 6% and 10%.
It might be tempting to pour in more oil for a stronger scent, but going over 10% can cause some serious problems. Soy wax can only hold onto so much oil. Add too much, and the oil can literally sweat out of the wax, leaving a greasy mess on top and even creating a fire hazard.
Figuring out how much fragrance oil to use is easy with a simple formula:
(Weight of Wax in Ounces) x (Fragrance Load Percentage) = Ounces of Fragrance Oil Needed
Let's break that down with a real-world example so it makes perfect sense.
Let's say you're making a batch of four 8-ounce candles. You need to figure out your total wax weight first. Heads up: an 8-ounce jar doesn't actually hold 8 ounces of wax by weight, so you have to measure. For this batch, let's say your four jars together will hold 32 ounces of wax.
Now, let's aim for a nice, strong 8% fragrance load. Here’s the simple math:
So, for this batch, you’d need exactly 2.56 ounces of fragrance oil. This is where a digital scale becomes your best friend. Precision is everything for getting consistent results.
Key Takeaway: Don't eyeball your measurements. Using a digital scale to weigh both your wax and your fragrance oil is the single most important step for achieving a reliable and powerful scent throw every single time.
Just dumping in the right amount of oil isn't enough—when you add it is just as important. Temperature is a huge deal because it controls how well the fragrance oil actually binds with the wax molecules.
If your wax is too cool, the oil won't mix in properly, and you'll end up with a weak hot throw. But if the wax is too hot (anything over 185°F or 85°C), you’ll burn off all the delicate top notes of your fragrance. What you're left with is a flat, disappointing scent.
The sweet spot for adding fragrance oil to soy wax is right around 185°F (85°C). The wax is hot enough to bond perfectly with the oil but not so hot that it ruins the complex notes of your scent.
A Simple Temperature Workflow:
When you're picking out scents, you'll see two main options: essential oils and fragrance oils. They might seem similar, but they behave very differently in hot wax.
If you're just starting out and want a reliable, knock-your-socks-off scent, high-quality fragrance oils are definitely the way to go. You can learn more by checking out our guide on the best fragrance oils for candle making.
This is where the magic really happens. All your careful measuring and prep work are about to pay off. The pouring process is easily the most satisfying part of making candles—it’s where you turn a pot of liquid wax and fragrance into something truly beautiful. With a little attention to detail, you can get that professional, smooth-top finish every single time.
First up, let's get that wax melted. This is a low-and-slow kind of job, so patience is key. I always recommend using a double boiler. Just place your pouring pot inside a larger saucepan that has a few inches of simmering water. This gentle, indirect heat is your best friend because it melts the soy wax evenly without any risk of scorching it. Scorched wax is bad news—it can mess with the structure and weaken its ability to throw that gorgeous scent you picked out.
You'll want to heat your soy wax to somewhere between 180°F and 185°F (82°C to 85°C). A digital thermometer is non-negotiable here; guessing just won't cut it. One of the most common mistakes I see beginners make is overheating the wax, which can lead to discoloration and a sadly weak scent. Keep a close eye on that temperature!
While the wax is slowly melting, you can use that time to get your candle jars ready to go. A perfectly prepped jar is the foundation for a flawless candle.
Start by making sure your jars are sparkling clean and completely dry. Any little bit of dust or moisture can cause problems with how the wax adheres to the glass. If you're giving old candle jars a new life, just a quick wash with hot, soapy water and a thorough dry will do the trick.
Next, it’s time to secure the wick. This is one of the most critical steps for a safe, even-burning candle. Use a wick sticker or a small dab of hot glue to stick the metal tab of your wick right in the center of the jar's bottom. Press down firmly for a few seconds to make sure it’s really stuck. This little step is what keeps your wick from floating around when you pour in the hot wax.
With the bottom secure, you need to keep the wick centered and pulled tight at the top. You can use a clothespin, a couple of chopsticks laid across the rim, or a dedicated wick centering tool. Just clamp the wick in place, giving it a gentle tug so it stands up straight.
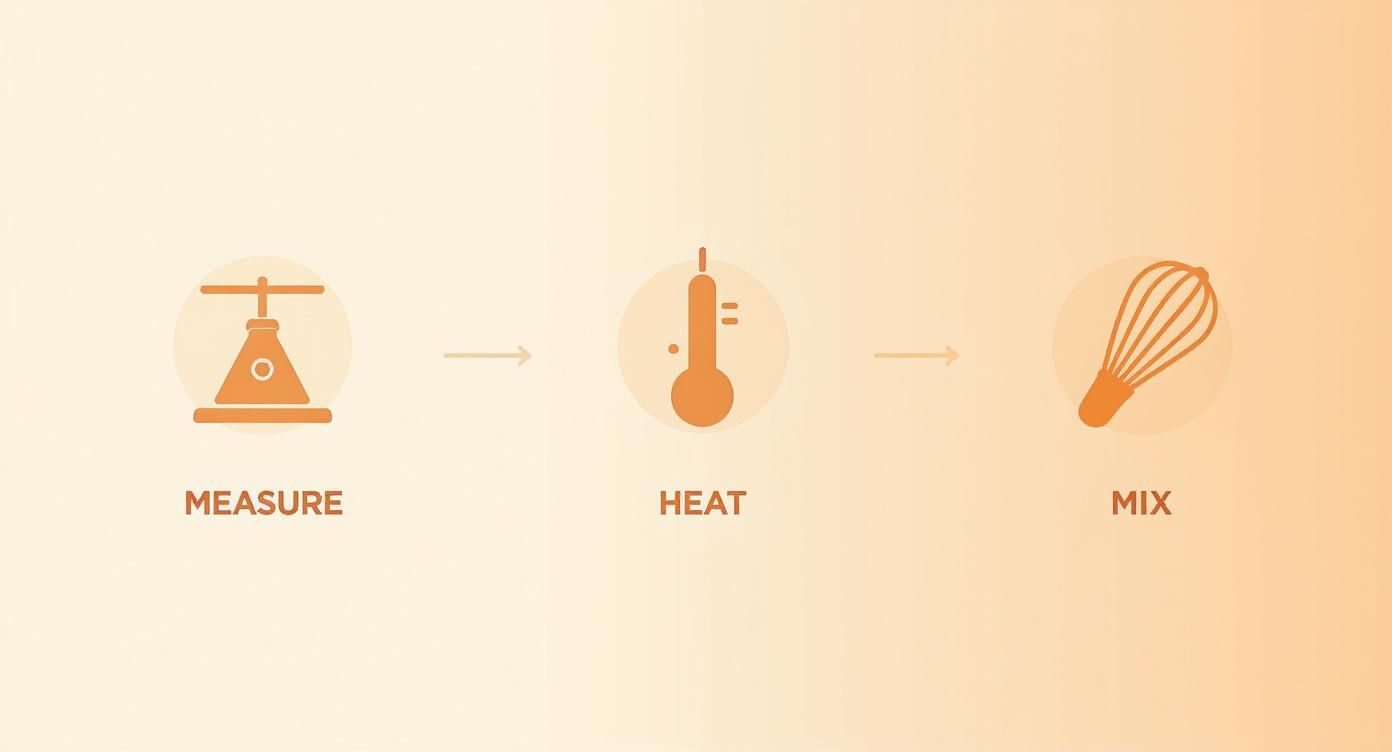
This simple workflow—measuring precisely, heating gently, and mixing thoroughly—is the secret to success.
Okay, so your wax has hit 185°F (85°C) and you've stirred in your fragrance oil for a full two minutes. Now, you need to let it cool down a bit before you pour. This is another one of those temperature checkpoints that makes all the difference. Pouring soy wax when it’s too hot is a one-way ticket to cracks, sinkholes, and that frosty look on the glass as it cools.
For most soy container waxes, the sweet spot for pouring is right around 135°F (57°C). Letting the wax cool to this temperature helps you get that smooth, creamy top and ensures the wax sticks nicely to the sides of the jar. It might feel like you're just waiting around, but trust me, this pause is worth it.
When you're ready, pour slowly and steadily. If you pour too fast, you'll introduce air bubbles that get trapped in the wax, and they can ruin the look of your finished candle. A slow, consistent stream is your goal.
Fill your jar, but leave about a half-inch of space at the top. This gives the wax a little room to form a melt pool when lit and prevents any accidental spills. Keep an eye on your wick and make sure it stays dead center; you can nudge it back into place with your centering tool if it starts to lean.
Sometimes, no matter how carefully you work, natural soy wax can form a small sinkhole around the wick as it sets. It's just the nature of the beast—wax shrinks as it cools. While it doesn't affect the burn, it doesn't look great. Luckily, there's an easy trick the pros use to get perfectly flat tops every time: the second pour.
Here's how you do it:
This little technique is a total game-changer for achieving that polished, store-bought look. It hides any minor flaws and gives your homemade scented candles a truly professional finish. They’ll be more than ready for gifting (or selling!).
You’ve carefully melted, mixed, and poured your heart out. Now comes the hard part: waiting. This final stage is a true test of patience, but it’s what separates a decent homemade candle from a fantastic one. This waiting period is called curing, and it’s where the real magic happens.
Think of curing like marinating a good cut of meat—the longer it sits, the more the flavors meld and deepen. During this time, the fragrance oil and soy wax molecules are fully bonding. This crucial process creates a stable, consistent scent throw, ensuring your candle smells just as amazing on its last burn as it does on its first.
For soy wax, you'll want to let your candles cure for one to two weeks. I know, it's incredibly tempting to light up your beautiful new creation after just a day or two. But if you do, you’ll miss out on the incredible fragrance potential you worked so hard to achieve.
Find a cool, dark place away from direct sunlight and big temperature swings—a closet or a quiet cabinet is perfect. This controlled environment lets the wax crystallize properly around the fragrance, locking in that scent for a powerful hot throw later on.
A well-cured candle is the secret to a memorable fragrance. Skipping this step is like taking a cake out of the oven too early—it might look done, but the magic inside hasn't fully happened yet.
Once your candle has patiently cured for at least one week, it’s time for the moment of truth. The test burn is absolutely non-negotiable. It tells you everything you need to know about your candle’s performance and, most importantly, its safety. For a deeper dive, check out our guide on how to burn a candle properly.
For your first burn, let it go long enough for the melted wax, or melt pool, to reach the edges of the jar. A good rule of thumb is about one hour for every inch of the container's width. A successful test burn is a sign you’re on the right track, tapping into the growing demand for high-quality home fragrance. The eco-friendly candles market is booming, driven by people who want sustainable and wellness-focused products. Soy candles are a huge part of this trend because they’re natural, biodegradable, and burn for a long, long time. You can learn more about the rise of eco-friendly candles on dataintelo.com.
Here’s a quick checklist to run through during your test burn:
Mastering this final stage ensures every candle you create is safe, beautiful, and performs exactly how you envisioned.
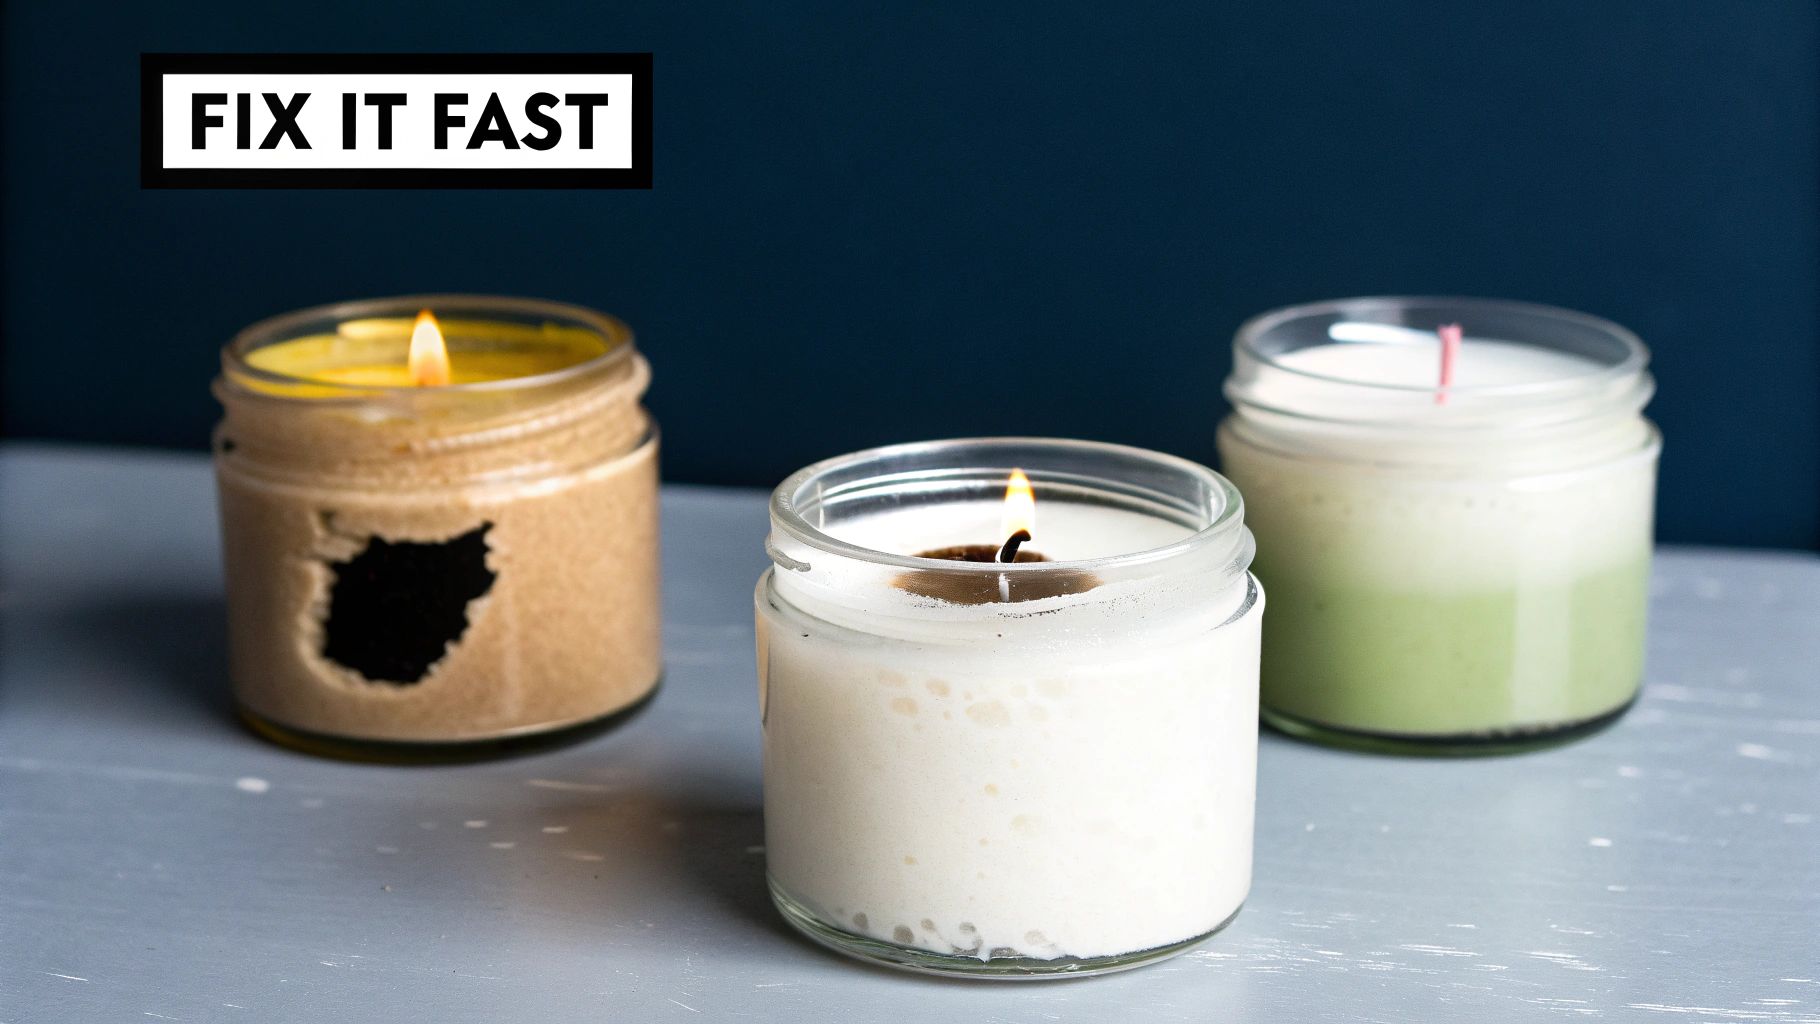
Even after you've poured countless candles, you'll still get a batch that doesn't look quite right. It happens to all of us! But don't get discouraged—these little imperfections are actually your best teachers. Learning how to spot and fix them is what takes you from a curious beginner to a confident candle maker.
Most of the quirky issues you'll run into with soy wax come down to temperature control or how the candle cools. Because soy is a natural product, it can be a bit sensitive to its environment. Once you learn what it likes, you'll find it's easy to sidestep most of the common headaches.
The most common issues for new makers are purely cosmetic, but they can definitely be frustrating when you’re chasing that perfect, professional look. The good news is they're usually easy to fix and rarely impact how well the candle actually burns.
Here are a few things you might see:
Expert Tip: To dodge most of these cooling problems, make sure your candle jars are at room temperature before you pour. Then, let your finished candles set in a warm, draft-free area. Slowing down the cooling process is the secret to a much smoother finish.
While cosmetic flaws are one thing, problems with how a candle burns can affect its safety and scent throw. Nailing this part is key to creating a high-quality, reliable candle you can really be proud of.
Honestly, poor burn performance almost always comes down to one thing: using the wrong wick for your candle’s diameter.
It can be tough to remember what causes what, especially when you're just starting out. I've put together a quick reference table to help you diagnose and solve the most common soy candle issues you'll encounter.
| Problem | Potential Cause | How to Fix It |
|---|---|---|
| Tunneling | The wick is too small for the container's diameter. | On your next batch, choose a larger wick size. This will help you get that beautiful, full melt pool that reaches the edges of the jar. |
| Mushrooming Wick | The wick is too large for the jar, causing it to burn too quickly and create a buildup of carbon. | Go with a smaller wick size next time. This will give you a calmer, more controlled flame without the sooty mushroom top. |
| Weak Scent Throw | Fragrance was added at the wrong temperature, you used too little oil, or the candle didn't cure long enough. | Add your fragrance oil at 185°F (85°C), stick to a 6-10% fragrance load, and be patient! Let it cure for at least 1-2 weeks. |
Think of these little mistakes as lessons. By learning from each one, you’ll quickly fine-tune your process. Every challenge is just another step on your journey to perfecting the craft of making incredible scented soy candles.
When you first dive into making scented soy candles, you're bound to run into a few head-scratchers. Trust me, we've all been there! Getting a handle on these common questions is less about memorizing rules and more about understanding why things work the way they do.
Let's walk through some of the things that trip up just about every new maker.
You absolutely can, but you need to know that they act completely differently in hot wax. Essential oils are amazing for aromatherapy, but they're also super volatile. This means their delicate scent compounds can literally burn off when they hit hot wax or a flame, often leaving you with a really weak "hot throw."
Fragrance oils, on the other hand, are specifically designed in a lab to handle high temperatures. They’re built to bind with soy wax and give you a much more reliable and powerful scent when the candle is lit. If you're just starting out and want a strong, consistent fragrance, grabbing some high-quality fragrance oils is your best bet.
This is easily the most common cosmetic issue, and 99% of the time it’s because the wax cooled down way too fast. Soy wax is a natural product, and it can get a little fussy with quick temperature shifts. When it cools too rapidly, it shrinks unevenly, which leads to those frustrating cracks, craters, or a rough-looking top.
Your secret weapon for a professional-looking finish is a slow, even cooling process. Make sure your jars are at room temperature before you pour, and let your candles set up in a warm spot away from any drafts. I've also found that pouring at a slightly lower temperature, right around 135°F (57°C), really helps achieve that smooth, creamy top.
Figuring out the right wick is probably the single most important part of making a safe, great-burning candle. The size you need depends entirely on the diameter of your container. Most candle supply companies have wick sizing charts that give you a decent starting point, but think of them as suggestions, not gospel.
The only way to really know if you have the right wick is to do a test burn.
Testing is that final, crucial step that confirms you’ve nailed the perfect combination of wax, fragrance, and jar for a beautiful, safe burn every single time.
At Jackpot Candles, we believe a candle should be more than just a beautiful scent—it should be an experience. That's why each of our hand-poured soy candles hides a surprise piece of jewelry inside, turning every moment into one of discovery. Explore our collection and find your next treasure.
Comments will be approved before showing up.