free shipping at $99


That dreaded wax spill—whether it's from a romantic candlelit dinner or a crafty kid's project—can feel like a permanent problem. Don't panic! The fix is usually sitting right in your kitchen or bathroom. It all comes down to one simple choice: do you heat it or freeze it? One method softens the wax so you can blot it up, while the other hardens it so you can pop it right off.
Let's walk through how to handle any wax mess with confidence.
Before you even think about grabbing a tool, here's the golden rule I tell everyone: always test your chosen method on a small, hidden area first. It's a simple step that can save you from accidentally ruining a beautiful finish or your favorite shirt. A little spot test ensures your cleanup is a success, not a bigger headache.
Think of this as your emergency guide. When wax hits the floor (or the table, or the sofa), you can act fast without having to guess.
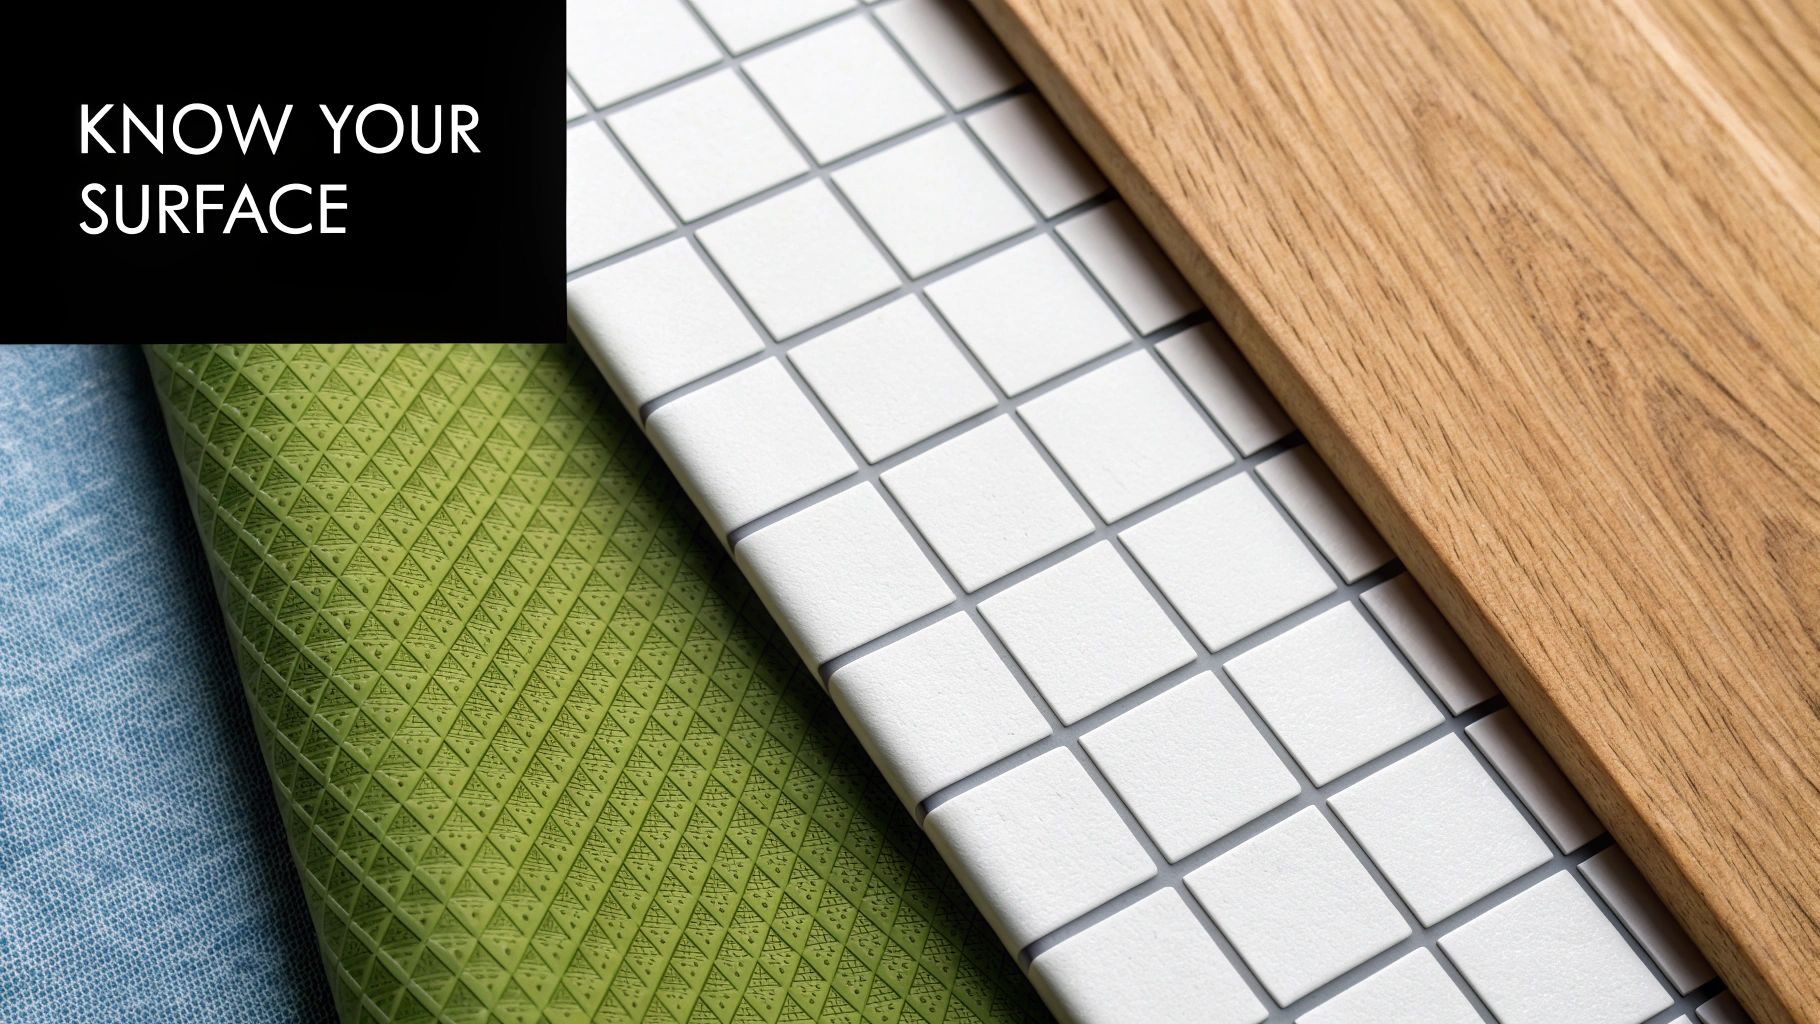
The surface you're working with is everything. A trick that works like a charm on your glass coffee table could be a disaster for your antique wooden dresser. To make things easy, I've put together a quick-reference table to help you pick the right approach in seconds.
Key Takeaway: The single most important step is to identify the surface material before starting. This decision determines whether you should apply heat to melt the wax or cold to harden it.
Use this quick reference guide to choose the best wax removal method based on the surface type.
| Surface Type | Recommended Method | Key Tool | Caution |
|---|---|---|---|
| Finished Wood | Heat & Absorb | Hair Dryer & Paper Towel | Use low heat to avoid damaging the finish. |
| Carpet/Upholstery | Heat & Absorb | Iron & Brown Paper Bag | Use a low, no-steam setting; keep the iron moving. |
| Glass/Ceramic | Cold & Scrape | Ice Pack & Plastic Scraper | Avoid metal scrapers that can cause scratches. |
| Clothing | Heat & Absorb | Iron & Paper Towel | Check fabric care label; avoid on delicate synthetics. |
| Unfinished Wood | Cold & Scrape | Ice Pack & Plastic Scraper | Heat can drive wax deeper into the porous wood. |
| Leather | Cold & Scrape | Ice Pack & Fingernail/Card | Follow up with a leather conditioner to restore moisture. |
This table is your starting point. In the next few sections, we'll get into the nitty-gritty of each method, with detailed steps to get you a perfect result every time.
While wax is its own unique challenge, the basic principles often overlap with other household cleanups. For a broader look at tackling messes, you can always check out some general stain removal information. Getting the fundamentals down will make you a pro at handling just about anything.
Candle drips and wax spills seem to have a knack for finding their way onto our favorite hard surfaces, from polished wood tables to glass shelves and tile floors. The good news? These non-porous materials are usually the easiest to clean up. The secret is to use a gentle touch and the right technique to lift the wax without harming the surface underneath.
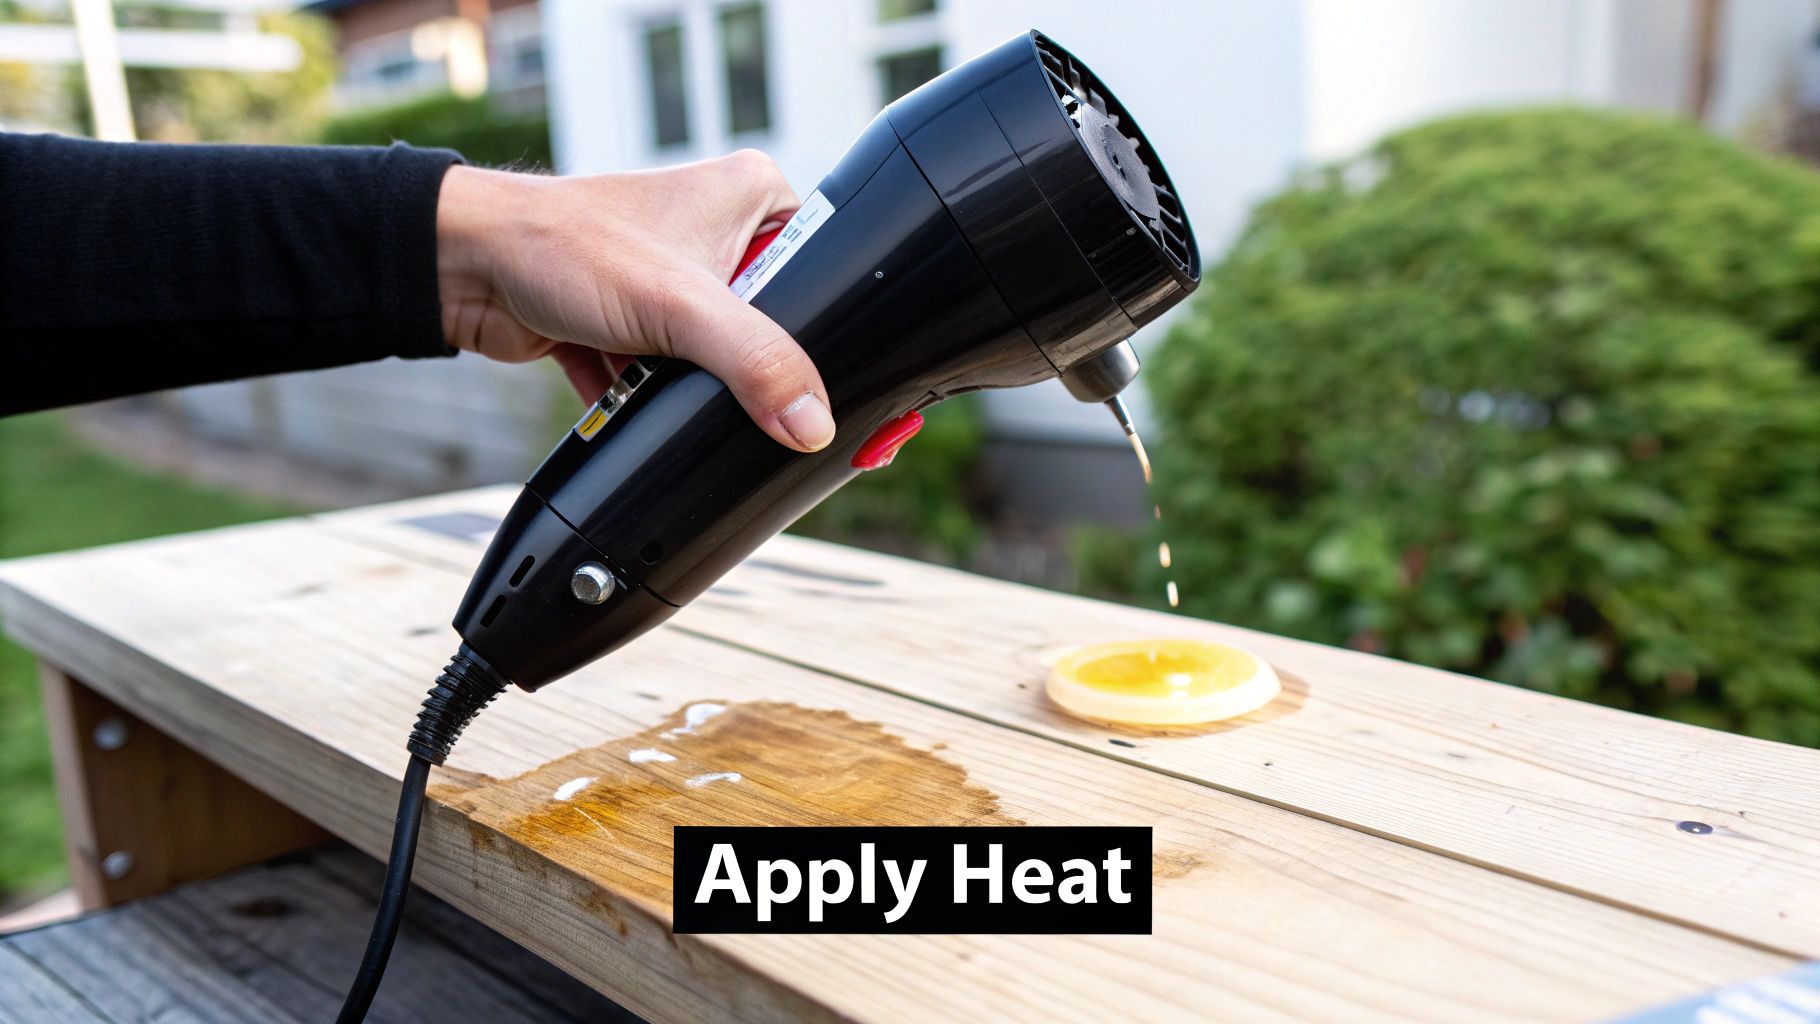
Think about how the wax got there in the first place—it hardened as it cooled down. So, the most common way to get it off is to gently reverse that process. A little bit of controlled warmth will soften the wax, making it easy to wipe away. You might be surprised to learn that your hairdryer is about to become your go-to cleaning tool.
Picture this: you’ve just wrapped up a lovely dinner party, but a colorful drop of candle wax has landed squarely on your dining table. Your first instinct might be to grab a knife and scrape it off, but please don't! You'll just scratch the wood. Instead, find a hairdryer and a few paper towels or a plain brown paper bag.
First, set your hairdryer to its lowest heat setting. Hold it a few inches away from the spill. You just want to soften the wax, not melt it into a runny puddle. As you see the edges start to melt, gently blot the spot with your paper towel. The softened wax will lift right off and soak into the paper.
Pro Tip: Keep folding your paper towel to a clean, fresh section for each blot. This stops you from accidentally smearing the wax you've just removed back onto the table. A little patience goes a long way here; slow and steady wins the race and protects your wood's finish.
If you're dealing with a bigger wax situation on your floors, you might want to look into specialized hardwood floor wax removal techniques for more in-depth advice.
Take a look at this chart before you start. It breaks down the first crucial steps for any wax removal job, so you can get organized before you dive in.
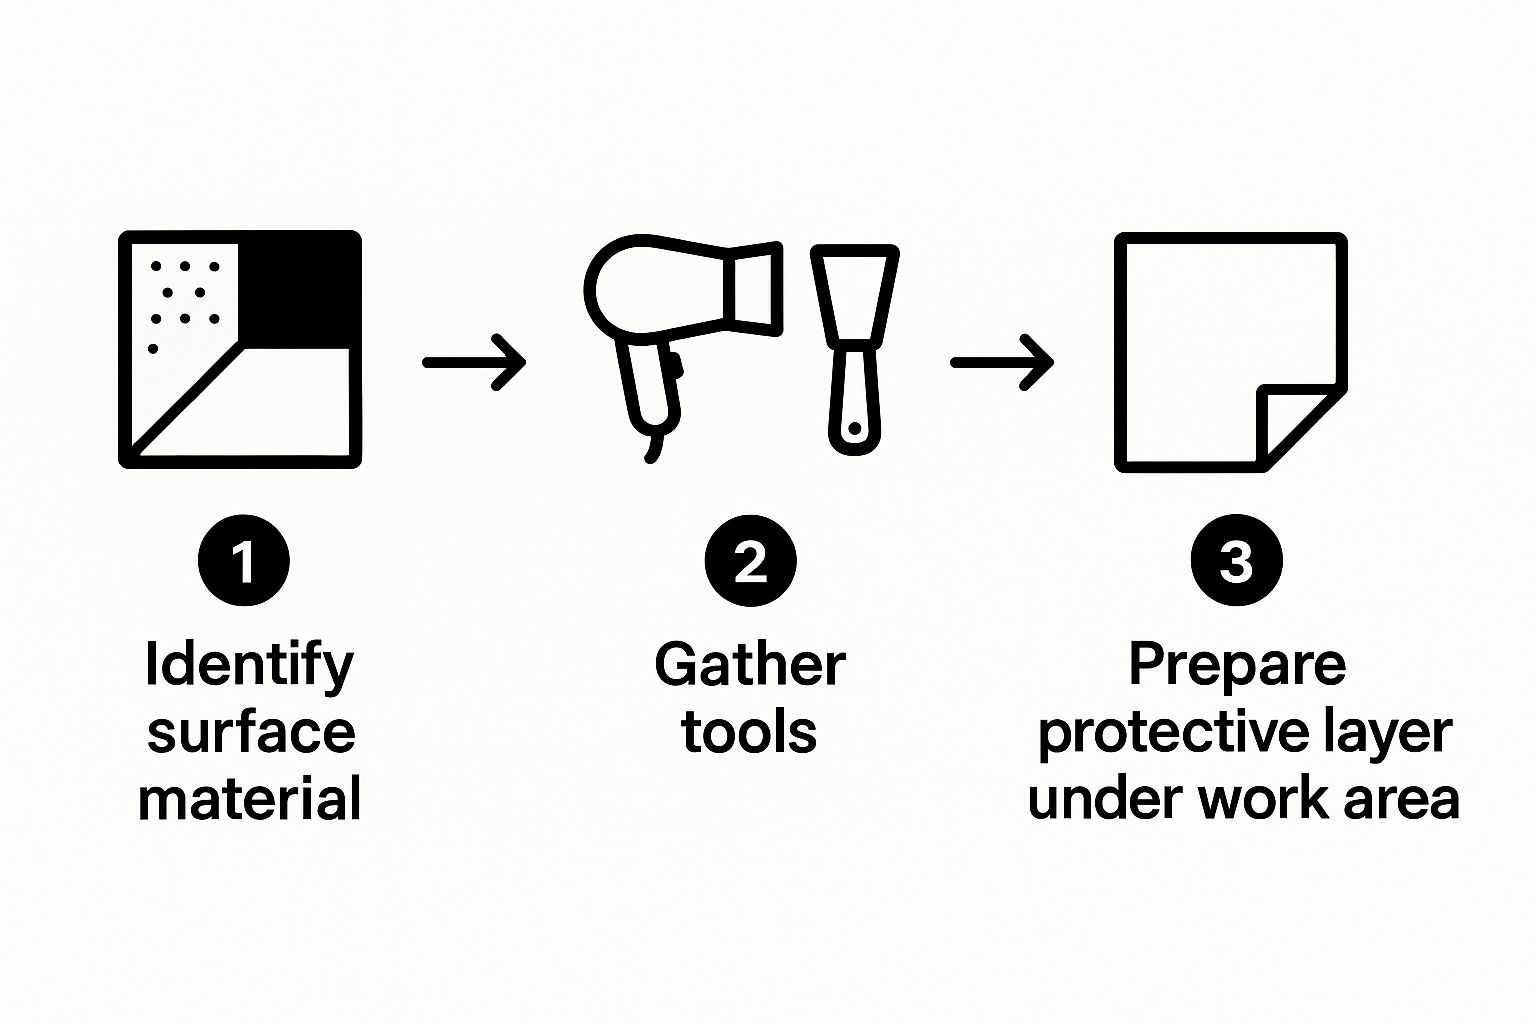
As you can see, getting prepared—knowing your surface and having the right tools ready—is just as important as the cleaning method itself.
What about those thick, stubborn blobs of wax that seem practically fused to the surface? This often happens with harder waxes or spills that have sat for a while. In these cases, heat might just spread the mess. So, we're going to do the exact opposite: we'll make the wax so cold and brittle that it pops right off.
Here’s the game plan:
Once the wax is nice and chilly, it'll be brittle. Now, you can take something like a plastic scraper, the edge of an old credit card, or even a plastic ruler and gently nudge the edge of the wax. Most of the time, it will pop off in one clean piece without a fight. Whatever you do, don't use a metal knife or a razor blade. They are almost guaranteed to leave permanent scratches behind.
Even after the wax chunk is gone, you might see a faint, oily smudge left behind. That's just the leftover oils and dyes from the wax, and thankfully, it's the easiest part to clean up.
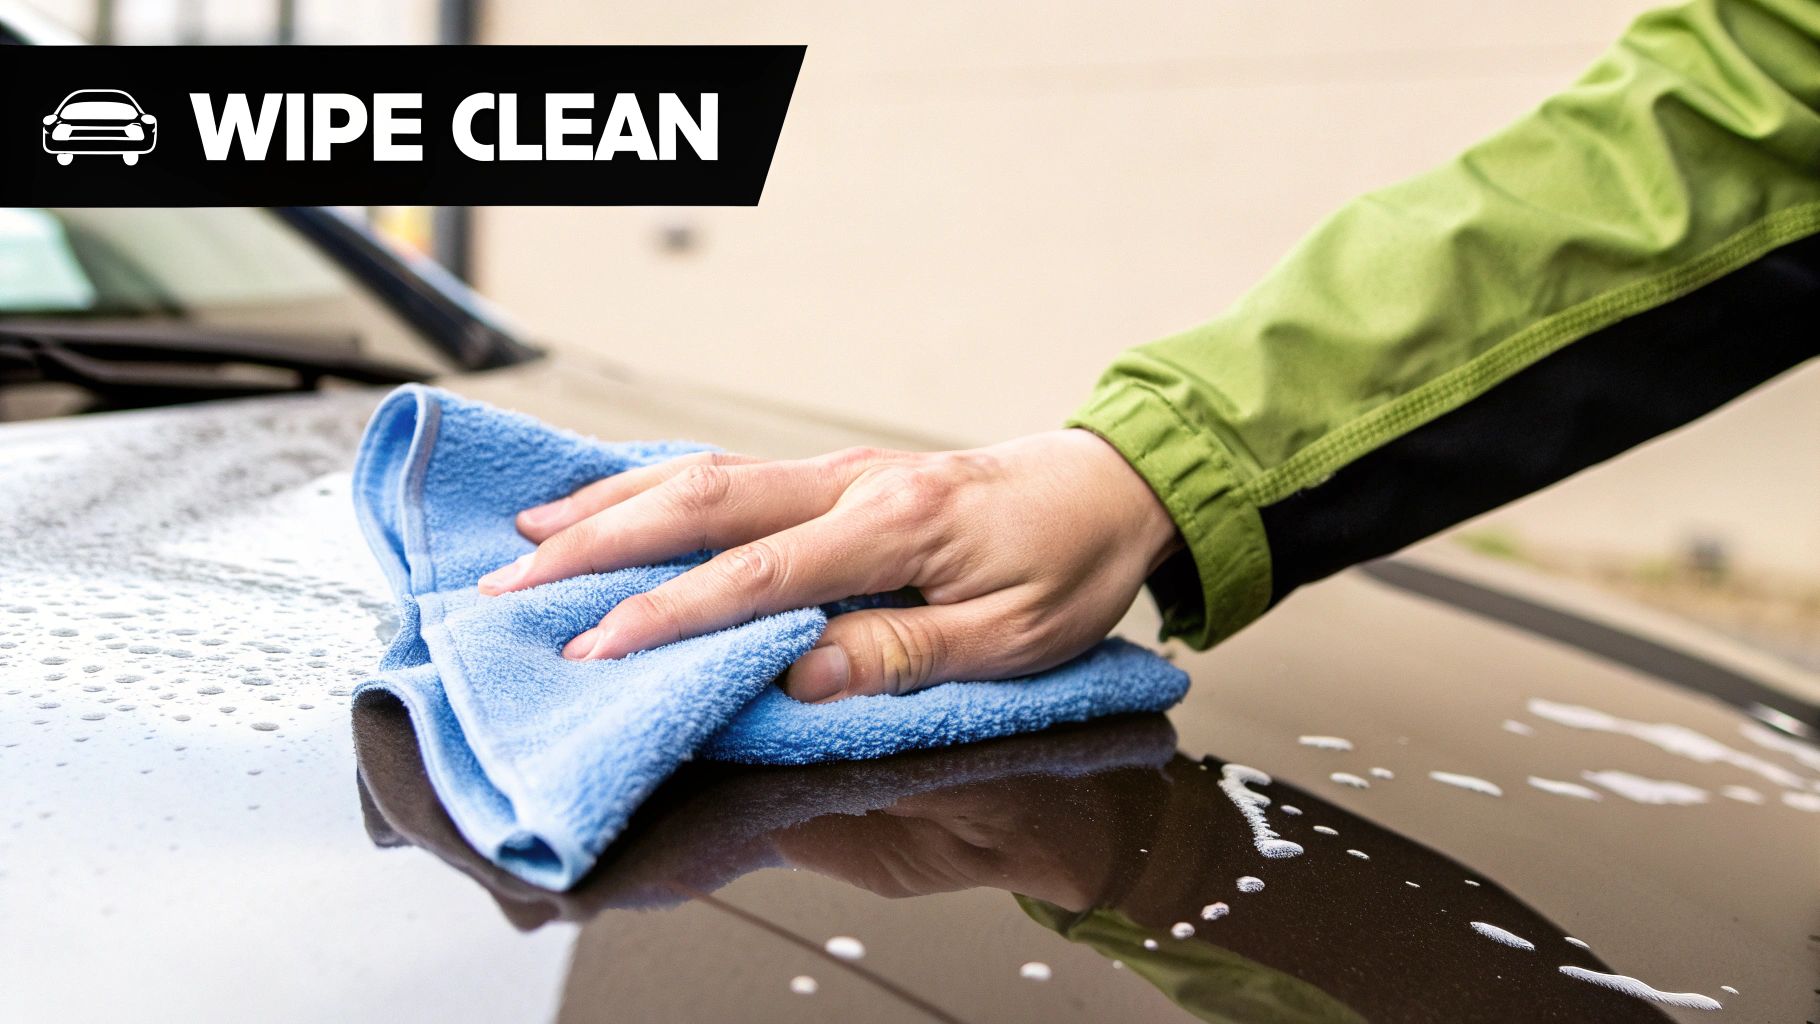
For surfaces like glass, tile, or laminate, a simple mix of warm water with a few drops of dish soap will do the trick. Just wipe the area with a soft cloth and then dry it with a clean one to bring back the shine.
Finished wood needs a slightly different touch to keep its finish safe:
The vinegar solution is great for cutting through that greasy residue without harming the wood's protective seal. Taking care of this final step is what will make your surfaces look like the spill never even happened. And if you're looking for more tips, our guide on how to remove wax from an empty candle jar deals with cleaning up similar waxy messes.
A drip of wax on a hard floor is one thing, but when it lands on your plush carpet or favorite pair of jeans, panic can set in. Wax doesn't just sit on top; it sinks into the fibers, grabbing on tight as it cools. If you try to scrape it off, you often just push it deeper or, worse, damage the fabric.
Don't worry, there’s a classic, trusted method for lifting wax from soft surfaces that works like a charm. It uses gentle heat not to create a bigger melted mess, but to soften the wax just enough so it can be soaked up and pulled away from the fibers. With a common household iron and some absorbent paper, you can transfer that wax stain right off your carpet and into the trash.
This method is the gold standard for getting wax out of surfaces like carpet, upholstery, and most sturdy clothing. The whole idea is to reheat the wax so it becomes liquid again and give it something more absorbent than your fabric to soak into. A plain brown paper bag or a few layers of paper towels are perfect for this.
First, grab the dullest knife you can find (a butter knife is perfect) or a plastic scraper. Gently chip away any big, raised chunks of wax. You don't want to force it—just get rid of the excess sitting on the surface.
With the big pieces gone, you’re ready for the main event.
The key to success here is to keep moving to a clean section of the paper. Lift the iron, shift the paper to a fresh spot, and press again. If you keep ironing over the same waxy part of the paper, you risk re-melting the wax right back into the fabric. Keep repeating this until the paper stops pulling up any more wax.
Even after all the wax is gone, you might be left with a colorful ghost of the spill, especially if it was a dyed candle. The oils and pigments in the wax can leave a stain that heat alone won't touch. This is where a good spot treatment comes in.
For most carpets and upholstery, a bit of rubbing alcohol on a clean white cloth is your best bet. Dab the stain gently—never scrub, as that can spread the color around. The alcohol acts as a solvent, breaking down the dye. Just keep blotting with a clean part of the cloth to lift the color away.
Crucial Safety Note: Before you use any cleaning solution, even something as common as rubbing alcohol, always do a patch test. Find a hidden spot, like inside a seam or on a bit of carpet that's under furniture, and apply a tiny amount to check for any color fading or damage.
So, what about materials like silk, velvet, or certain synthetics that can't handle the direct heat of an iron? An iron can easily scorch or even melt these delicate fibers. In these cases, a hairdryer is your new best friend. It gives you a gentler, more diffused heat that you can control much more easily.
Here’s how you adapt the technique for your more sensitive items:
This approach takes a bit more patience, but it’s a much safer bet for removing wax from surfaces that are too fragile for an iron. If you have any leftover color stains on these fabrics, it's often best to consult a professional cleaner, since solvents like rubbing alcohol could be too harsh. Patience and a light touch are what will save your fabrics from a waxy disaster.
Not every wax spill is a simple candle drip. Every now and then, you’ll find yourself up against something far stickier, like hair removal wax on the bathroom counter or a colorful crayon masterpiece on a painted wall. These situations call for a completely different playbook because the wax itself and the surface it's on change the rules of the game.
When you're dealing with those soft, sticky waxes—think depilatory or hair removal types—the usual heat-and-absorb method is a recipe for disaster. Applying heat to something designed to be tacky will only turn it into a gooey, spreading mess. For these, oil is your best friend.
Most soft waxes are oil-soluble, which means an oil-based solution is what you need to break down their sticky bonds. Forget trying to harden or re-melt the wax; the goal here is to dissolve it so you can simply wipe the problem away.
Here’s what I’ve found works best:
To get started, soak a cotton ball or soft cloth with your oil of choice and apply it generously right on top of the wax. Let it sit for a few minutes—you’ll actually see the wax start to soften and lose its stickiness. At that point, a gentle wipe is all it takes to clean it up. This trick is perfect for non-porous surfaces like countertops, tile, and even skin.
This gentle approach isn't just a household hack. The demand for effective and painless methods is a global trend, from surface care to personal hygiene. Consider that over 220 million people are estimated to need ear wax removal each year. That market is valued at a whopping US$ 220.08 million in 2024, all driven by a desire for products that are both powerful and gentle—a principle that applies directly to getting wax off our own surfaces. You can find more insights about this growing market on factmr.com.
But what happens when wax lands on something that can't handle heat, moisture, or even a little scraping? Materials like unfinished wood, leather, and walls with matte paint require a much more careful strategy to avoid causing permanent damage.
Unfinished Wood
Heat is the absolute enemy of unfinished wood. It can drive melted wax deeper into the porous grain and leave a dark stain that’s impossible to get out. Instead, go cold. Pop an ice pack on the wax until it's brittle, then gently pry it off with a plastic scraper. Stay away from liquid cleaners, which can cause the wood to swell or discolor.
Leather Furniture
Leather is another material that doesn't play well with extreme heat or harsh scrapers. For a wax spill on your leather sofa, start by chilling the spot with an ice pack. Once the wax is hard, you can often just flake most of it off with your fingernail or the edge of a credit card. If a little residue is left, use a hairdryer on its lowest heat setting from a safe distance for just a second or two, then immediately blot with a clean cloth. It's super important to follow up with a quality leather conditioner to restore moisture and prevent the spot from drying out.
Painted Drywall and Crayon Marks
Crayon on a matte-painted wall is a classic parenting challenge. Since matte paint scuffs so easily, aggressive scrubbing is out of the question. Gently scrape off any thick bits of crayon with a plastic scraper. For the colorful stain left behind, a little WD-40 on a soft cloth can work wonders by dissolving the waxy pigment. Just wipe it on, let it sit for a minute, then clean the area with a cloth dampened with mild, soapy water. Always, always test this on a hidden spot first!
Even smaller items can be tricky. If you’ve ever dripped candle wax on a favorite piece of jewelry, you know how hard it is to clean without scratching it. For specialized tips on that delicate task, check out our guide on how to get candle wax off your ring.
While the hot and cold methods work wonders with stuff you already have, putting together a small, dedicated wax removal kit can turn a full-blown panic attack into a minor cleanup job. Trust me, when a candle drips, having the right tools ready to go makes all the difference. Think of it as your first-aid kit for household messes.
Most of what you need is probably hiding in your drawers and cupboards right now. The trick is to gather it all in one spot. This way, you’re not digging for a paper bag while wax is busy becoming one with your carpet fibers. A good kit is simple; just a few key items will have you prepared for almost any waxy situation.
When you get down to it, your kit needs to do three things: scrape, absorb, and clean. Every item has a job, making sure you can handle both the hard wax and that greasy film it leaves behind.
Here are the absolute must-haves for your kit:
My Personal Tip: I keep a small spray bottle filled with a 50/50 mix of white vinegar and water in my kit. It’s my go-to for cutting through that greasy film that wax often leaves on hard surfaces. It works like a charm.
So, you've got a wax spill. You can either go the DIY route with items from your kit or grab a commercial wax remover from the store. Both options have their time and place, and knowing which to choose can save you a ton of hassle.
For your typical candle wax drip, a homemade solution is usually more than enough—and it's way cheaper.
But sometimes you run into tougher stuff. Commercial products are specially formulated for stubborn messes, like sticky hair removal wax or craft waxes that just laugh at a little heat or cold. They pack solvents designed to break down what your household items can't.
This demand for specialized cleaners is actually a growing trend. Take the market for ear wax removal products, for example. It was valued at USD 1.8 billion in 2023 and is expected to climb to USD 3 billion by 2032. That shows people want solutions that work for specific problems, and it’s a pattern we see in home cleaning products, too. You can read more about these market trends on gminsights.com.
To help you figure out what's best for your situation, here's a quick side-by-side look.
| Factor | DIY Solutions (e.g., Ice, Oil, Vinegar) | Commercial Products |
|---|---|---|
| Cost | Almost free; you're just using household items. | Higher initial cost for a bottle. |
| Effectiveness | Works great on common candle and crayon wax. | Specially formulated for tough or specialty waxes. |
| Surface Safety | Generally safe, but you should always test a small spot first. | Varies by product; you must read the label. |
| Convenience | Might require a little prep or mixing. | Ready to use right out of the container. |
Honestly, a solid DIY kit will handle 90% of the wax messes life throws at you. For that other tricky 10%, having a good commercial remover on hand is a pretty smart move.
Even with the best instructions, you always run into those tricky "what if" moments when you're in the middle of a cleanup. A wax spill can be a unique challenge depending on where it landed.
Think of this section as your quick-reference guide for troubleshooting those dilemmas on the spot. Getting it right can be the difference between a simple cleanup and a permanent problem.
Definitely not. I know it's tempting to grab the closest sharp object, but metal tools like kitchen knives or razor blades will almost certainly scratch or gouge the delicate finish on your wood. It’s a shortcut that almost always ends in regret.
The goal is to pop the hardened wax off, not dig into the surface underneath it. You're much better off reaching for one of these instead:
If the wax won't budge after you've tried freezing it, just give the ice pack a little more time to work its magic. If you're still stuck, it's time to switch tactics and try the gentle heat from a hairdryer instead of trying to force it.
Ah, the dreaded oily residue. This is super common, especially after using heat or oil to get the initial wax chunk off. That lingering film is just the leftover oils and dyes from the candle itself. The good news is, it's usually pretty simple to clean up.
For hard surfaces like glass or countertops, a cloth dampened with warm, soapy water is all you need. For finished wood, a 50/50 mix of white vinegar and water is your best friend. Just wipe it on to cut through the grease, then follow up with a dry, soft cloth to bring back the shine.
On fabric or carpet, sprinkle some cornstarch or baking soda directly onto the spot. Let it sit for about an hour so it can soak up all that oil, then vacuum it up completely before you tackle any remaining color stains.
Expert Insight: Why does vinegar work so well on wood? Its acetic acid gently breaks down that oily residue without being harsh enough to strip the protective finish. It’s a fantastic natural degreaser that won’t leave behind any harmful chemicals.
When wax has seeped way down into a thick carpet, the iron and paper method is your most reliable friend. It might seem a little intimidating, but with a bit of patience, you can lift even the most stubborn wax from between those fibers.
First things first, grab an ice pack to freeze the wax solid. Then, gently break off any big pieces you can from the surface. This gets the bulk of the mess out of the way.
Next, lay a brown paper bag or a double layer of paper towels over the stain. Set your iron to a low-heat, no-steam setting and press it on the paper for just a few seconds at a time. The heat will melt the wax, and it will wick right up into the paper.
Here’s the most important part: keep moving to a fresh, clean section of the paper each time you press. This stops you from accidentally transferring the wax you just lifted right back onto the carpet. Keep at it until no more wax is being absorbed.
After that, you can clean the spot with a carpet-safe stain remover to get rid of any leftover color. Of course, the best way to prevent spills is to practice safe candle use. You can find all the details you need in our essential guide to candle safety tips.
At Jackpot Candles, we're all about creating beautiful moments with our premium soy wax candles. While our candles are made for a clean, long-lasting burn, we know accidents can happen. We hope these tips help you keep your home looking its best, so you can get back to enjoying gorgeous fragrances and the surprise jewelry hidden inside every product. Discover your next favorite scent today at https://www.jackpotcandles.com.
Comments will be approved before showing up.