free shipping at $99


If there's one secret every seasoned candle lover knows, it's this: the first burn is everything. To stop candle tunneling before it ever starts, you have to let the entire top layer of wax melt and pool to the very edges of the container.
This first melt creates a "wax memory," and it's your only shot to get it right.
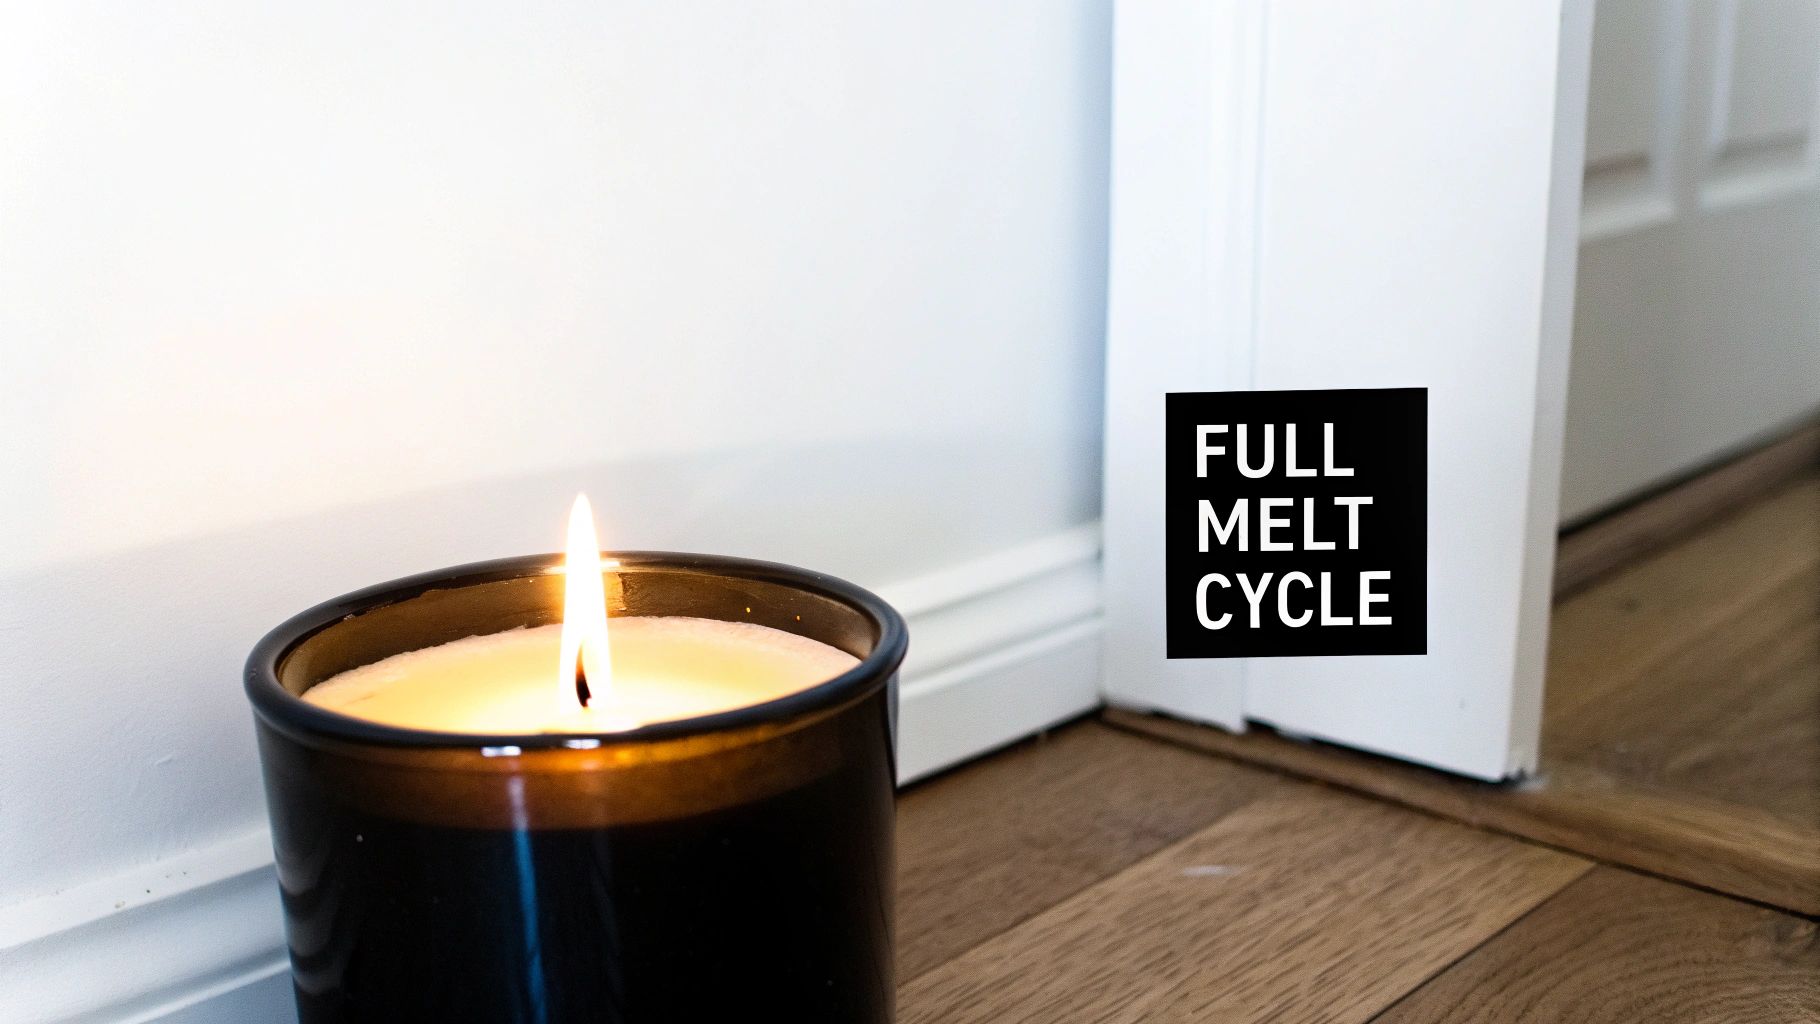
Think of a candle's first light as its most important moment. You're essentially teaching the wax how to behave for the rest of its life. That initial melt pool sets the boundary for every single burn that follows.
If you blow it out too early, before the liquid wax reaches the glass, you've created a smaller memory ring. The next time you light it, the wax will stubbornly refuse to melt past that point, carving a deep, narrow tunnel right down the middle. This wastes tons of good wax, cuts your candle's life short, and often ends up drowning the wick.
The first burn is your one and only chance to set your candle up for success. Getting this right prevents the vast majority of tunneling issues down the road.
This isn’t just a minor pet peeve; candle tunneling is a huge issue that frustrates up to 60% of candle users. The fix is simple: follow the "first burn rule." You need to let the candle burn long enough for the entire surface to become liquid, which usually takes somewhere between 2–4 hours. Skipping this can increase the chances of tunneling by over 50% on future burns.
You can dive deeper into why this first step is so critical for learning how to burn a candle properly.
A great rule of thumb to make things easy is to plan on burning your candle for one hour for every inch of its diameter.
For a quick visual guide, I've put together a handy chart.
Use this quick reference guide to ensure you burn your new candle for the correct duration on its first use, creating an even 'wax memory' to prevent tunneling.
| Candle Diameter | Estimated First Burn Time |
|---|---|
| 2 inches (5 cm) | 2 hours |
| 3 inches (7.5 cm) | 3 hours |
| 4 inches (10 cm) | 4 hours |
| 5 inches (12.5 cm) | 5 hours |
Nailing this simple step is the most important part of getting a beautiful, even burn every single time. It's a little bit of patience upfront for a much better candle experience later.
So, you've nailed the all-important first burn. What's next? From here on out, consistent wick care is your best friend in the fight against tunneling. Think of the wick as the engine of your candle—its condition directly controls the flame, which in turn dictates how evenly the wax melts.
An untrimmed wick is often the number one reason a good candle goes bad. When a wick gets too long, it creates a large, flickering flame that's out of control. This wild flame burns way too hot and fast, essentially drilling a narrow pit right down the middle of your candle instead of gently melting the wax out to the edges.
But going too short is just as bad. A wick that’s been trimmed down too far will produce a weak, sad little flame that just doesn't have enough power. The result? A tiny melt pool that can’t sustain itself and quickly fizzles out, creating a tunnel and leaving tons of wasted wax clinging to the sides of the jar.
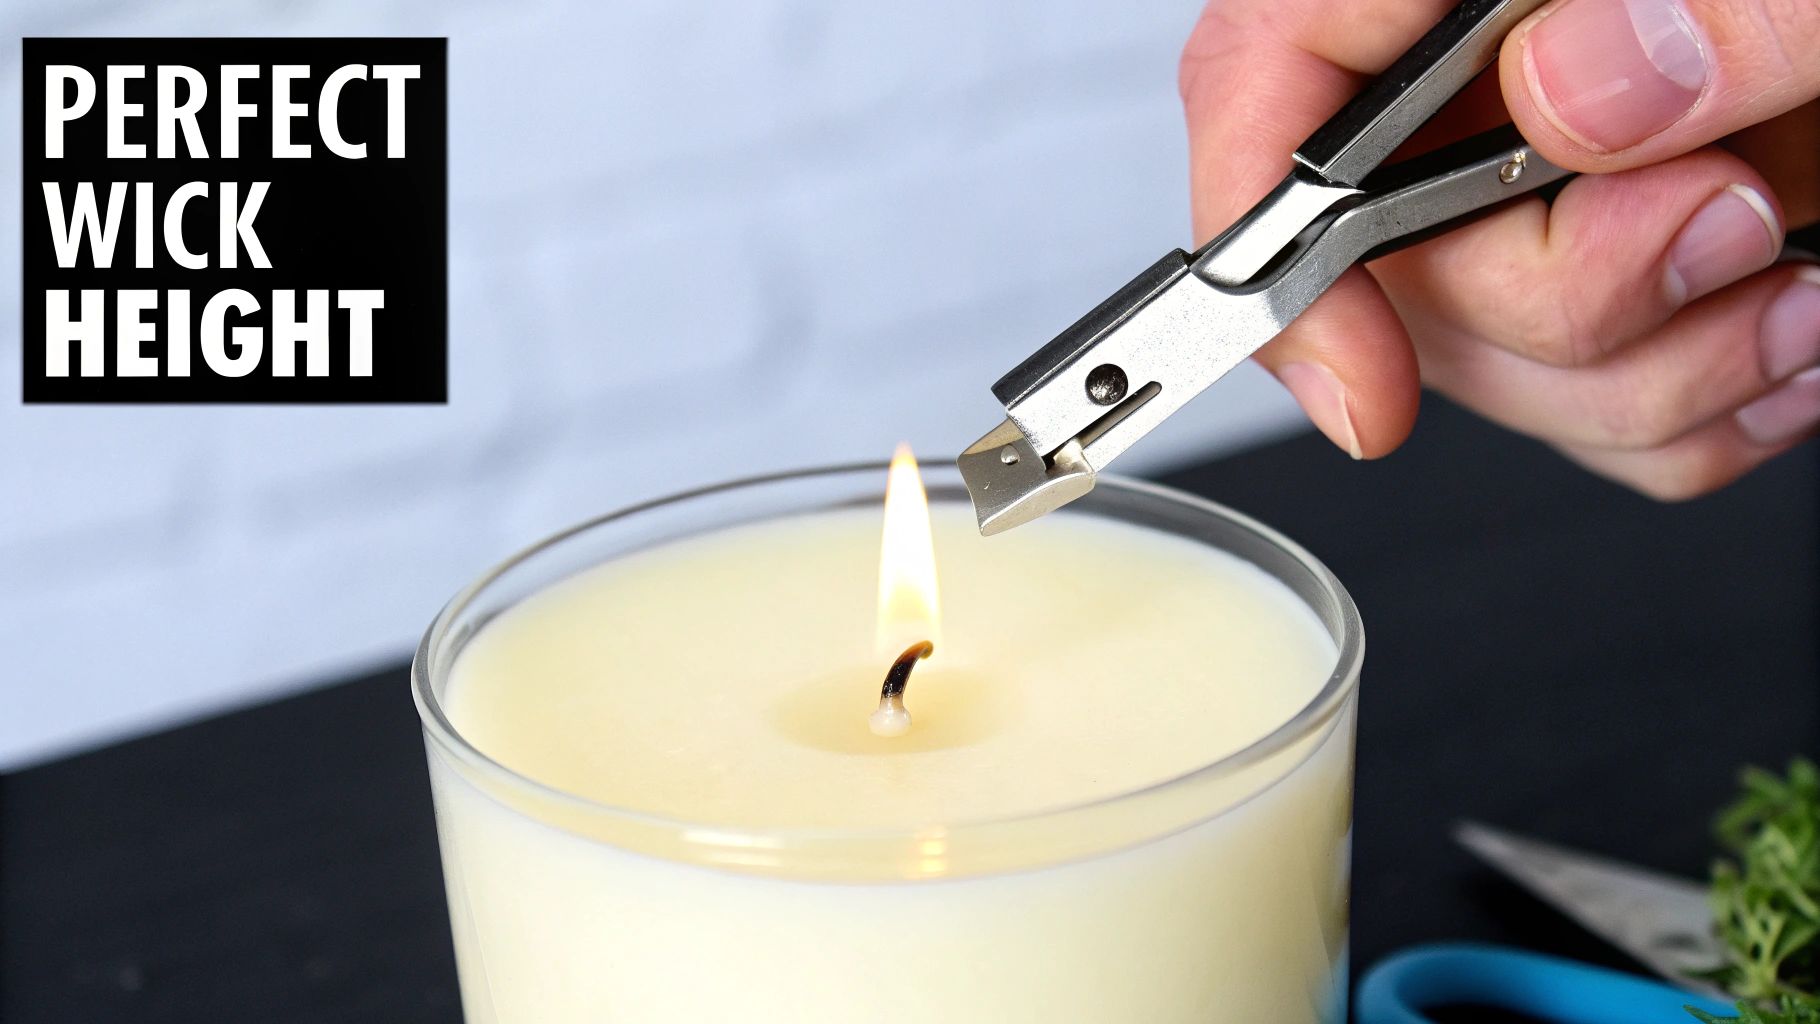
The goal is to keep your wick at about 1/4 inch before every single burn. This is the magic length for a perfectly controlled, steady flame that melts the wax evenly across the entire surface.
To get it right every time, a proper wick trimmer is a game-changer. Their angled shape makes it super easy to reach down into jars and snip the wick to the perfect height, catching the little black bits of carbon so they don't fall into the wax. In a pinch, a pair of nail clippers can also work wonders.
Keeping your wick trimmed to a consistent 1/4 inch before each use is non-negotiable for preventing candle tunneling and ensuring a clean, long-lasting burn.
You'll also want to watch out for "mushrooming." That's the black, bulb-like clump of carbon that can form on the tip of the wick after a burn. This needs to be removed every time. A mushrooming wick creates a smoky, sooty flame and can drop black debris right into your beautiful, clean wax pool.
Here's your new pre-light ritual:
This simple habit takes just a few seconds but pays off big time in your candle's performance and lifespan. Keep in mind that specialized wicks might need slightly different care. For example, you can learn more about wooden wick candle care to keep them crackling perfectly.
Have you ever done everything right—trimmed the wick, burned it for hours—only to have your candle tunnel anyway? It's incredibly frustrating, and the truth is, it might not be your fault. It could just be a poorly made candle.
A great candle is a finely tuned system. The wick size, the type of wax, and the container's diameter all have to work together in perfect harmony for a clean, even burn. If that balance is off, tunneling is almost guaranteed.
Imagine a tiny, skinny wick in a wide three-inch jar. It's just not going to generate enough heat to melt the wax all the way to the edges. That candle was doomed from the start.
A candle's construction is just as important as your burning habits. Choosing a candle with a properly sized wick for its container is a proactive step in preventing candle tunneling.
This isn't just a small detail; it's a huge deal. Industry experts estimate that improper wick sizing can be the culprit behind as many as 40% of tunneling issues. In some cases, using a wick that's too small for the jar can actually double the chances of it tunneling.
Different types of wax also have a major impact on how a candle performs. Premium soy wax blends, for example, are famous for their clean, slow burn and fantastic ability to fill a room with fragrance. When paired with the right wick, they are far less likely to tunnel.
Paraffin, on the other hand, can sometimes be a bit more temperamental if not formulated correctly.
When you're out shopping, take a second to really look at the candle. Does the wick look beefy enough for the size of the jar? High-quality brands pour a ton of time and resources into testing to get this balance perfect, which is a big reason why they often burn so much more reliably.
If you want to dive deeper into the nuances of different waxes, check out our guide on the differences between soy and paraffin candles. A little bit of smart shopping upfront can save you a lot of wasted wax and disappointment down the road.
Believe it or not, where you burn your candle plays a massive role in how evenly it melts. A perfectly good candle can fall victim to tunneling simply because of a draft from a window, a ceiling fan, or even a subtle air vent.
These sneaky air currents make the flame flicker and dance. When that flame leans to one side, it’s putting all its heat there while the other side starts to cool down. This imbalance is exactly how an uneven melt starts, and it’s a primary culprit behind tunneling. It’s simple physics, really—a steady, upright flame spreads heat evenly, but a jumpy one creates hot and cold spots.
The fix is pretty simple: find a calm, still spot for your candle to do its thing. Think of it like creating a peaceful little micro-environment where the flame can burn strong and steady. Before you light up, just do a quick scan of the room.
These environmental factors are a much bigger deal than most people realize. In fact, placing a candle in a drafty spot can increase the chances of an uneven burn by as much as 30–50%.
By simply moving your candle away from these trouble zones, you’re preventing one side from cooling off too quickly and giving it the best shot at a beautiful, even melt pool. You can dive deeper into these kinds of candle care tips and learn more about the effects of a candle's environment on candlewicktrimmer.com.
Here’s a little pro tip for longer burn sessions: try giving your candle a quarter-turn every hour. This tiny adjustment can help make up for any minor, unnoticed drafts and promotes a remarkably even melt.
It happens to the best of us. Despite our best efforts, sometimes a candle just decides to tunnel. The good news? You don't have to toss your favorite candle or resign yourself to a crater of wasted wax. With a little patience, you can absolutely rescue it and get it burning beautifully again.
The go-to rescue mission for most candle lovers is the aluminum foil method. I swear by this trick. It’s surprisingly simple and works wonders by creating a sort of mini-oven around your candle. This traps heat, forcing it to melt that stubborn ring of hard wax clinging to the sides of the jar. This technique is perfect for moderately tunneled candles where you still have enough wick to get a flame going.
First, go ahead and light your candle. Grab a piece of aluminum foil and gently wrap it around the top of the candle jar, creating a dome or tent over the surface. The key is to leave a small opening right in the center so the flame has plenty of oxygen to breathe.
Now, just let the candle burn like this for an hour or two. You’ll be able to watch the trapped heat work its magic, slowly melting the hard outer wax until it merges with the liquid pool in the middle. Once the entire top surface has turned to liquid, you can carefully remove the foil and blow out the candle. That’s it—your wax memory is officially reset!
Safety First: Never, ever leave a burning candle unattended, especially when you're trying the foil method. The foil and the glass jar will get incredibly hot, so handle everything with care and let it cool down completely before you touch it.
What if the tunneling is really bad, or the wick is drowning in wax? You've still got options.
This little infographic is a great visual reminder of how something as simple as a draft can cause tunneling in the first place.
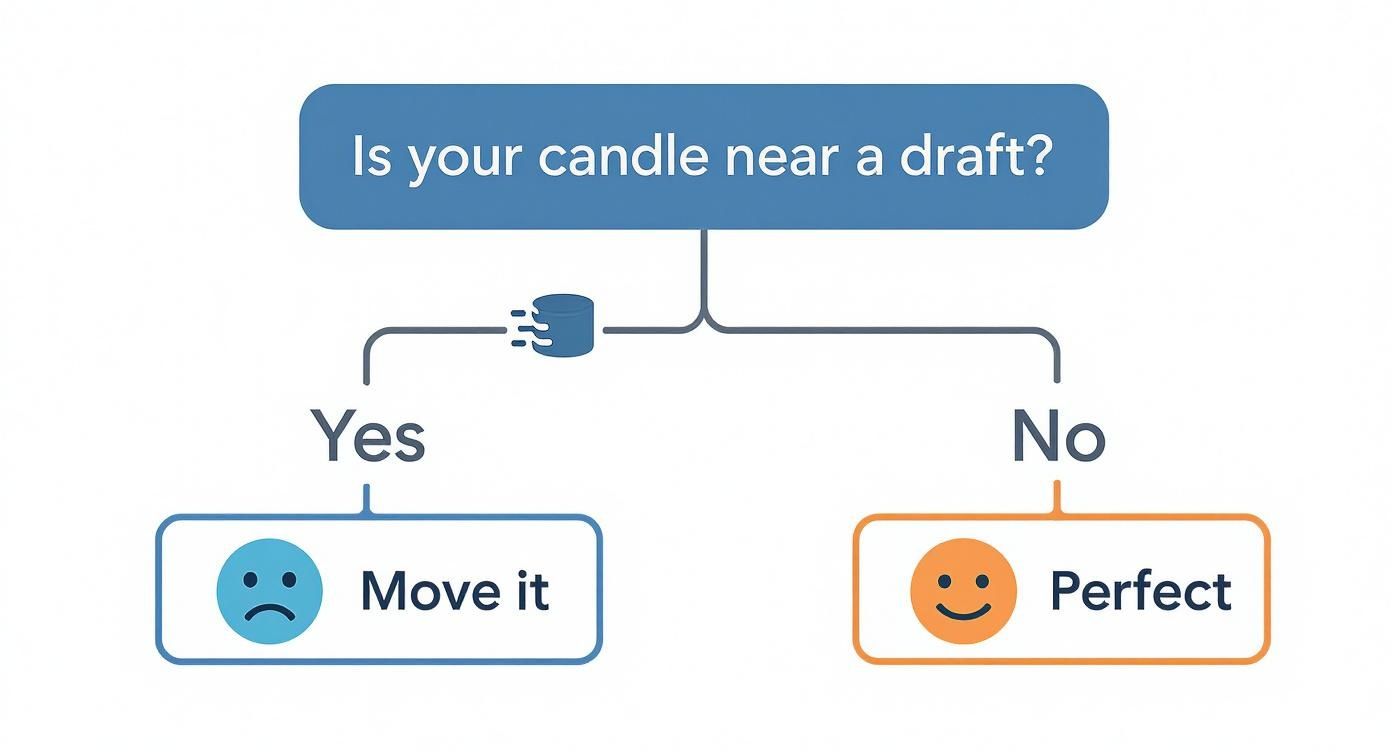
As the graphic shows, just placing your candle away from fans, open windows, or vents is one of the most important things you can do to get that perfect, even burn every single time.
Even when you do everything right, sometimes things just don't go as planned. It happens! Let's walk through some of the most common questions I hear about candle tunneling so you can get that perfect, even burn every single time.
This is the big one. The golden rule we all live by is to burn your candle for one hour for every inch of its diameter. So, if you've got a standard 3-inch wide candle, you're aiming for a solid 3-hour burn on that first go.
But it's not just about setting a timer. The real goal is to watch that melted wax pool until it reaches the very edge of the container. This first burn sets the "wax memory," and getting it right is hands-down the best thing you can do to stop tunneling before it ever starts.
The same rules apply here, but you have to be even more diligent. With a multi-wick candle, you absolutely have to light all the wicks, every single time. No exceptions!
On that crucial first burn, your mission is to let the candle burn long enough for all the little melt pools to join up into one big, beautiful, even pool that covers the whole surface. Also, make sure you're trimming all the wicks to the same 1/4-inch height before you light it up. This helps everything melt at the same, balanced pace.
Think of a multi-wick candle like a team. All the wicks need to work together to create one smooth, even surface of melted wax, especially that first time you light it.
It might seem like a small step, but it makes a huge difference. A nicely trimmed wick (kept at about 1/4 inch) gives you a small, calm flame. That controlled flame provides a gentle, consistent heat that melts the wax evenly across the top.
When a wick gets too long, it creates a wild, flickering flame that's way too hot and burns too fast. Instead of melting the wax out to the sides, it just burns a deep hole straight down the middle. A quick snip before each burn is all it takes to get the right size flame for a perfect melt.
Here at Jackpot Candles, we know that a fantastic candle experience is about more than a great scent—it’s about getting a flawless burn from the first light to the very last. We designed our proprietary soy wax blend and chose our wicks specifically to give you a clean, even burn and a beautiful melt pool every single time. Come explore our collection of premium scented candles, find a surprise piece of jewelry inside, and see what a perfect burn feels like for yourself at https://www.jackpotcandles.com.
Comments will be approved before showing up.